Groundsmaster 4010--D Operator CabPage 9 -- 9
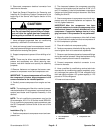
8. Label and remove hoses from condenser coil. Imme-
diately cap hoses and fittings to prevent moisture and
contaminants from entering the system.
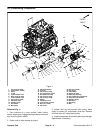
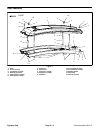
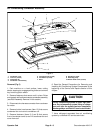
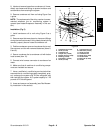
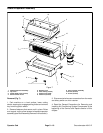
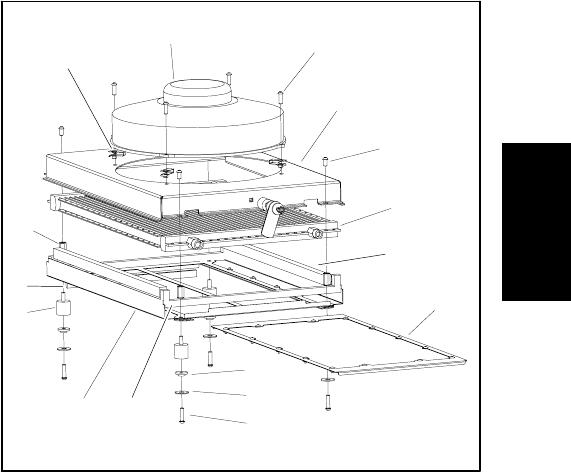
9. Remove condenser coil from roof using Figure 6 as
a guide.
NOTE: Thereplacement of the drier--receiver is recom-
mended whenever the air conditioning system is
opened (see Heater/Evaporator Assembly in this sec-
tion).
Installation (Fig. 5)
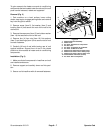
1. Install condenser coil to roof using Figure 6 as a
guide.
2. Remove caps that were placed on hoses and fittings
during the removal process. Using labels placed during
removal, properly secure hoses to condenser coil.
3. Position condenser cover and condenser fan to roof.
Secure cover and fan with removed fasteners (items 2,
6 and 8).
4. Secure condenser fan to condenser coil with button
head screws (item 10).
5. Connect wire harness connector to condenser fan
motor.
6. Make sure that all machine air conditioning compo-
nents are installed and secure.
7. Have a certified air conditioning service technician
evacuate the air conditioning system completely, prop-
erly recharge the system with R134a refrigerant and
then leak test the system. A/C system capacity is 1.25
pounds of R134a refrigerant.
8. Lower and secure roof assembly (see Roof Assem-
bly Installation in this section).
1. Condenser fan mount
2. Screw (4 used)
3. Condenser coil
4. Coupler nut (4 used)
5. Isolator mount (4 used)
6. Bushing (6 used)
7. Flat washer (4 used)
8. Screw (4 used)
9. Compression foam
10. Side foam (2 used)
11. Screw (4 used)
12. Condenser fan
13. Panel nut (4 used)
14. Screen frame
15. End foam (2 used)
16. Screen
Figure 6
2
3
6
8
9
10
11
13
1
5
7
12
14
15
16
4
Operator
Cab


