User’s Manual for InterForm400®
You install the graphical designer from InterForm400
®
by entering InterForm400 with the
command APF3812/APFMENU and selecting ‘80. Administering InterForm 400', ‘12.
Service functions’ and ‘70. Install InterForm Designer on your PC’.
If this installation fails you can also find the installation file for the graphical designer in the
IFS: /APF3812Home/Designer/. Find the directory with the highest number and download
the .exe file to your PC and double click on the file.
Starting the Graphical Designer
If you have chosen to install a shortcut or Quick launch during install you can click on that
to start up the graphical designer. The icon looks like this:
You can also start up the graphical designer by selecting ‘Start’, ‘Programs’, ‘InterForm’,
‘InterForm Design’ and ‘InterForm Design’.
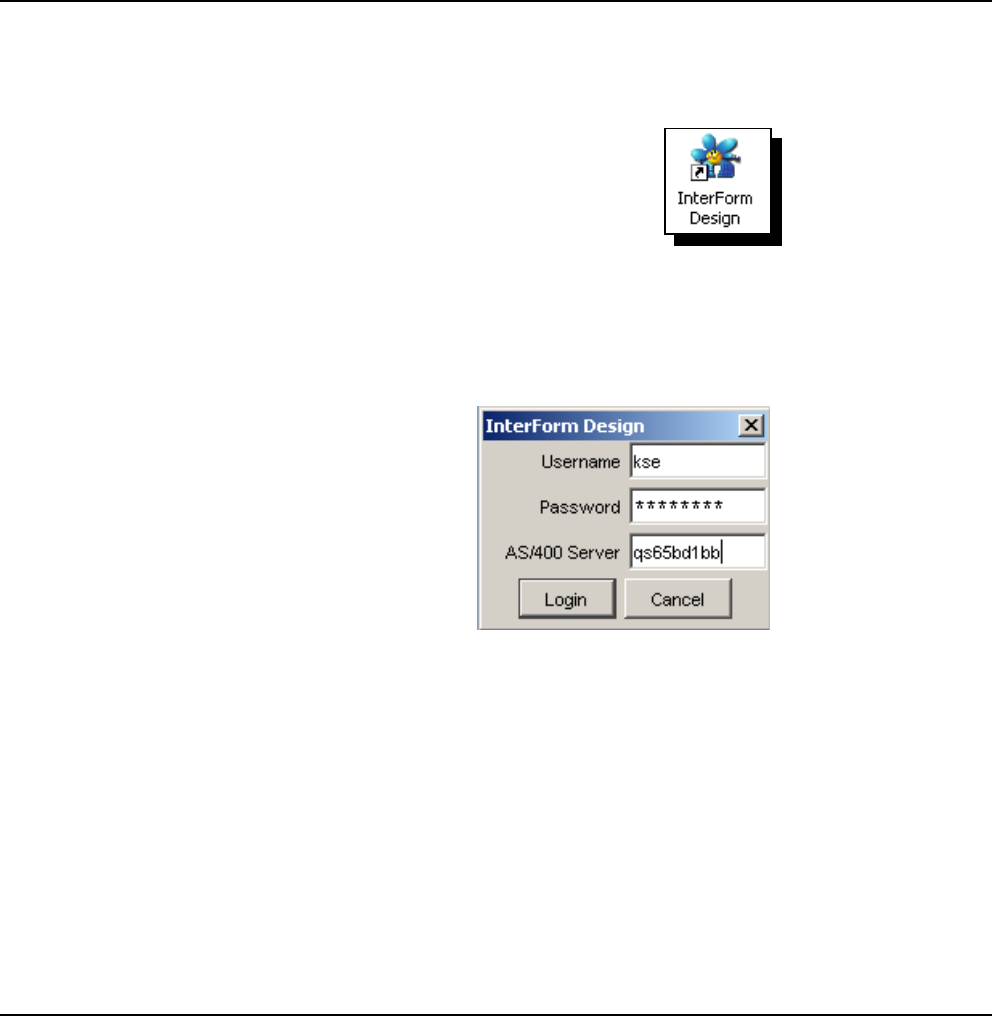
You will be presented with this screen:
State your user profile, password and the Netserver name or IP-address of the iSeries,
that you run InterForm400
®
on and click on ‘Login’. Wait about 10 seconds (depending on
the PC and the iSeries) and the graphical designer will start up.
If you are not a registered user of InterForm400 or if you do not have access to any file
sets in InterForm400 you will be refused access with the error ‘Lost connection to the
host’ followed by another message indicating the exact problem.
If you are not a registered user of InterForm400 you can do that as described on page
272. You can get access to file sets by using option ‘9=File set access’ in the same
screen.
Start designing an overlay
When the InterForm Graphical Designer starts up you will see a window with this heading:
