4 - 25
ENG
CAMSHAFTS
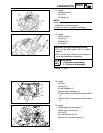
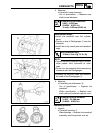
4. Measure:
●
Camshaft-to-cap clearance
Out of specification
→
Measure cam-
shaft journal diameter.
Camshaft-to-cap clearance:
0.020 ~ 0.054 mm
(0.0008 ~ 0.0021 in)
<Limit>: 0.08 mm (0.003 in)
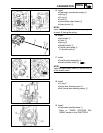
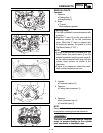
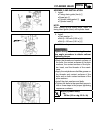
Measurement steps:
●
Install the camshaft onto the cylinder
head.
●
Position a strip of Plastigauge
®
1
onto the
camshaft.
●
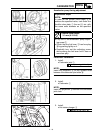
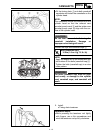
Install the circlip, dowel pins and camshaft
caps.
T
R
.
.
Bolt (camshaft cap):
10 Nm (1.0 m • kg, 7.2 ft • lb)
NOTE:
●
Tighten the bolts (camshaft cap) in a criss-
cross pattern from innermost to outer
caps.
●
Do not turn the camshaft when measuring
clearance with the Plastigauge
®
.
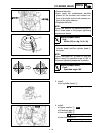
● Remove the camshaft caps and measure
the width of the Plastigauge
®
1.
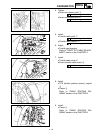
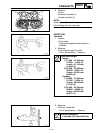
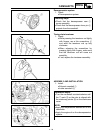
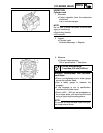
5. Measure:
● Camshaft journal diameter a
Out of specification → Replace the
camshaft.
Within specification → Replace cam-
shaft case and camshaft caps as a set.
Camshaft sprocket
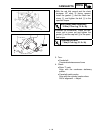
1. Inspect:
● Camshaft sprocket 1
Wear/damage → Replace the camshaft
assembly and timing chain as a set.
Camshaft journal diameter:
21.967 ~ 21.980 mm
(0.8648 ~ 0.8654 in)


