Removal and Installation Procedures
Maintenance
6Ć18
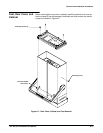
Rear Cover
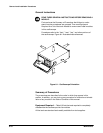
1. Position the oscilloscope as indicated in Figure 6Ć7.
2. Use the screwdriver to remove the four TĆ15 Torx screws that secure the
rear cover to the oscilloscope.
3. Lift off the rear cover. Do these steps in reverse order to install the rear
cover.
Cabinet
1. Remove the rear cover.
2. Remove the single TĆ15 Torx screw on the left side of the oscilloscope.
3. Grasp the two handle hubs and pull them outward as if to rotate the
handle.
4. While holding the handle hubs out, lift the cabinet up and slide it off the
oscilloscope. Take care not to bind or snag the cabinet on the internal
cabling as you remove it.
Replacing the Front Feet
If you are replacing a front foot, use a pair of slipĆjaw pliers to firmly grip the
foot, then pull with a turning motion to remove. Do this step in reverse order
to replace the foot.
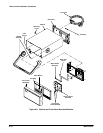
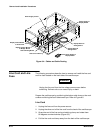
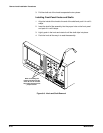
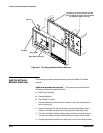
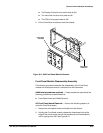
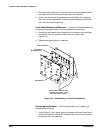
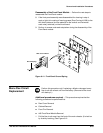
Use the following procedures to remove and install the frontĆpanel trim, and
buttons. Refer to Figure 6Ć8.
Additional procedures required Ċ These procedures require that the
following procedures be performed first:
H Rear Cover Removal
H Cabinet Removal
Removing the Front Trim
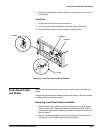
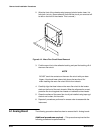
1. Slide a flatĆbladed spudger between the chassis and the plastic front
trim, near one of the four flex locks. See Figure 6Ć8.
2. Gently pry the front trim up and slightly forward to disengage the flex
lock. Do this until all four flex locks are disengaged.
3. Pull the front trim forward and off the instrument.
FrontĆPanel Trim,
Menu and Power
Buttons


