


Service Manual Repair procedures 73
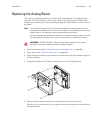
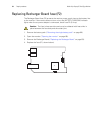
Replacing the Analog Board
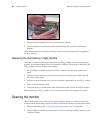
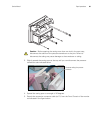
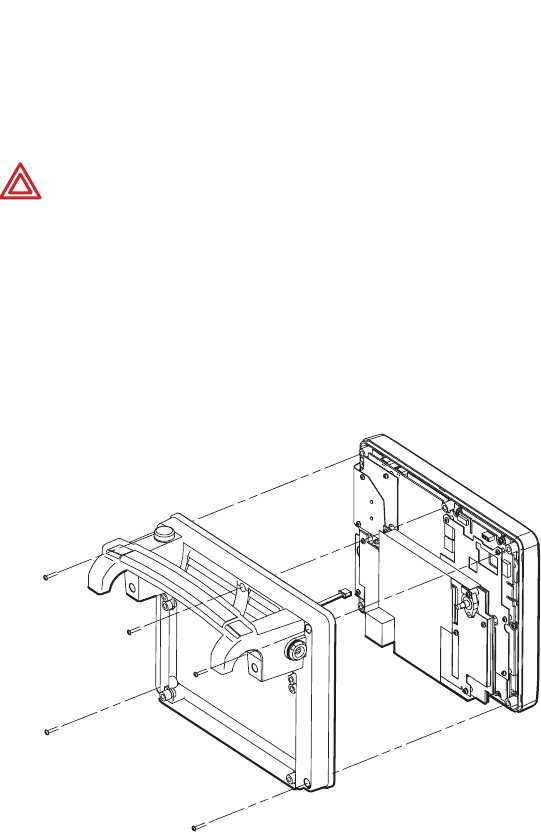
This section provides instructions on removing the Analog Board. The Analog Board is
secured in the Front Chassis by five screws: three on the right side of the Board (side
containing the transformer), and two passing through the metal shield on the left side of
the Board.
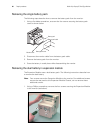
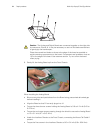
1. Remove the battery pack (“Removing the single battery pack” on page 66).
2. Open the monitor (“Opening the monitor” on page 68).
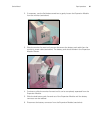
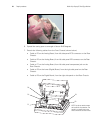
3. Use a Phillips screwdriver to remove the five screws securing the Interface Chassis to
the Front Chassis.
4. Disconnect the Nurse Call Cable (if present) from P1 of the Digital Board.
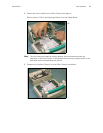
5. Remove the five screws fastening the Analog Board to the Front Chassis.
Note that of the five screws, the two longer screws pass through the metal shield to
secure the Board.
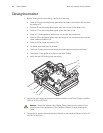
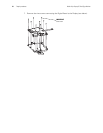
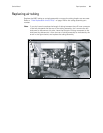
Note
The Interface Chassis and Front Chassis are sealed by rubber gaskets that are
recessed around the perimeter of the Front Chassis. If the gaskets become loose,
replace them in the perimeter before reassembling the monitor.
You do not need to lift the plastic insulator nor remove the metal shield to remove
the Analog Board. However, you must lift the insulator to calibrate the Board.
WARNING SHOCK HAZARD - When reassembling, make sure the plastic
insulator is correctly installed to maintain patient isolation.