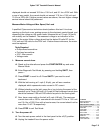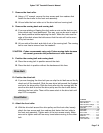
A. Using a 3/16” Allen wrench, remove the two button head screws that fasten each side
rail to the frame. This step will also loosen the end caps.
B. Grip the top edge of each side rail and firmly pull it up and outward from the treadmill.
4. Remove the rear roller.
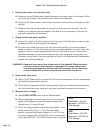
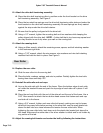
A. Using a 3/4” wrench, remove the two rear roller bolts. Loosen each bolt evenly, making
sure not to loosen either bolt too many turns before moving to the other bolt. Remove
the bolts, washers, springs, and nuts and set them aside.
B. Lift one side of the rear roller and slide the roller out of the running belt.
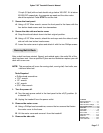
5. Loosen the deck.
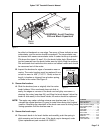
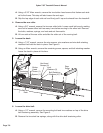
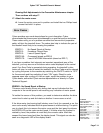
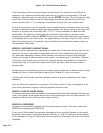
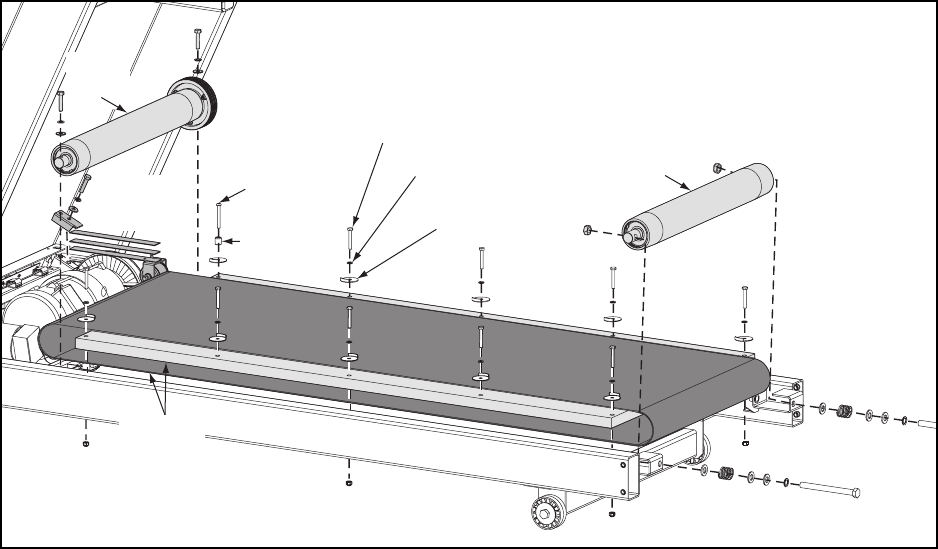
A. Using a 7/16” wrench, remove the nine screws, nine washers and nine belt retaining
washers that hold the deck in place. See Figure 3.
B. Using an Allen wrench, remove the remaining screw, spacer, and belt retaining washer.
Leave the deck in place at this time.
6. Loosen the drive belt.
A. Using a 1/2” wrench, remove the mounting bolt and two washers on top of the drive
belt tensioning assembly. See Figure 3.
B. Remove the two steel bar springs, along with the drive belt tensioning roller.
Cybex 710T Treadmill Owner’s Manual
Page 7-8
Button
Head
Screw (1)
Spacer (1)
Lock
Washers (9)
Hex Head
Screws (9)
Belt Retaining
Washers(10)
Rear
Roller
Front
Roller
Belt
Tensioning
Assembly
Belt and
Deck
Figure 3


