


8
620-7920 Rev A
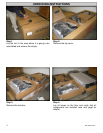
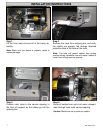
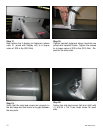
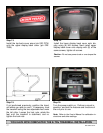
Step 6.
Align the front holes and fasten with (2) 5/16-18
x 3.0”, (2) 5/16 washers and (2) lock washers.
DO NOT fully tighten yet.
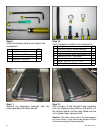
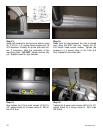
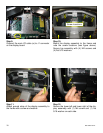
Step 5.
Insert neck into place, then align the top holes.
Using the 1/4” Hex key, fasten the neck to the
frame with (2) 5/16-18 x 1.0” socket head
screws, (2) 5/16 washers and (2) lock washers.
DO NOT fully tighten yet.
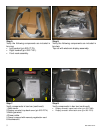
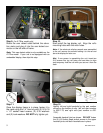
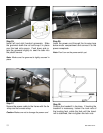
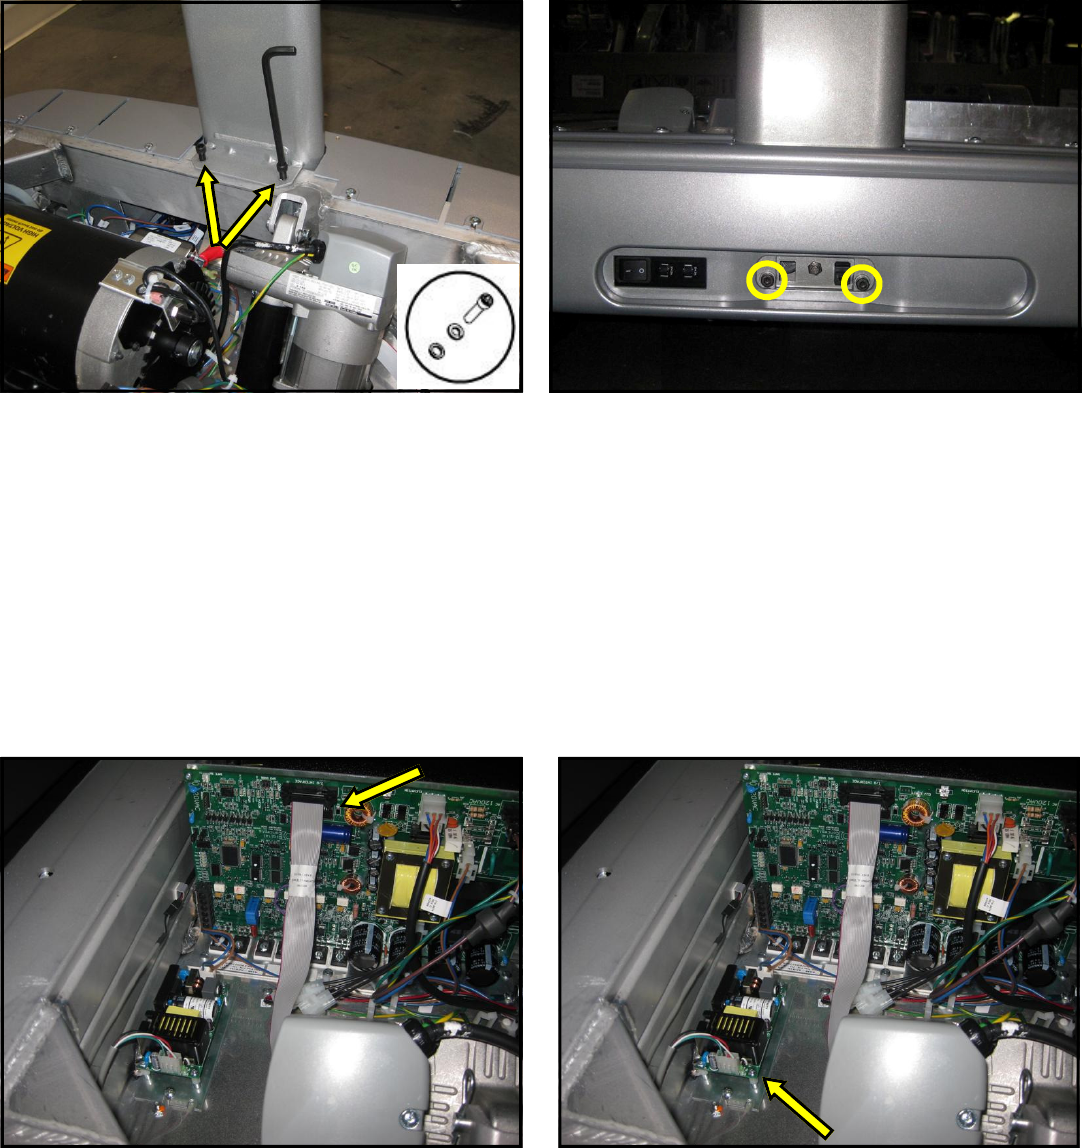
Step 8.
Route the fan power cable (p/n 715-3678) be-
hind the elevation motor and connect it to fan
power supply board.
Note: Make sure the fan power cable is routed away
from all moving parts, including the RPM disk.
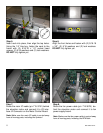
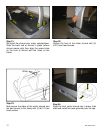
Step 7.
Route the main I/O cable (p/n 715-3781) behind
the elevation motor and connect it to I/O inter-
face J2 Connector on the Motor Control Board.
Note: Make sure the main I/O cable is routed away
from all moving parts, including the flywheel.