


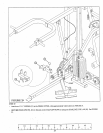
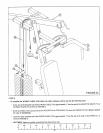
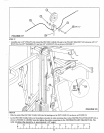


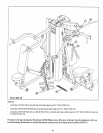
FIGURE 47
--" "- .~.,.,. ~.~96) 3/8" X 1" BUTTON
HEAD CAP SCREW
STEP 47
¯
SECURELY attach the top of the front SHROUD (31-with label) & rear SHROUD (31) to the TOP BOOM (17) using four
1" BUTTON HEAD CAP SCREWS (96). See FIGURE 47.
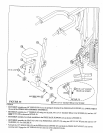
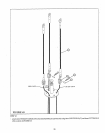
HEAD CAP SCREW
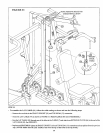
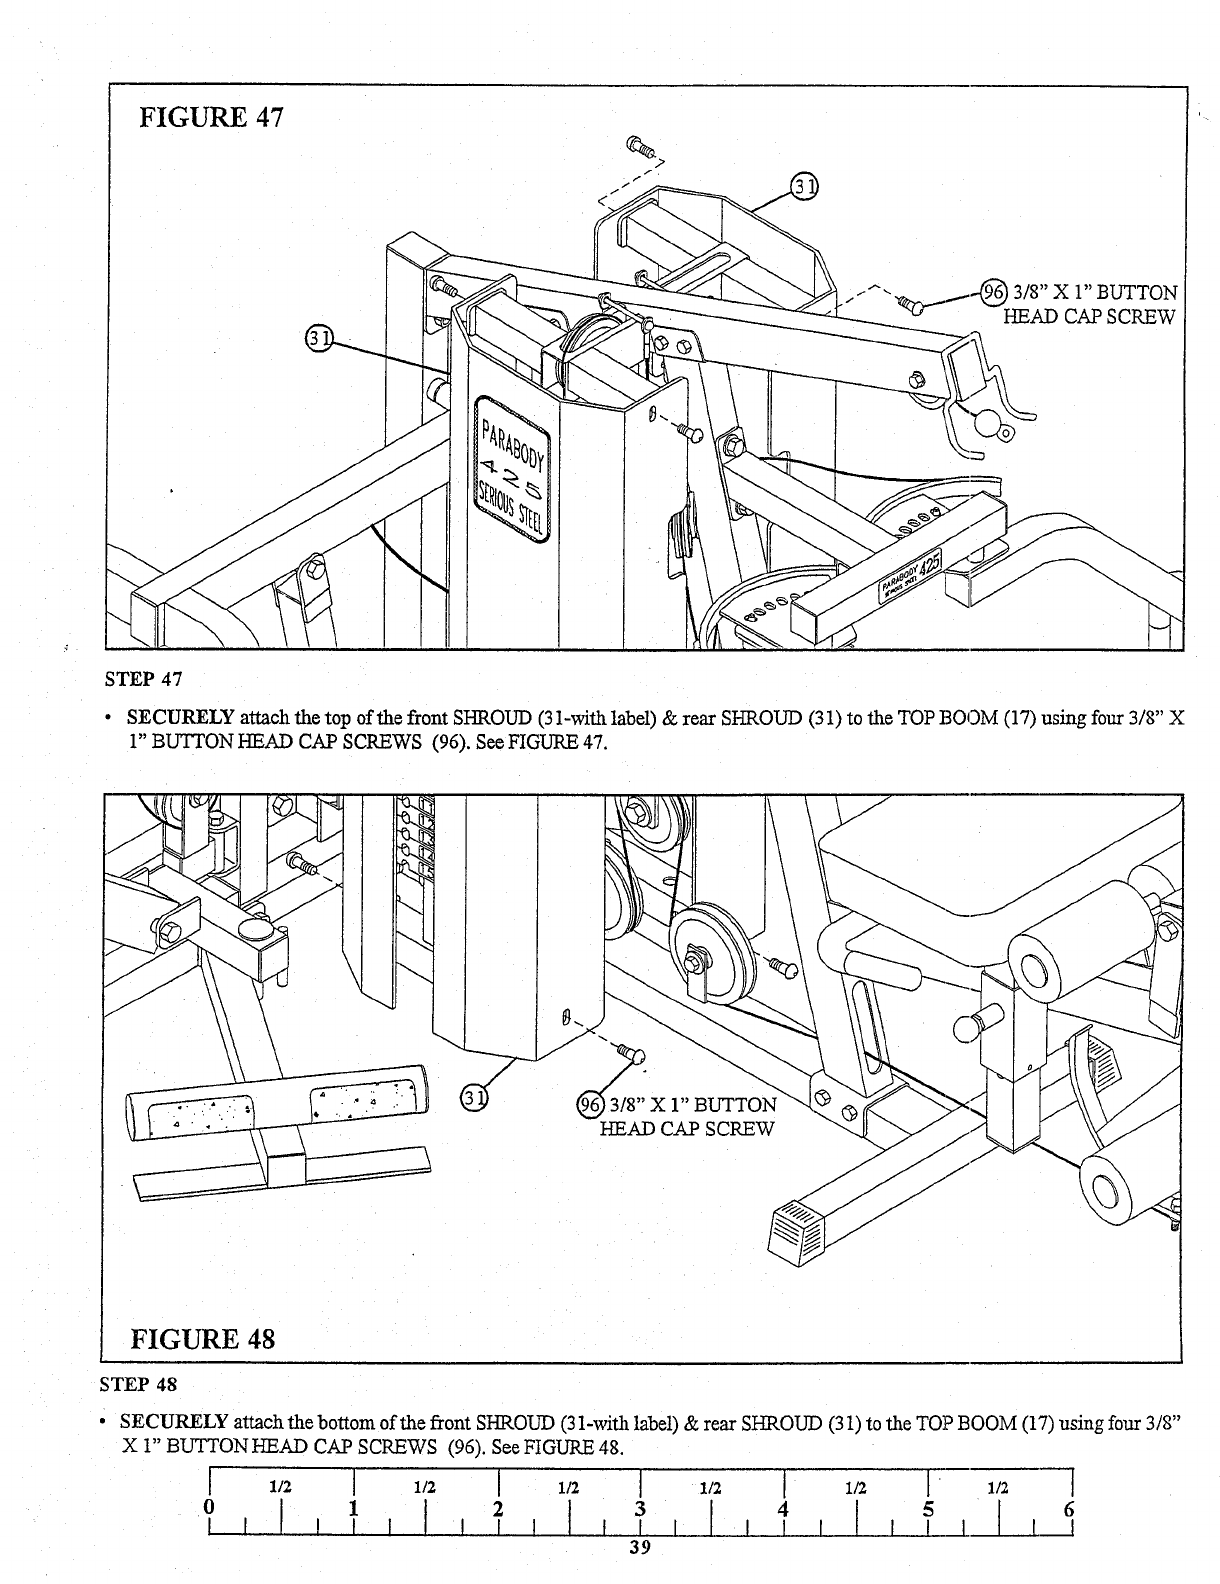
FIGURE 48
STEP 48
¯
SECURELY attach the bottom of the front SHROUD (31-with label) & rear SHROUD (31) to the TOP BOOM (17) using
X 1" BUTTON HEAD CAP SCREWS (96). See FIGURE 48.
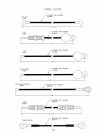
I 1/2 I 1/2 I 1/2 I 1/2 I 1/2 l 1/2 I
0 1 2 3 4 5 6
39