Using Print Mark to Print Photos
5-3
5
Note:
❏
Print Mark can handle a maximum of 1,000 photos
on each memory card. If the card contains more
than 1000 photos, the program cannot access the
photos in excess of the limit.
❏
You can enlarge the preview of the selected photo
by pressing the magnification icon button at
the top-left of the LCD monitor. Press the BACK
button to return to the normal selection screen.
7. Press the up and down arrow icon buttons to specify
the number of copies of the selected photo to print. You
can specify up to 99 copies. When you specify a value
other than 00, a check mark appears on the selected
photo. The value 00 implies no selection.
8. Repeat steps 6 and 7 to select other photos and specify
the number of copies.
9. Press the BACK button. A message appears confirming
the number of frames that are selected.
10. Press Done to accept your settings. If you change your
mind, press BACK to return to the photo selection
screen. To quit without making the new DPOF file,
press Cancel.
11. If you want to print an index of the selected images in
addition to the standard layout prints, press Add Index
and proceed to the next step. If you do not need an index
print, proceed to step 15.
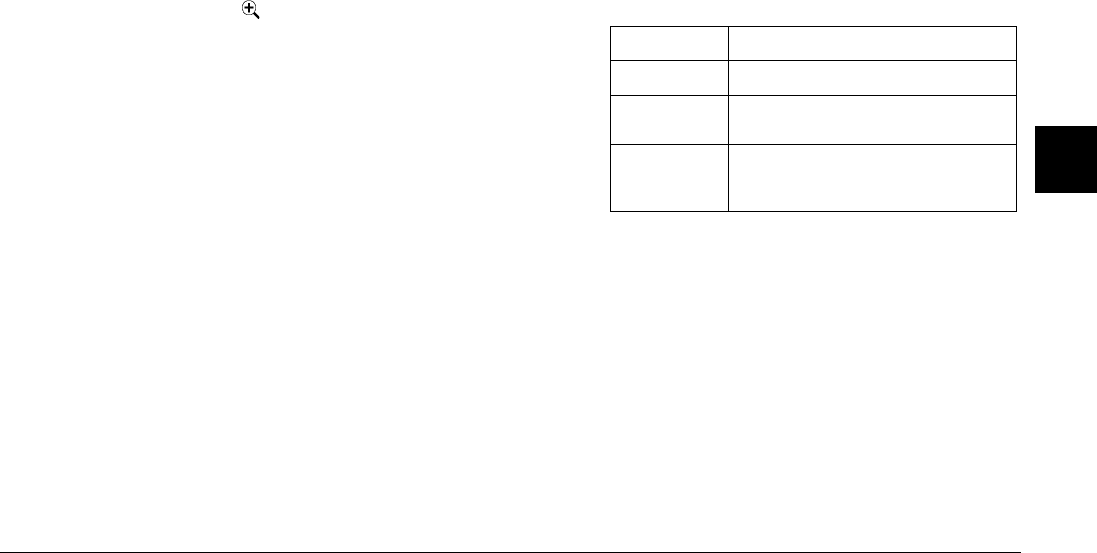
12. Press the button next to Index print to choose None,
Selected, or All. Refer to the chart below for details.
13. If you choose Selected or All, press the left and right
arrow icon buttons to specify the number of copies of
the index print to make. You can specify up to 99 index
print copies.
14. Press BACK to return to the previous screen.
15. Press the Save button. A confirmation screen appears.
Setting Result
None No index sheet will be printed.
Selected Index sheets containing only the selected
photos will be printed.
All Index sheets containing all of the photos saved
on the memory card will be printed, regardless
of your print selections.


