2-6
Taking Pictures
Taking Pictures Using the Viewfinder
Using the viewfinder instead of the
LCD monitor to take pictures saves
battery power and helps you hold the
camera steady while pressing the
shutter button.
Follow the steps below.
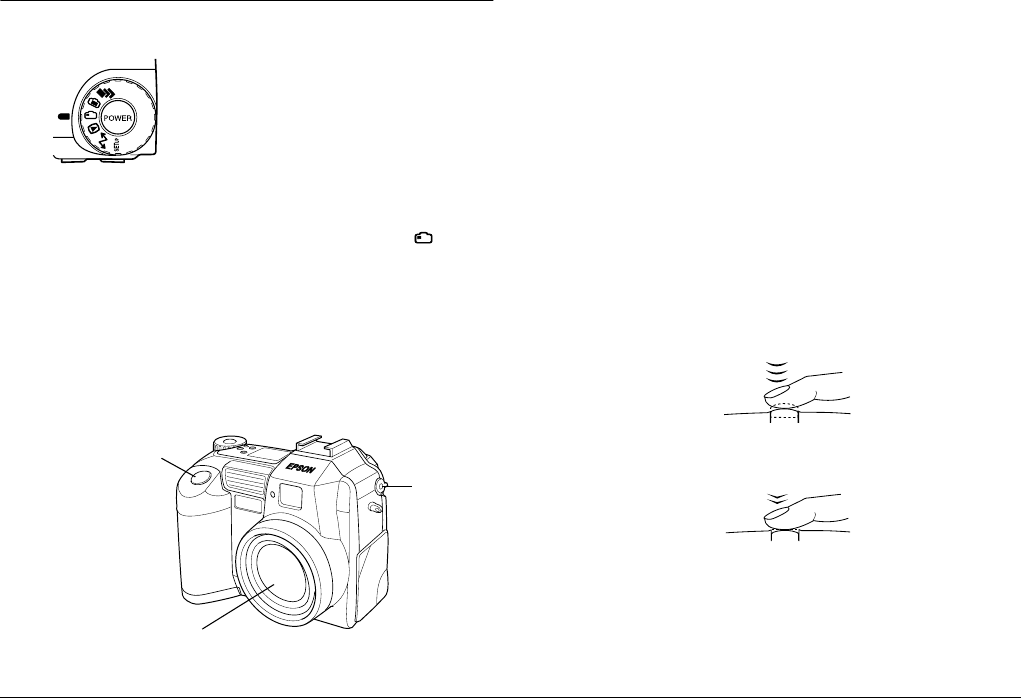
1. Remove the lens cap, set the dial switch to , then
turn on the camera. Then wait until the green indicator
light beside the viewfinder comes on.
2. Look straight through the viewfinder and center your
subject in the cross-hairs. If you cannot see clearly,
adjust the diopter by turning the correction dial beside
the viewfinder.
Note:
❏
Hold the camera firmly with both hands and keep
it still for a few moments after you press the shutter
button.
❏
Make sure that you are not blocking the lens with
your finger, the strap, clothing, or other objects.
❏
The visible frame in the viewfinder indicates the
approximate area that is captured in the photo.
3. Hold the shutter button halfway down to lock the auto
focus. The green indicator light beside the viewfinder
stops blinking when the lens locks in focus. If you wish,
you can now reposition the camera, so that your subject
is off-center, without losing focus.
4. Depress the shutter button fully to take the photo.
5. Hold the camera still until the green indicator light
beside the viewfinder comes back on, or until the
camera makes a clicking sound. Then release the
shutter button.
diopter
correction
dial
shutter button
lens


