


24
BAS-761
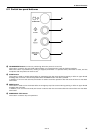
8. Preparation for sewing
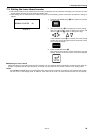
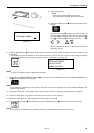
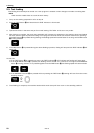
4. Insert a floppy disk.
Note:
Insert a floppy disk straight into the slot.
The label side of the disk must face the front.
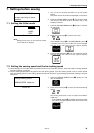
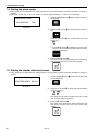
5. Press the FLOPPY button y. Screen 9 will then be dis-
played.
Use the arrow keys !8 to select the same number as
the work clamp assembly. Then use the [
] and [
]
arrow keys !8 to select the column, and use the [
]
and [
] arrow keys !8 to change the values.
Refer to page 35 for details on setting the work clamp
assembly number.
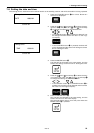
6. Press the ENTER button !6. The sewing data which corresponds to the number specified will then be read from the
floppy disk.
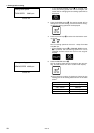
* The sewing data will be backed up even when the power is turned off. The number for the backed-up sewing
data can be checked by viewing the program number on screen 8-1 or screen 8-3.
NOTE:
If there is no backup data, the display will be blank.
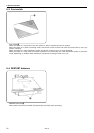
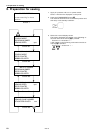
7. Check that the THREAD MONITOR indicator o is illuminated. If it is switched off, press the THREAD MONITOR but-
ton o until the indicator is illuminated.
NOTE:
If the indicator is switched off, the machine head will not stop automatically if an upper thread breakage is de-
tected during sewing.
8. If starting to sew with a new bobbin, set the lower thread counter by following the steps given on page 20.
9. Follow the steps given on page 21 to reset the piece counter to "0" if required.
10. Follow the steps given on page 18 to set the sewing speed if required.
11. If the STACKER indicator r is switched off, press the STACKER button r so that the indicator illuminates.
NOTE:
If the indicator is switched off, the workpieces will not be stacked after they have been sewn.
Read sewing data.
PROGRAM NUMBER _ _
Screen 9
1997/11/5 19:36:50
PROGRAM NUMBER
PIECE COUNTER
BOBBIN COUNTER
Screen 8-3