Groundsmaster 4000--D Page 6 -- 27 Axles, Planetaries and Brakes
Differential Gear Inspection
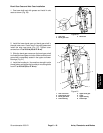
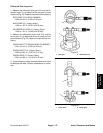
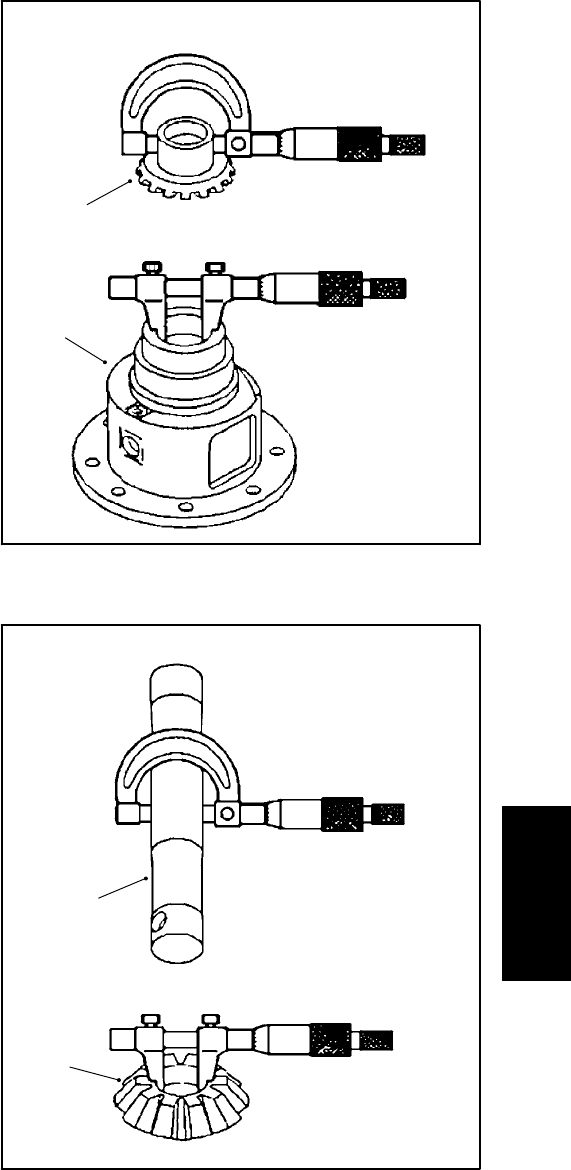
1. Measure the differential side gear O.D. and the dif-
ferential case I.D. to determine the side gear to case
clearance (Fig.37). Replacecomponentsasnecessary.
SIDE GEAR TO CASE CLEARANCE:
0.002 to 0.012 in. (0.05 to 0.30 mm)
SIDE GEAR O.D. (Factory Spec.):
1.335 to 1.337 in. (33.91 to 33.95 mm)
DIFFERENTIAL CASE I.D. (Fac tory Spec.):
1.339 to 1.341 in. (34.00 to 34.06 mm)
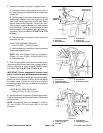
2. Measure the differential pinion shaft O.D. and the
pinion gear I.D. to determine the pinion shaft to pinion
gear clearance (Fig. 38). R eplace components as nec-
essary.
PINION SHAFT TO PINION GEAR CLEARANCE:
0.001 to 0.010 in. (0.03 to 0.25 mm)
PINION SHAFT O.D. (Factory Spec.):
0.550 to 0.551 in. (13.97 to 13.10 mm)
PINION GEAR I.D. (Factory Spec.):
0.551 to 0.552 in. (13.10 to 14.02 mm)
3. Inspectall gears, shafts, bearings, cases and covers
for damage and wear. Replace c omponents as neces-
sary.
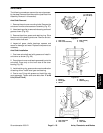
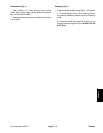
1. Side gear 2. Differential case
Figure 37
1
2
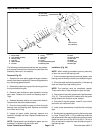
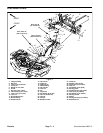
1. Pinion shaft 2. Pinion gear
Figure 38
1
2
Axles, Planetaries
and Brakes


