


Cateye Ergociser Series 1000 Service Manual
32
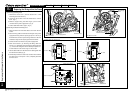
EC-1200 EC-1600 EC-3600 EC-3700
Applicable Models:
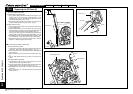
ES-8
ES-8
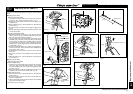
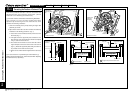
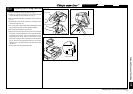
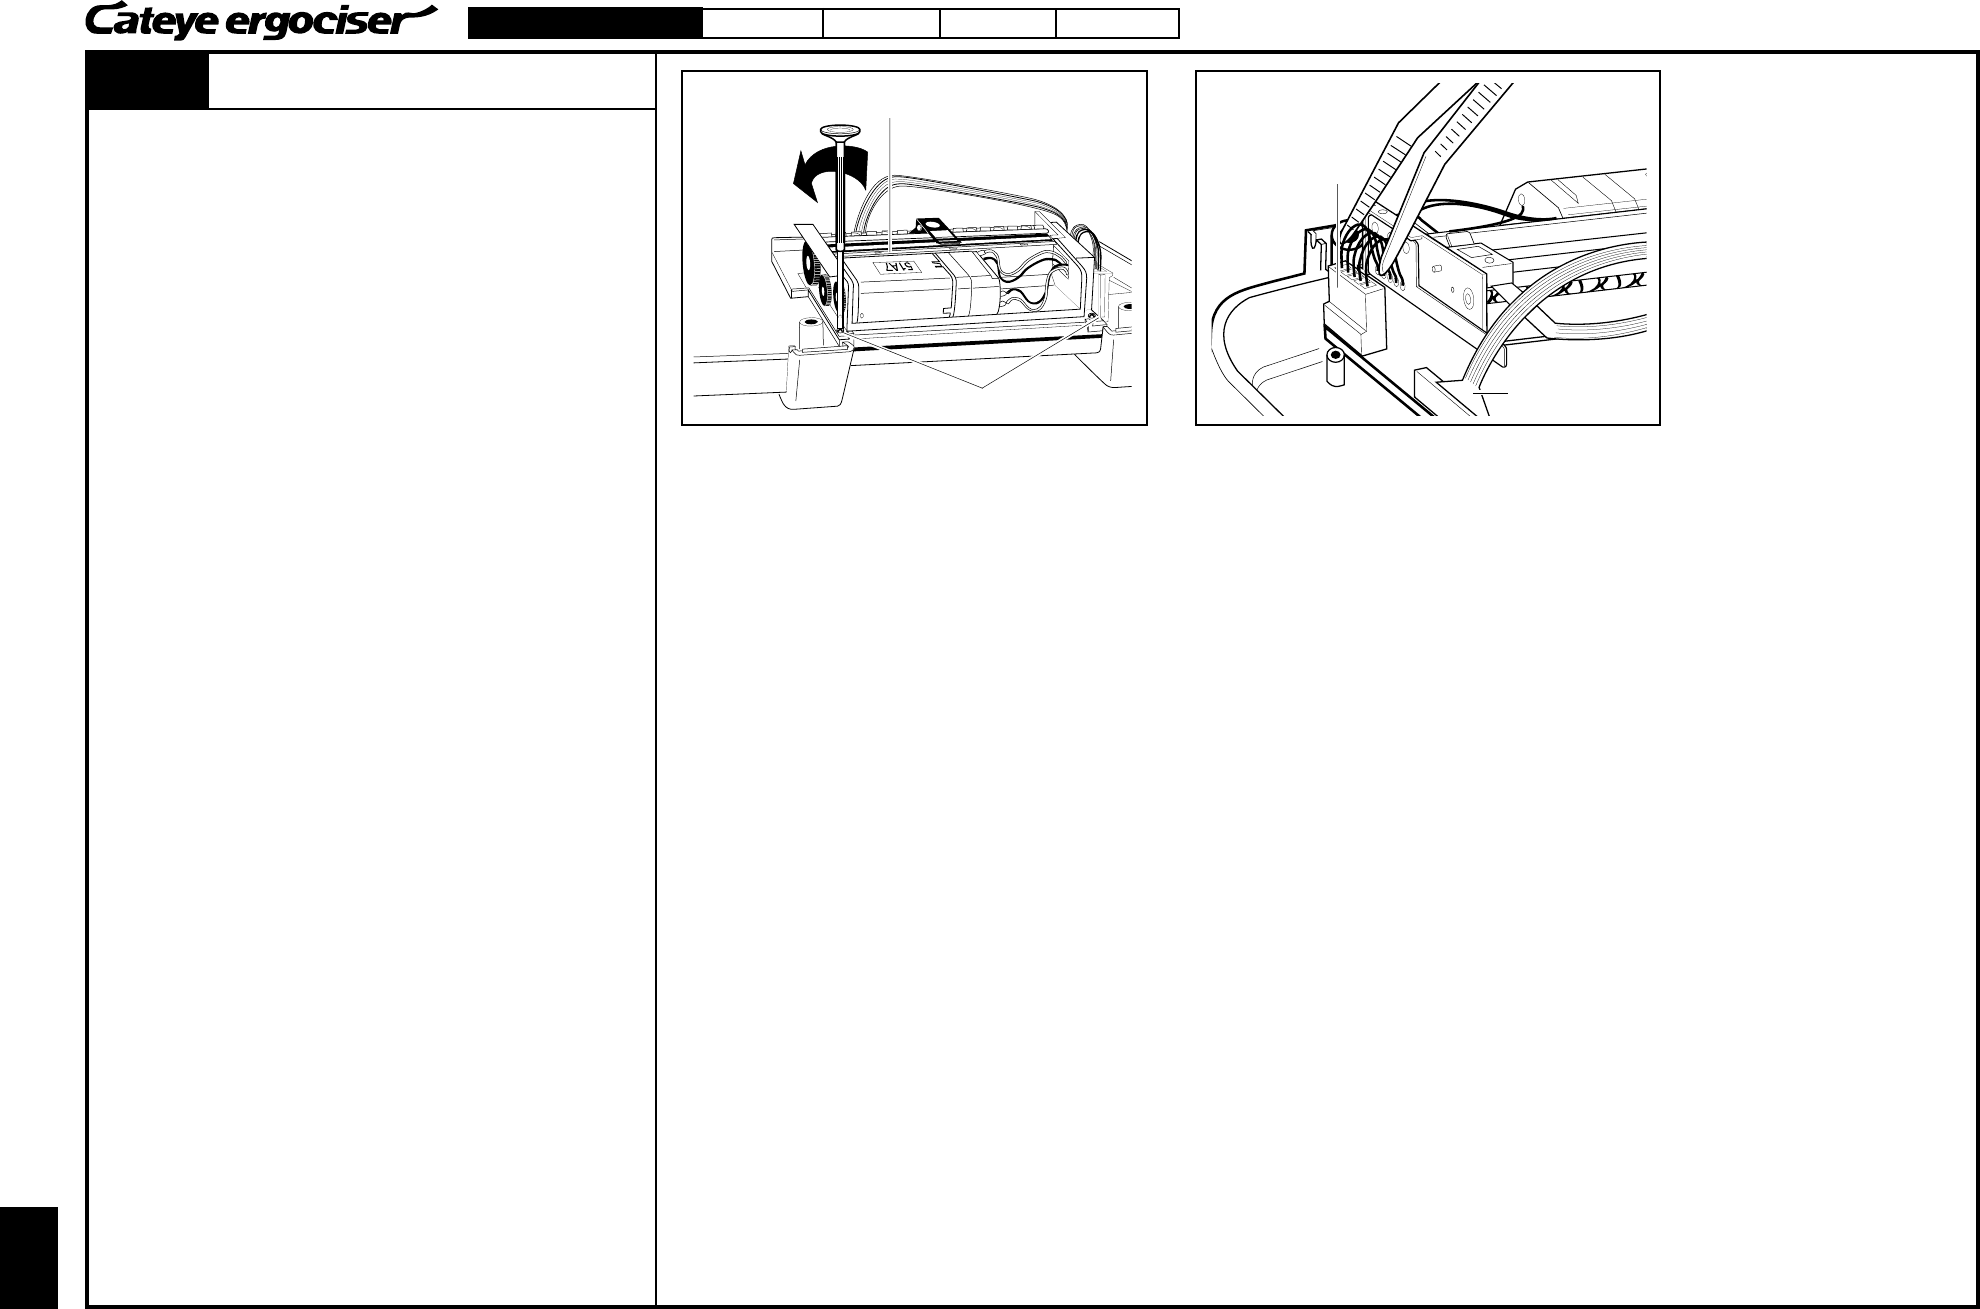
Printer Fixing Screws
Fig. 1
Printer Unit
Fig. 2
CN-2 Connector
CN-3 Connector
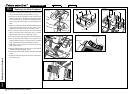
Replacing the Printer
1. Open the control unit into upper and lower bodies by referring
to the Section ES-6 "Replacing the Panel Keyboard (1) & (2)."
2. unit is fixed to the lower body with two screws. Remove these
two screws. (Fig. 1)
3. The printer unit can be removed after detaching cable
connectors CN-2 and CN-3 of the printer unit. To remove the
connector CN-3, just pull it, while to remove connector CN-2,
the use of tweezer will be recommended. (Fig. 2)
4. Connect the connector CN-2 of the brandnew printer unit.
Then, connect CN-3. For the connection, press it while moving
it to right and left side alternatively.
5. Fix the printer unit with two screws. (Fig. 1)
6. Put the upper and lower bodies together, and fix them with
eight screws.
7. Adjust the printing darkness by referring to the Section ES-9
"Adjusting the Printing Darkness."
8. Mount the control unit to the main unit.
Replacing the Printer