


Chapter 22 Safety, Handling, and Support 87
Remove, change, and fasten bands
Follow these general instructions for removing, changing, and fastening bands, and then nd the
instructions for your specic band later in this section. Make sure you’re replacing a band with
one of the same size. The bands are sized according to the size of Apple Watch and should not
be used interchangeably. Some band styles are made for a particular size Apple Watch only.
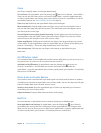
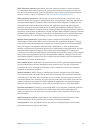
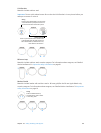
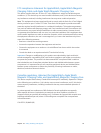
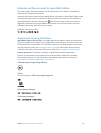
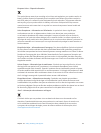
Change bands. Press the band release button on Apple Watch, slide the band across to remove
it, then slide the new band in. Never force a band into the slot. If you’re having trouble removing
or inserting a band, press the band release button again.
Band release
button
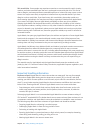
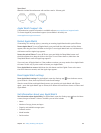
Fasten a band. For optimal performance, Apple Watch should t closely on your wrist.
For best results, the back of Apple Watch needs skin contact for features like wrist detection,
haptic notications, and the heart rate sensor. Wearing Apple Watch with the right t—not too
tight, not too loose, and with room for your skin to breathe—will keep you comfortable and let
the sensors do their job. You may want to tighten Apple Watch for workouts, then loosen the
band when you’re done. In addition, the sensors will work only when you wear Apple Watch on
the top of your wrist.
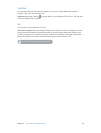
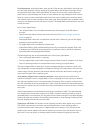
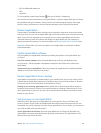
Classic Buckle
Materials include leather with stainless steel or 18-karat gold.
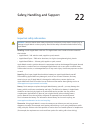
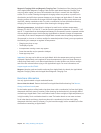
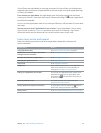
Leather Loop
Materials include leather with stainless steel; ts the 42 mm Apple Watch only; contains
magnets. For information about magnets, see “Medical device interference” in Important safety
information on page 81.