


2240-14
Specifying the Position Display Format
Normally, the watch displays a position obtained by a GPS measurement as
latitude and longitude values showing degrees, minutes, and seconds. You
can use the procedure below to specify display of latitudes and longitudes in
degrees and minutes only, or in degrees only. You can even specify display of
latitude and longitude in UTM grid coordinates.
To specify the position display format
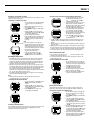
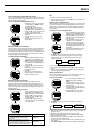
1. In the Timekeeping or GPS Mode, press
MENU twice to display the MENU
Screen.
2. Use K and L to select SET UP, and
then press ● to display the SET UP
Screen.
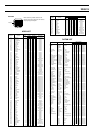
3. Use K and L to move the cursor to
POS. FORM.
4. Press ● to display the POS. FORM
Screen.
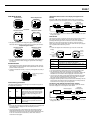
5. Use K and L to select the position display option you want as described
in the table below.
Note
• If you select UTM for the position display format, you must also use UTM
coordinates when defining landmarks and AREA data.
6. After you are finished making the setting you want, press ● to return to the
SET UP Screen.
7. Press MODE or MENU twice to return to the Timekeeping or GPS Mode.
Specifying the Distance, Speed, and Altitude Units
Use this procedure to specify the measurement units you want to use for display
of the distance, speed, and altitude values produced by GPS measurements.
To specify the distance, speed, and altitude units
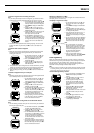
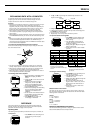
1. In the Timekeeping or GPS Mode, press
MENU twice to display the MENU
Screen.
2. Use K and L to select SET UP, and
then press ● to display the SET UP
Screen.
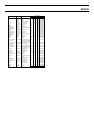
3. Use K and L to move the cursor to
UNITS, and then press ● to display the
UNITS Screen.
4. Use K and L to select DIST (distance),
SPD (speed), or ALTI (altitude), and then
press ●.
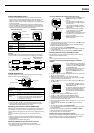
5. Use K and L to cycle through the
available units in the sequence noted
below, until the one you want to use is
displayed, and then press ●.
6. Repeat steps 4 and 5 for other items if you want.
7. On the UNITS Screen, use K and L to move the cursor to DONE, and
then press ● to return to the SET UP Screen.
• The measurement unit you specify affects the measurement range of each
item. See “Measurement Unit Conversion” for more information.
8. Press MODE or MENU twice to return to the Timekeeping or GPS Mode.
DEG.MIN.SEC
DEG.MIN
DEG
UTM
MGRS
Latitude and longitude in degrees, minutes, seconds
Latitude and longitude in degrees, minutes
Latitude and longitude in degrees
UTM coordinates
MGRS coordinates
When you want to display this: Select this option:
L
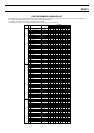
Clearing the Maximum Speed Record
The watch keeps a record of the maximum speed you attain when speed
measurements are being performed. Use the following procedure to clear the
maximum speed record when you want to start a new speed measurement, etc.
To clear the maximum speed record
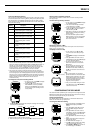
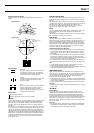
1. While the Position Screen, Plot Screen,
or Graphical Navigation Screen is on the
display in the GPS Mode, press MENU
to display the FUNCTION Screen.
2. Use K and L to move the cursor to
MAX SPD CLR, and then press ●.
3. On the MAX SPD CLR Screen that
appears, use K and L to move the
cursor to YES, and then press ● to clear
the maximum speed record and return to
the Mode Screen you started from in
step 1.
• To cancel the clear operation without
clearing anything, move the cursor to NO
in the above step, and then press ● to
return to the Mode Screen you started
from in step 1.
Specifying the Scale of the Plot Screen
Use the following procedure to change the scale of the Plot Screen.
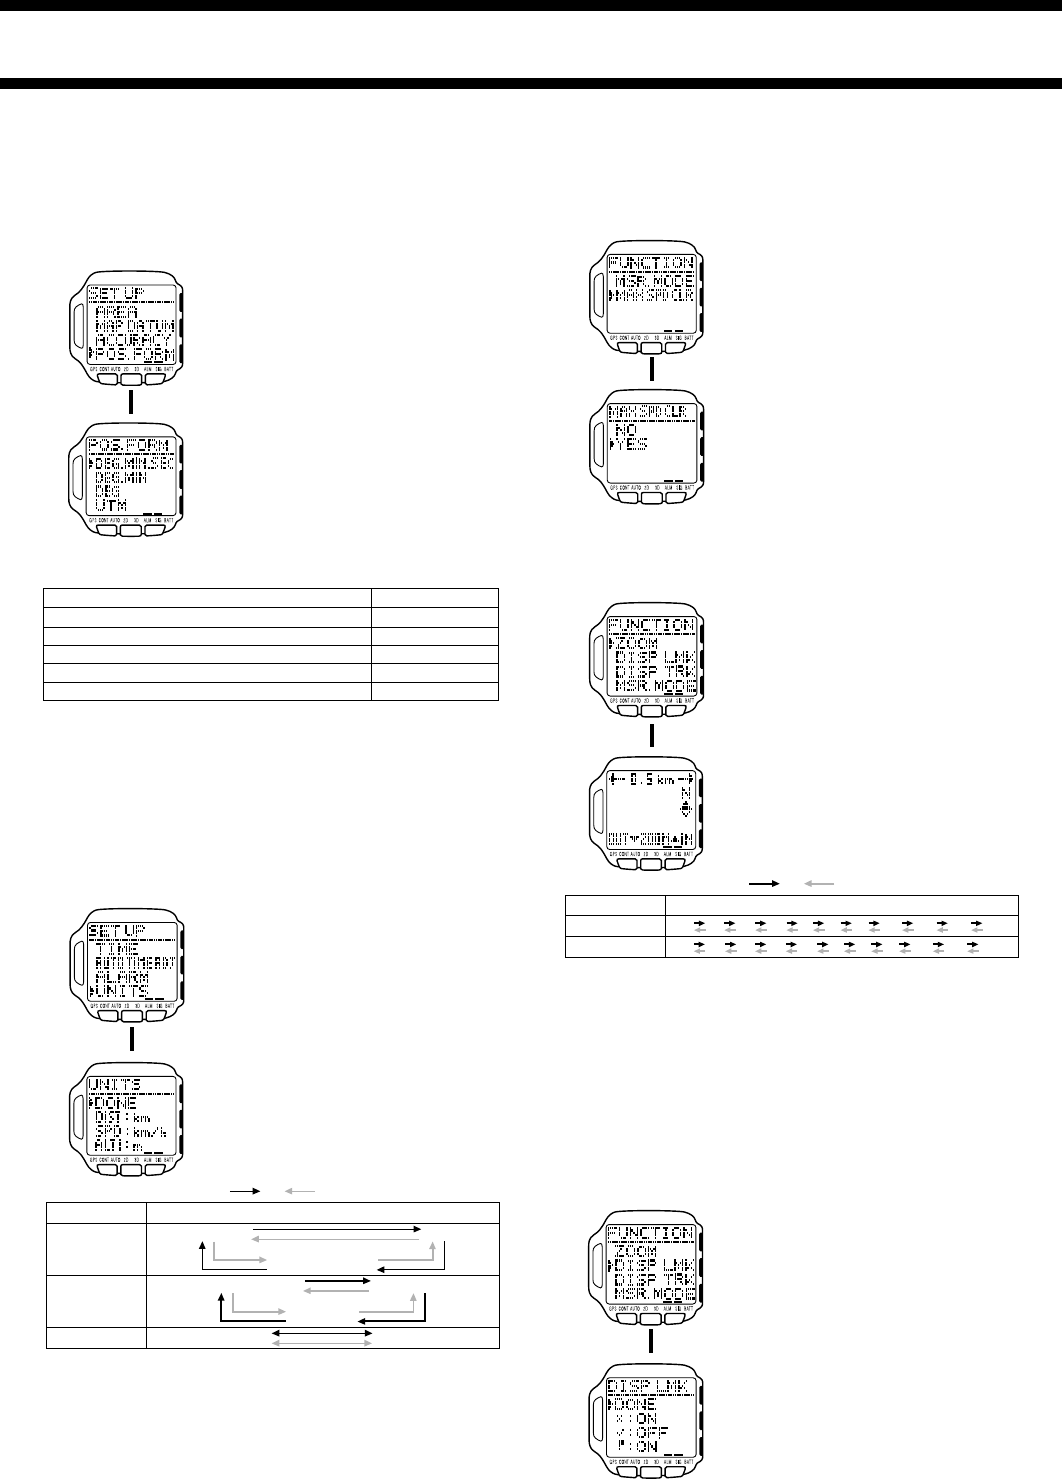
To specify the scale of the Plot Screen
1. While the Plot Screen is on the display in
the GPS Mode, press MENU to display
the FUNCTION Screen.
2. The cursor should already be located
next to ZOOM, so press ● to display the
Scale Screen.
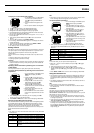
3. Use K and L to cycle through the
scale values in the sequence shown
below until the one you want to set is
displayed.
• Pressing K makes the screen larger,
while L makes it smaller.
• See “Specifying the Distance, Speed, and Altitude Units” for information
about specifying the measurement unit you want to use.
4. After you are finished, press ● to save your setting and return to the Plot
Screen.
Turning Display of a Landmark Symbol On and Off
You can use the following procedure to turn display of specific landmark
symbols on (display) and off (not displayed). When a landmark symbol is
turned off, any landmark that is assigned that symbol does not appear on the
GPS Mode Plot Screen.
Note
• This procedure is impossible when there are no landmarks in the Landmark
List.
To turn display of a landmark symbol on and off
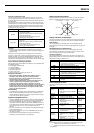
1. While the Plot Screen is on the display in
the GPS Mode, press MENU to display
the FUNCTION Screen.
2. Use K and L to move the cursor to
DISP LMK (Display Landmark), and then
press ● to display the DISP LMK
Screen.
3. Use K and L to select the landmark
symbol you want.
4. Press ● to toggle the display status of
the selected landmark symbol on
(display) and off (do not display).
• The initial default setting for all landmark
symbols is display off.
5. After everything is the way you want, use
K and L to move the cursor to DONE,
and then press ●.
• This saves your settings and returns to
the Plot Screen.
L
Press K. Press L.
Item
DIST
Units
ft (feet)
km/h (kilometers per hour) mi/h (miles per hour)
knot (knots)
km (kilometers) mi (miles)
NM (nautical miles)
ALTI
SPD
m (meters)
L
Press L. Press K.
Unit
km
mi, NM
Scale value
0.5 1.0 2.0 5.0 10 20 50 100 200 500 1000
0.2 0.5 1.0 2.0 5.0 10 20 50 100 200 500
L
L