


Service Manual Repair procedures 57
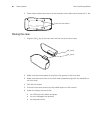
7. Remove the battery.
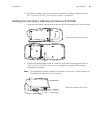
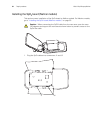
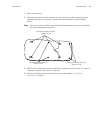
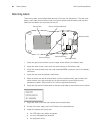
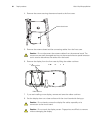
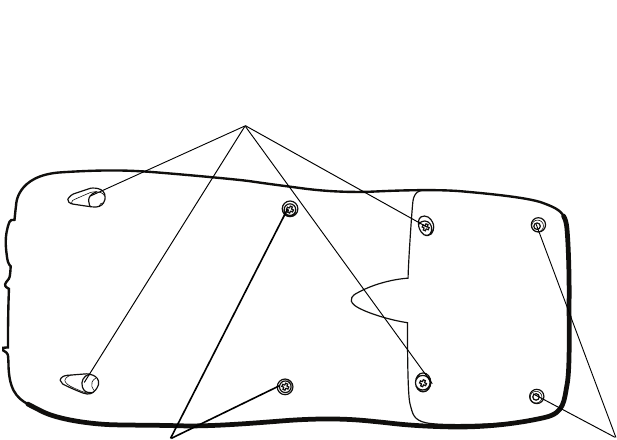
8. Screw the rear case to the front case with the remaining screws, making sure the
rubber gasket stays in its groove. Torque the screws as shown in the illustration
below.
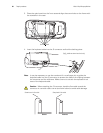
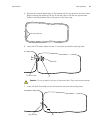
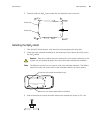
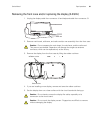
9. Push the two rubber feet and two rubber screw plugs into the rear case. For ease of
installation, apply a small amount of alcohol.
10. Perform the applicable functional verification test described in “Functional
verification” on page 11.
Note
Use all new screws, label covers and rubber feet (supplied in the service fastener
kit) when reassembling the case.
Two pan-head screws, 2-56 x 3/16.
Torque to 3 in. lbs.
Two pan-head screws, 2-56 x 7/8.
Torque to 3 in. lbs.
Four pan-head screws, 4-40 x 3/8.
Torque to 5 in. lbs.