13
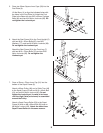
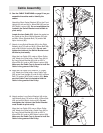
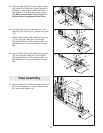
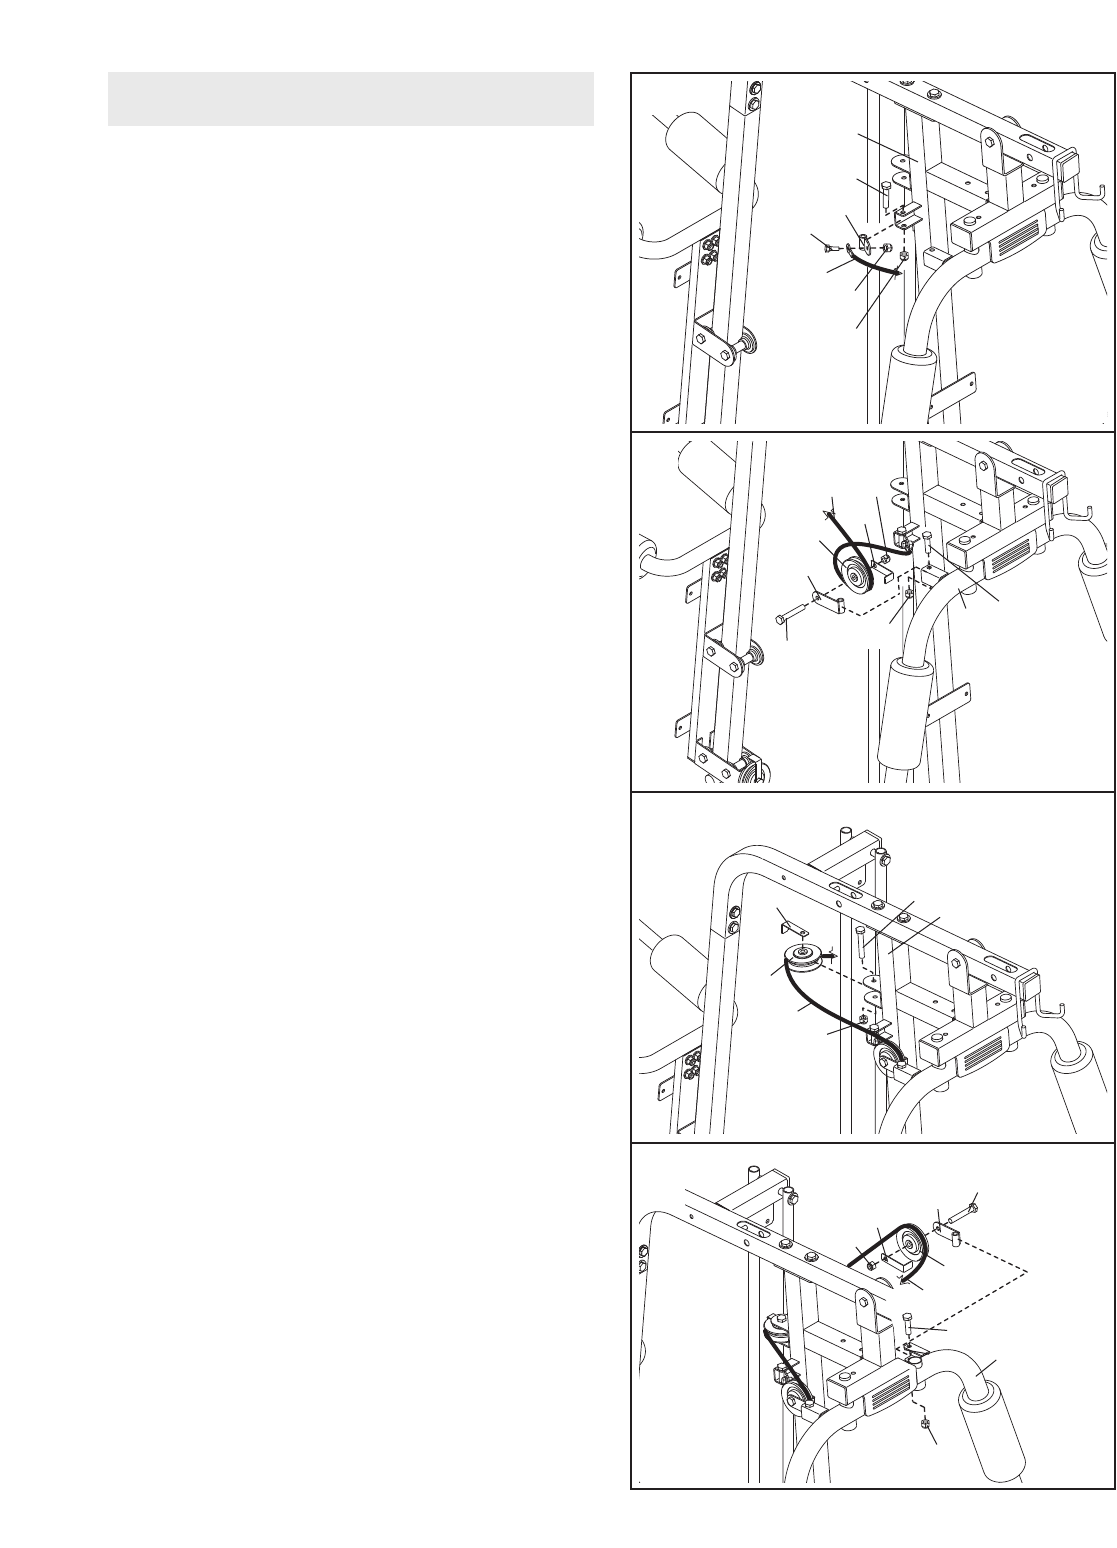
16. See the CABLE DIAGRAMS on page 23 as you
assemble the cables and to identify the
cables.
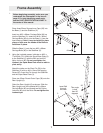
Attach the Short Swivel Bracket (50) to the Front
Upright (5) with an M10 x 48mm Bolt (86) and an
M10 Nylon Locknut (80). Do not overtighten the
Locknut; the Swivel Bracket must be able to
pivot easily.
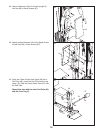
Locate the Low Cable (55). Attach the eyelet on
the Cable to the Short Swivel Bracket (50) with
an M8 x 20mm Shoulder Bolt (76) and an M8
Nylon Locknut (83).
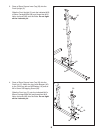
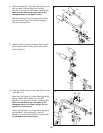
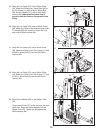
18. Wrap the Low Cable (55) around a “V”-pulley
(47). Attach the Pulley and a Long Cable Trap
(85) to the Front Upright (5) with an M10 x 60mm
Bolt (72) and an M10 Nylon Locknut (80). Make
sure the Cable Trap is oriented to hold the
Cable in the groove of the Pulley.
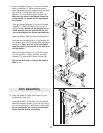
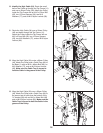
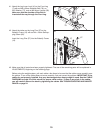
19. Attach another Long Swivel Bracket (49) to the
Left Butterfly
Arm (14) with an M10 x 52mm Bolt
(68) and an M10 Nylon Locknut (80). Do not
overtighten the Locknut; the Swivel Bracket
must be able to pivot easily
.
Wrap the Low Cable (55) over a 90mm Pulley
(46). Attach the Pulley and a Cable Trap (48) to
the Long Swivel Bracket (49) with an M10 x
45mm Bolt (61) and an M10 Nylon Locknut (80).
Make sure the Cable Trap is turned to hold the
Cable in the groove of the Pulley.
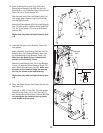
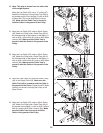
17. Attach a Long Swivel Bracket (49) to the Right
Butterfly Arm (13) with an M10 x 52mm Bolt (68)
and an M10 Nylon Locknut (80).
Do not over-
tighten the Locknut; the Swivel Bracket must
be able to pivot easily.
Wrap the Low Cable (55) under a 90mm Pulley
(46). Attach the Pulley and a Cable Trap (48) to
the Long Swivel Bracket (49) with an M10 x
45mm Bolt (61) and an M10 Nylon Locknut (80).
Make sure the Cable Trap is turned to hold the
Cable in the groove of the Pulley.
86
5
55
83
80
68
13
49
46
55
48
80
80
76
61
68
85
47
72
5
80
55
80
14
55
61
49
46
80
48
16
17
18
19
Cable Assembly
50


