30
ASSEMBLY INSTRUCTIONS
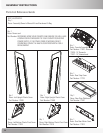
Locate the following for this step:
Parts:
• Assembly from Step 1
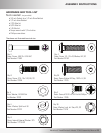
Hardware:
• 4 bolts (P/N 17683)
• 4 Lock Washers (P/N - 22222)
• 4 Washers (P/N 22091)
Tools:
• 3/4 inch socket for 1/2 drive
• Torque wrench (1/2 inch), set at 75 ft. lbs. (100 NM)
• 1/2 inch drive Ratchet
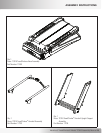
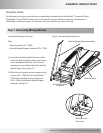
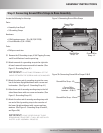
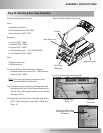
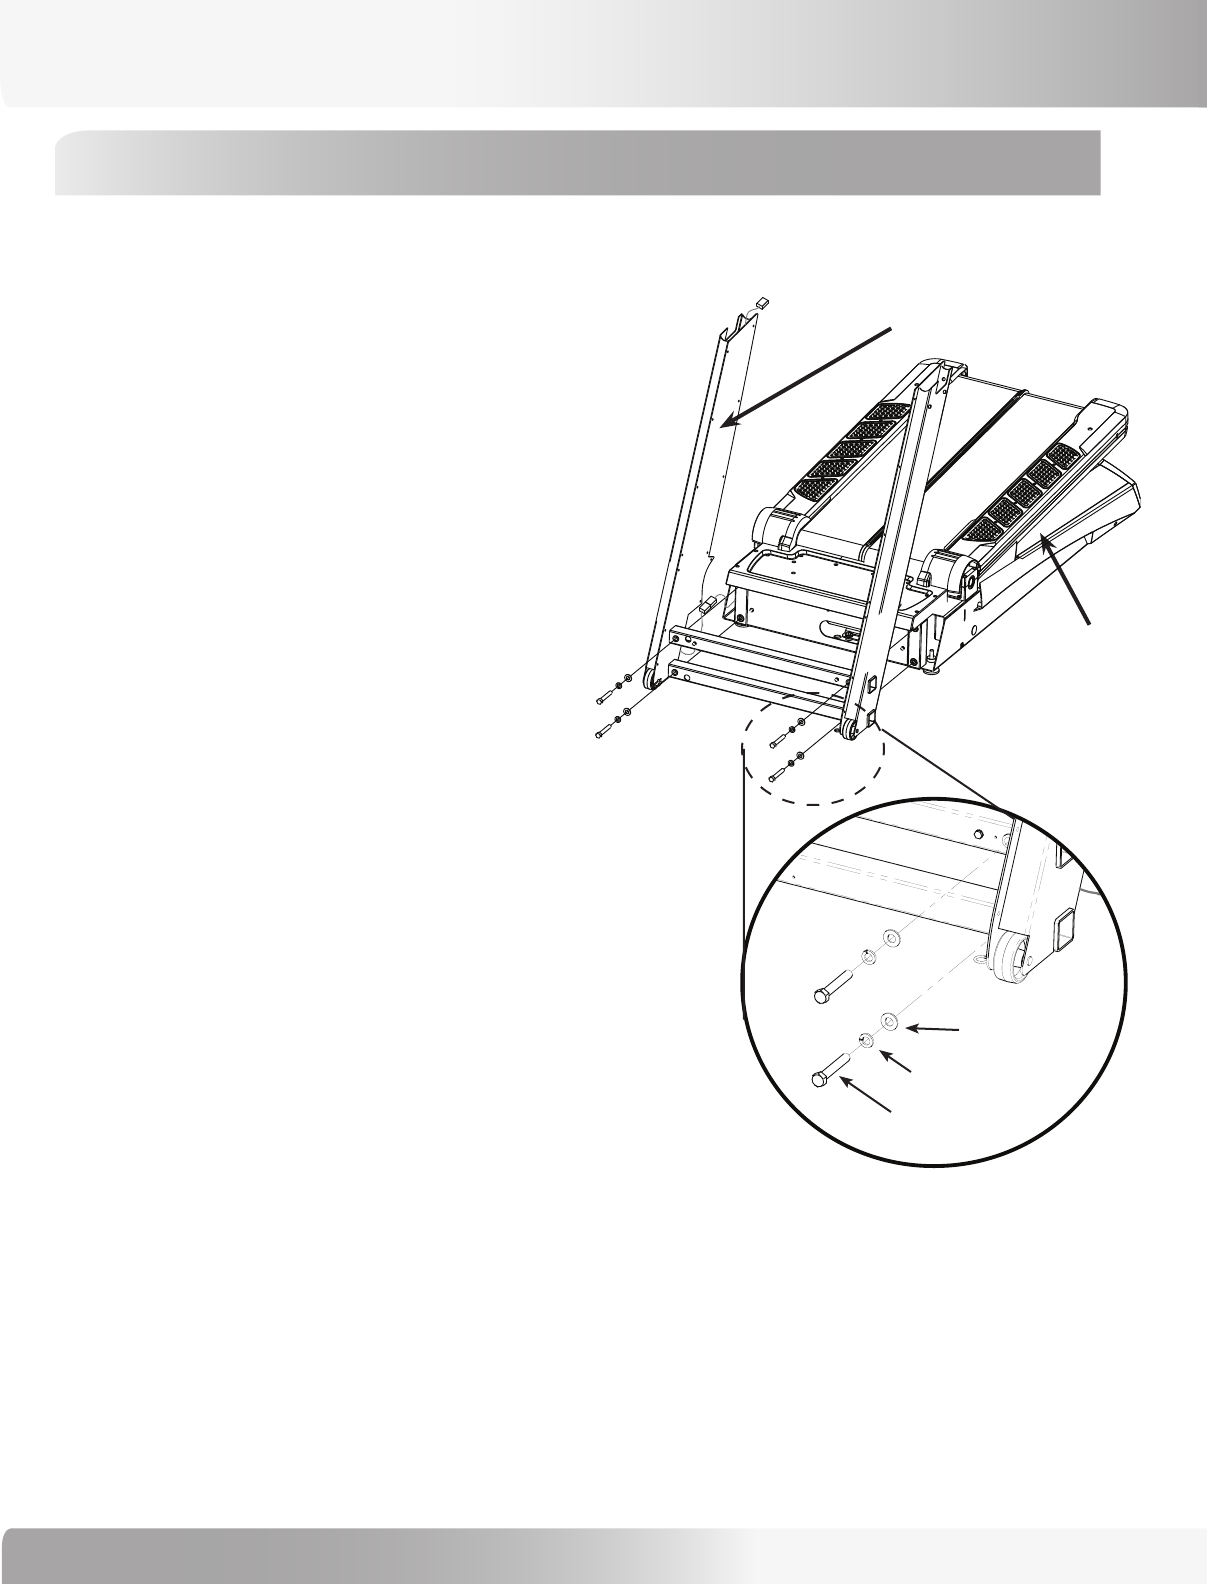
2-1 On right side, connect Handrail Upright Support
Assembly to TreadClimber
®
Base Assembly using 2
bolts, 2 lock washers, and 2 washers. Finger tighten
only, being careful not to pinch wiring harness. See
Figure 2 and Figure 2A.
2-2 Repeat Step 2-1 on the left side.
2-3 Using the drive ratchet, tighten the 2 lower bolts on
each side first, and then the 2 upper bolts on each
side installed in Step 2-1 and Step 2-2. Then use the
Torque wrench to set the tightness for all 4 bolts to 75
ft. lbs. (100 NM)
IMPORTANT! MAKE SURE THAT THE WIRING
HARNESS CABLES DO NOT BECOME PINCHED.
Step 2: Connecting Handrail Support to Base Assembly
Figure 2: Connecting Handrail Support to Base Assembly
Base
Assembly
Handrail Upright Support Assembly
Bolt
Lock Washer
Washer
Figure 2A: Close-up of hardware stack.


