


Page 4
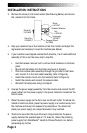
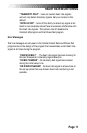
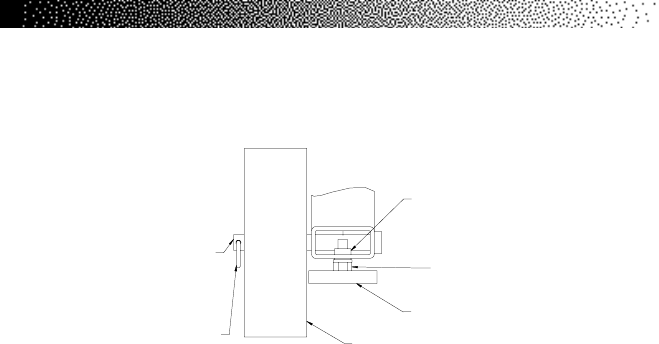
3. Remove the clevis pin from each wheel (See Drawing Below) and remove
the wheels from the frame.
4. Help your assistant lower the machine to the floor. Install and adjust the
leg levelers as necessary to level the machine (see Above).
5. If your machine was shipped outside North America, it will need additional
assembly (if this is not the case, skip to step #6).
• Use the fastener removal tool to remove the 8 fasteners on the back
panel.
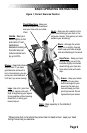
• Mount both handrails onto the frame as shown in Figure 6.
• Push the console cable assembly through the grommet in the frame
and connect it to the main cable assembly (refer to Figure 6).
• Install the console mount onto the handrails (refer to Figure 6).
• Install the console and connect the console cable.
• Reinstall the back panel and go to step #6.
6. Unwrap the power supply assembly from the console and connect the DC
power cable from the power supply to the power connector located on the
bottom cover.
7. Place the power supply on the floor near an AC wall outlet. To reduce the
hazard of electrical shock, place the power supply in a location away from
the machine and away from exposure to perspiration. You should not
place your power supply on a carpet because it may overheat.
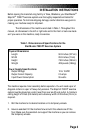
8. Check to be sure that the input AC power rating marked on the power
supply matches the available power. If it does not, obtain the matching
power supply from StairMaster
®
Health & Fitness Products, Inc. before
proceeding any further.
INSTALLATION INSTRUCTIONS
Cotter Pin
2 X 20047
Transport Wheel
2 x 20036
Leg Leveler
4 X 20017
Nut
4 X 22154
Outside of Machine
Rivnut
4 X 21767
Clevis Pin
2 X 24439