22
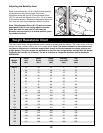
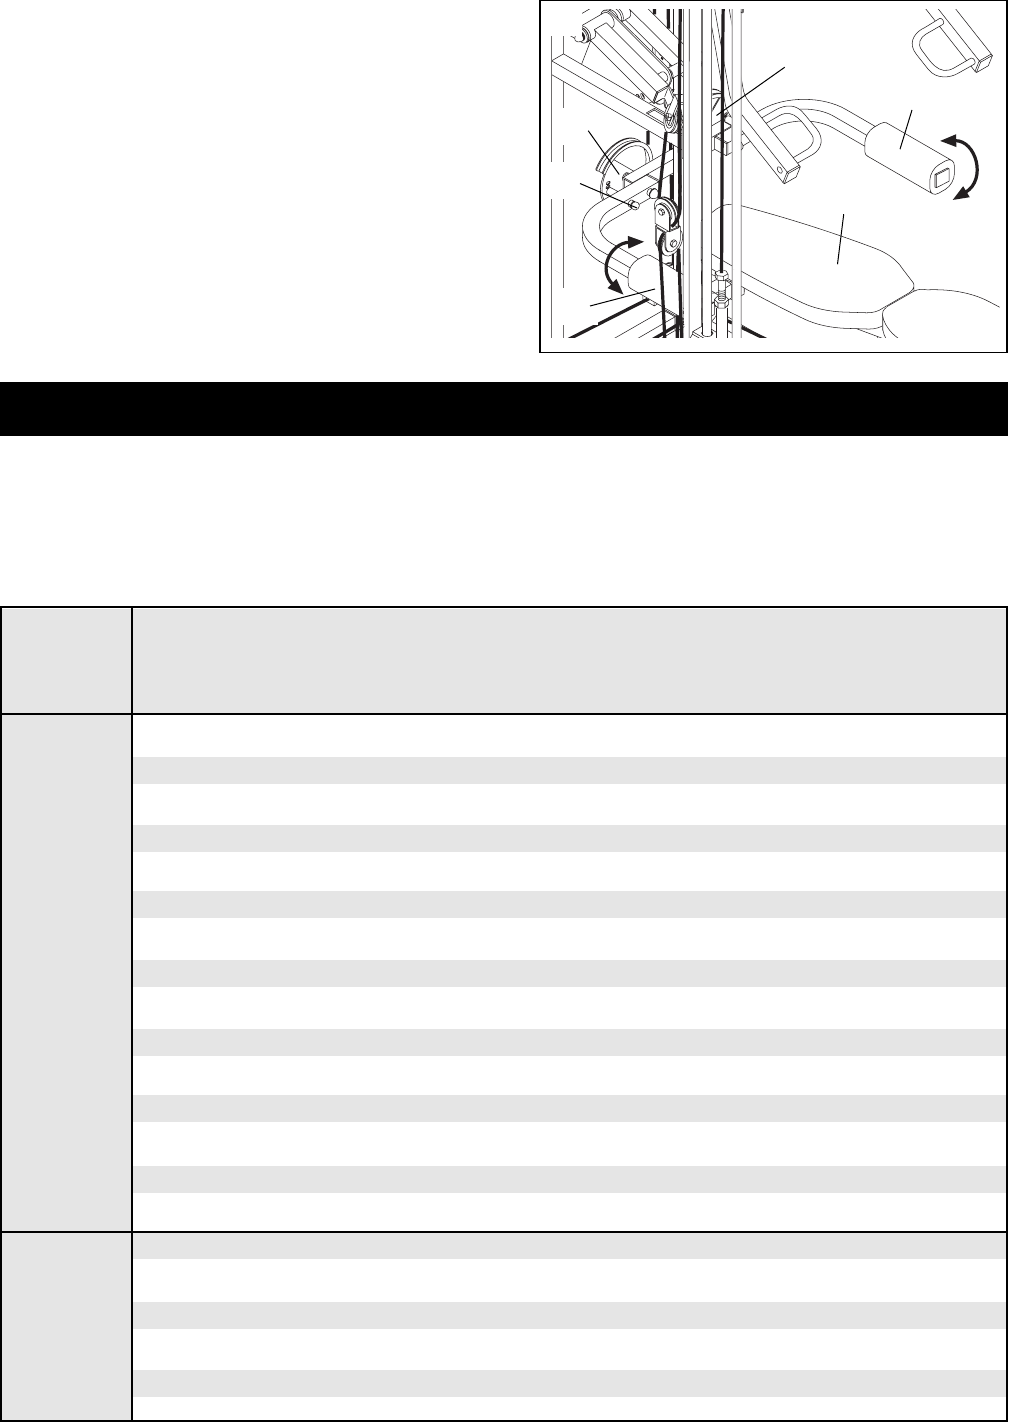
Adjusting the Butterfly Arms
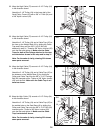
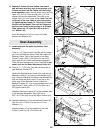
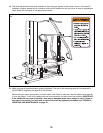
Make sure the Backrest (12) is in the horizontal position
as described on the previous page. Pull out the
Adjustment Knob (66) on one of the Adjustment Discs
(26, 27) and pivot the Butterfly Arm (10 or 11) up or down
to the desired position. Release the Adjustment Knob and
let it snap into one of the adjustment holes in the Disc.
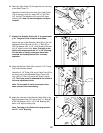
Note: The Adjustment Discs (26, 27) each have three
adjustment holes for use during regular exercises.
Each Disc also has one hole for use when the
Butterfly Arms are stored in a vertical position, point-
ing towards the floor.
27
26
66
11
12
10
Press Lower Upper Butterfly Leg
Weight Arm Pulley Pulley (one side) Lever
Plates (lbs.) (lbs.) (lbs.) (lbs.) (lbs.)
TopÑ1 15 18 16 9 15
2 24 31 26 15 27
3 35 40 38 19 37
4 46 54 49 25 49
5 56 64 57 28 59
6 67 76 69 32 71
7 77 87 80 37 84
8 87 99 94 43 94
9 99 110 104 50 107
10 110 122 116 56 114
11 119 133 128 63 128
12 129 145 142 65 139
13 139 159 151 72 149
14 150 172 164 80 162
15 163 183 174 81 173
*16 169 199 183 87 154
*17 182 213 196 93 198
*18 194 223 209 97 206
*19 202 228 219 102 220
*20 211 240 229 109 234
The chart below shows the approximate weight resistance at each exercise station. ÒTopÓ refers to the 10 lb. top
weight; the other numbers refer to the 10 lb. weight plates. Note: The actual resistance at each station may
vary due to differences in individual weight plates as well as friction between the cables, pulleys, and
weight guides. This chart shows the resistance for the five extra weight plates included with the Weight
Expansion Set (see No. 16-20 below). The set is available as a separate purchase; ask for Model No.
HRSA15080.
Weight Resistance Chart


