4
Be careful to assemble all components
in the sequence they are presented.
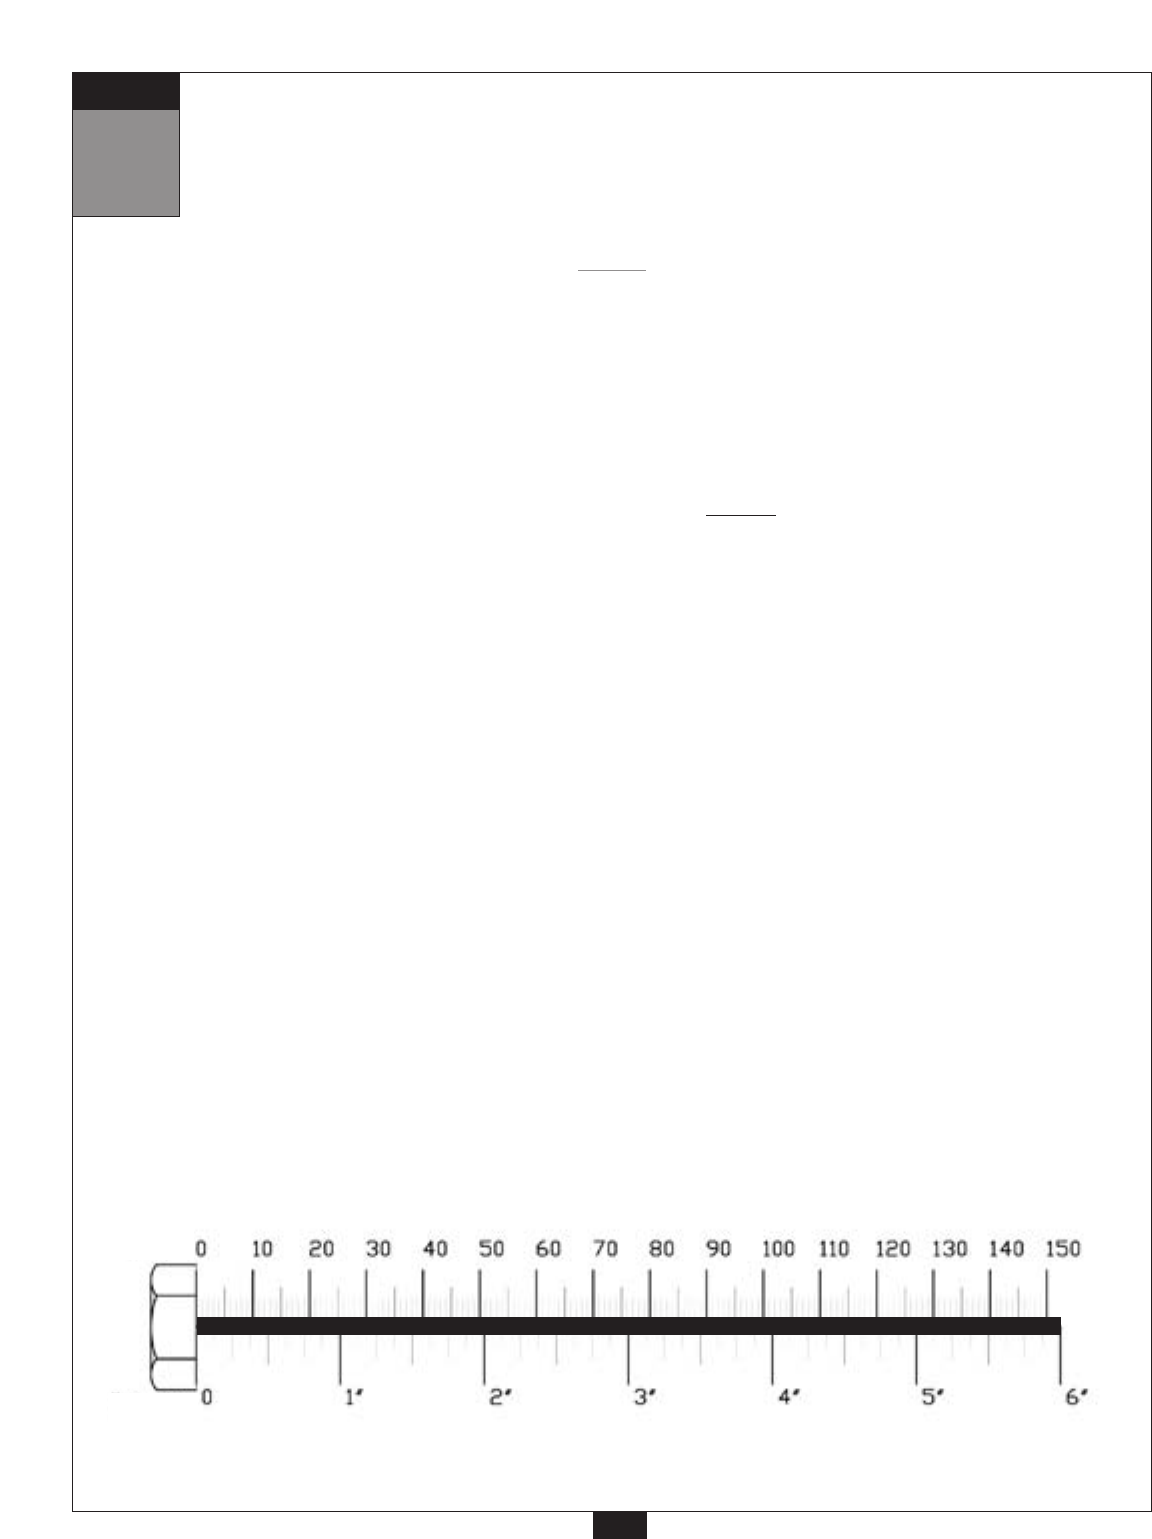
mm
Inch
16
STEP
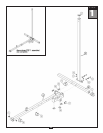
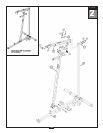
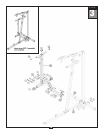
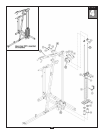
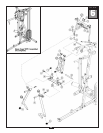
A. Place two Weight Stack Risers (86) and two Rubber Donuts (24) onto Main Base Frame (A) as
shown. Slide two Guide Rods (Q) through the Rubber Donuts (24), through the two Weight Stack
Risers (86), and into the Main Base Frame (A).
B. Slide Weight Stack Plates (87) onto Guide Rods (Q). Make sure the opening in each Weight
Stack Plate (87), for the Weight Stack Pin (42), is facing outwar
d.
C. Connect Top Plate (29) to the Selector Rod (33) using:
One 52 (3/8” X 2” socket head bolt)
One 71 (3/8” spring lock washer)
Slide Top Plate (29) and Selector Rod (33) onto Guide Rods (Q).
D.
Slide two Shaft Collars (14) onto the two Guide Rods (Q) as shown.
E.
Insert Guide Rods (Q) into Top Weight Stack Frame (R), and attach Top Weight Stack
Frame (R) and Flat Plate (G) to Top Main Frame (E) using:
Two 55 (3/8” x 3” hex head bolt)
Four 70 (3/8” washer)
T
wo 67 (3/8” nylon lock nut)
F
. Slide Shaft Collars (14) up into the Top Weight Stack Frame (R) and turn the Shaft Collar, so the
Shaft Collars (14) lock onto the T
op W
eight Stack Frame (R), Now tighten each Allen Screw (85)
in Shaft Collars (14).
G. At this point you can now wrench tighten all bolts and nuts on the main frame unit.
NOTE:
Finger tighten all hardwar
e in this step. Do Not
wrench tighten any other hardware
until the end of step.


