


52
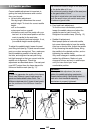
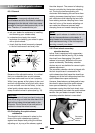
Step 10.Disconnect the power source plug from the electric
point.
Step 11.Disconnect the charger plug from the battery.
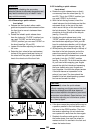
Step 12.Mount the battery onto the bicycle (step 2 and 1 in
reverse order). Make sure that the battery is secured
in “LOCK” position, so that it cannot move sideways.
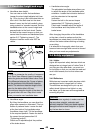
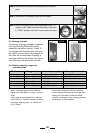
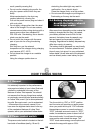
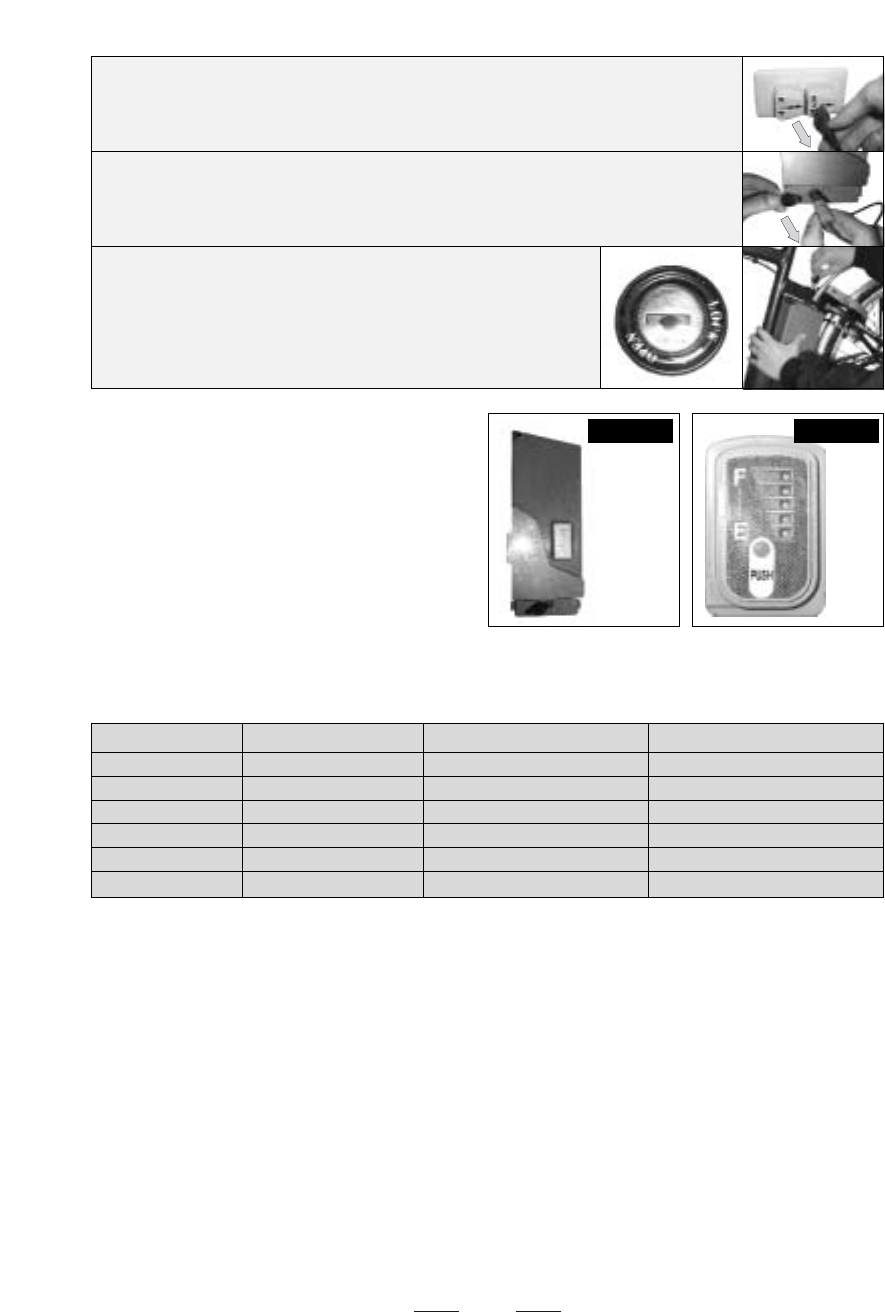
5.1.4 Energy indicator
The amount of energy available is indicated
via a Light Emitting Diode (LED) string,
located on the battery. (see fig. 16 and 17).
The indicator will illuminate when you push
the “PUSH” button. When fully charged, all
five LEDs will be illuminated. As energy is
used, less LEDs are illuminated. The light of
the LEDs will go out after a few seconds.
5.1.5 Battery capacity, range and
charching time
LEDs illuminated Energy available Remaining range* [km.] Charging time**
1 (blinking) Less than 1% < 1 km. 4 ~ 5 hours
1 1 ~ 20% < 5 km. 3 ~ 4 hours
2 21 ~ 40% 5 ~ 15 km. 2 ~ 3 hours
3 41 ~ 60% 10 ~ 20 km. 1.5 ~ 2 hours
4 61 ~ 80% 15 ~ 25 km. 1 ~ 1.5 hours
5 81 ~ 100% 20 ~ 35 km. 0.5 ~ 1 hours
* Note 1: remaining range is just a reference.
Figures shown are based on riding in “normal”
mode.
Actual remaining range depends on selected
mode (“ECO” or “normal”), weather conditions,
riding style, selected gears, etc. See section
5.1.6: “Range”.
** Note 2: also charging time is just a reference.
Actual charging time depends on the age of the
battery and the number of times it has been
charged / discharged. Longer charging time may
be necessary for older batteries.
FIG. 16 FIG. 17