


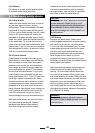

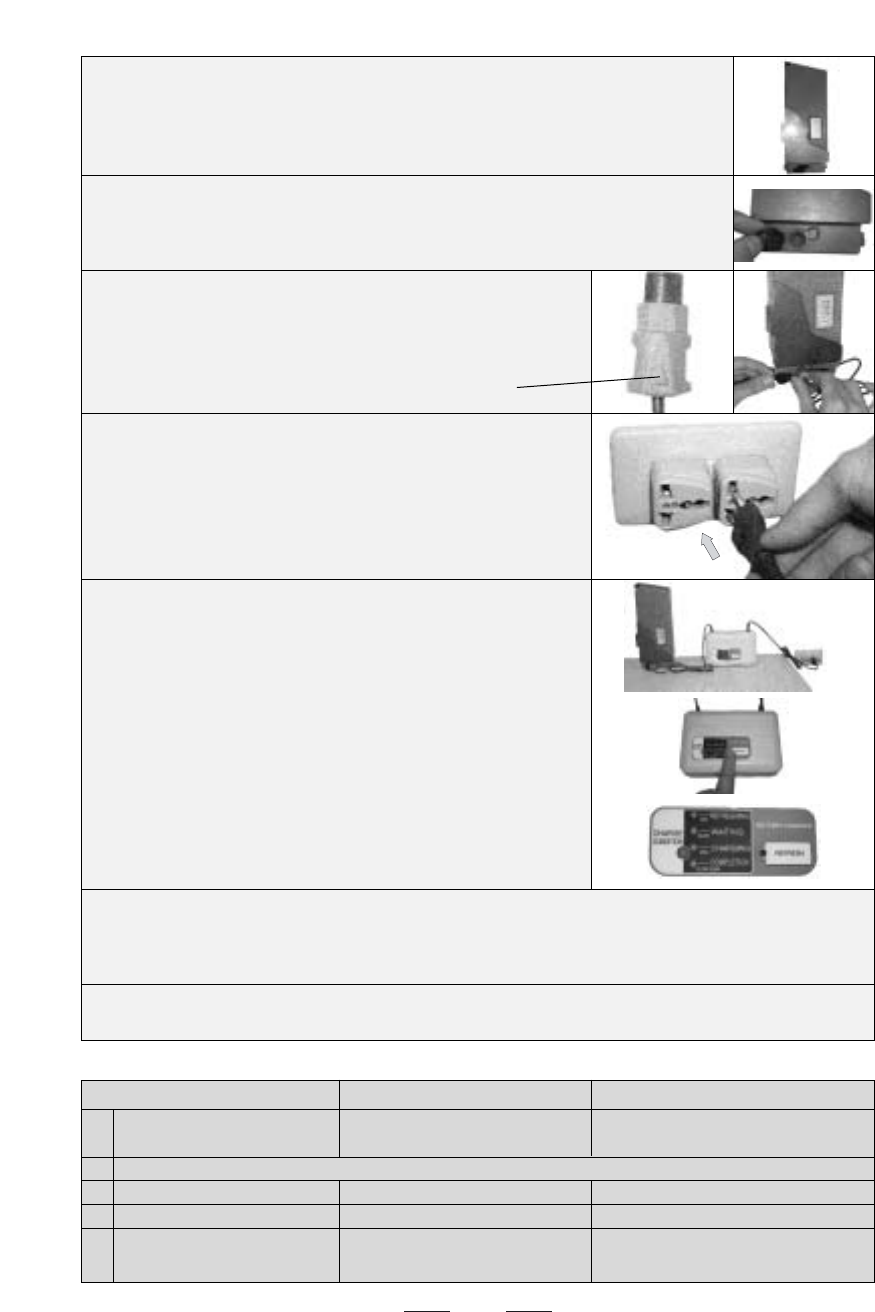
LIGHT ON CHARGER HOW LONG DOES IT TAKE? WHAT’S HAPPENING?
1. RED light blinks Just a few moments Charging will start soon
0.9 sec “on” / 0.1 sec “off” (“waiting”)
2. Push “REFRESH” button on the charger
3. GREEN light burns 10 hours max. Discharging / refreshing
4. RED light burns 4~5 hours max. Charging
5. RED light blinks slowly Until the power source plug Charging complete
2 sec “on” / 2 sec “off” is disconnected (“completion”)
51
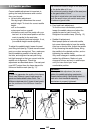
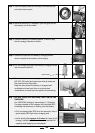
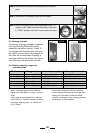
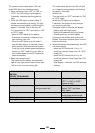
Step 3. Place the battery in a stable position, in such a way
that the energy indicator is visible.
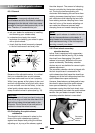
Step 4.Remove the cap from the battery’s charging socket,
which is located at the bottom of the battery.
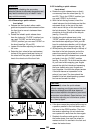
Step 5. Put the charger plug into the battery’s charging
socket with the arrow mark UP.
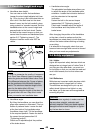
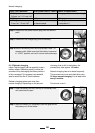
Step 6. Connect the power source plug into an electric point
(AC 220~230 volts) and make sure that all poles are
fully inserted into the socket.
Keep the area where the battery is charged well
ventilated and free from litter or anything else
combustible to avoid fire from sparks or overheating.
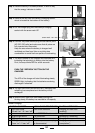
Step 7. The lamp located on the charger will illuminate RED,
indicating that electricity is flowing into the battery.
First, the lamp blinks RED for a few seconds.
PUSH THE “REFRESH” BUTTON ON THE
CHARGER.
The LED of the charger will start illuminating steady
GREEN light, indicating that the batteries are being
discharged / refreshed.
Step 8. The light turns from GREEN into RED, indicating that
refreshing has completed and the battery will be
recharged.
Step 9.
When the RED light turns from steady burning into
blinking slowly, the battery has reached its full capacity.
Refresh-charging:
arrow mark