16
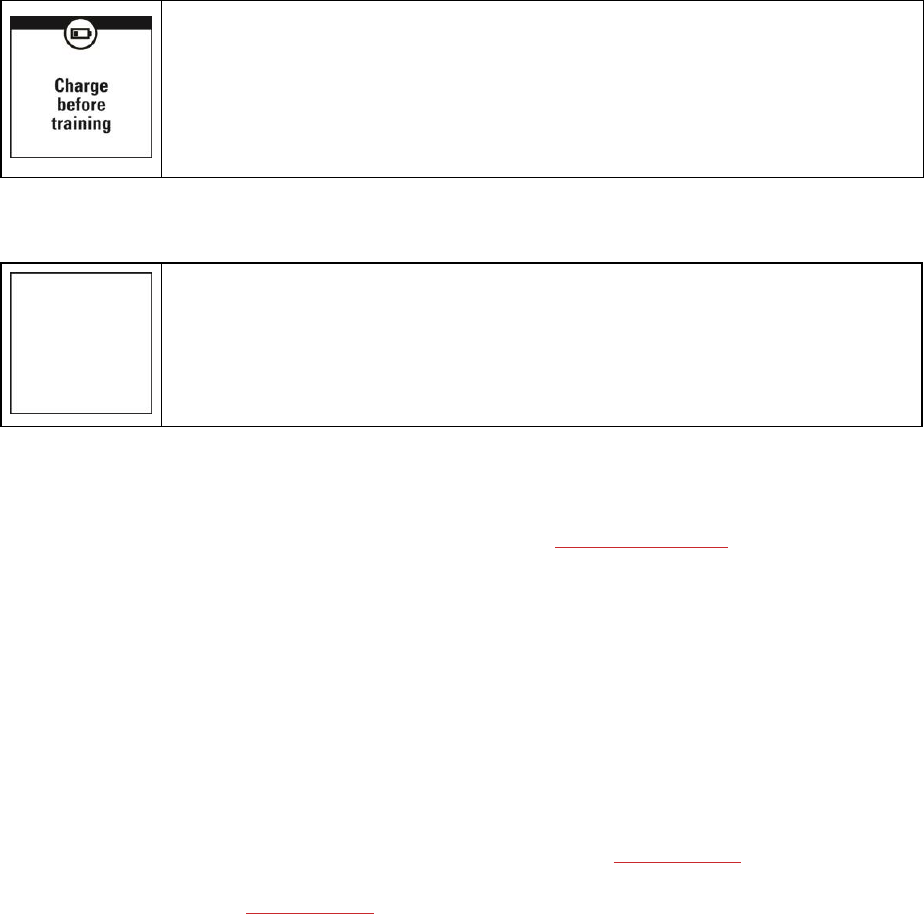
Charge before training
The charge is too low for recording a training session. A new training session cannot be
started before charging V800.
When the display is blank, the battery is empty and V800 has gone to sleep mode.
Charge your V800. If the battery is totally drained, it may take a while for the charging
animation to appear on the display.
BASIC SETTINGS
To make sure you get to enjoy your V800 at its best, please go to flow.polar.com/start where simple
instructions will guide you through setting up your V800, downloading the latest firmware and taking the Flow
web service into use. If you already have a Polar Account, you don’t need to register a new account in
the Flow web service. You can sign in with the same username and password you are using e.g. with
polarpersonaltrainer.com.
After charging your V800, it's time to enter the basic settings. To get the most accurate and personal training
data, it’s important that you’re precise with physical settings like your training background, age, weight and
sex, as they have an effect on calorie calculation, your training load as well as other Smart Coaching features.
Choose language is displayed. Press start to choose English.
If you choose a language other than English, you will be guided to go to polar.com/flow to get the language.
When taking V800 into use with the Flow web service, you can add another language during the setup. To add
another language later, go to polar.com/flow and sign in. Click your name/profile photo in the upper right
corner, choose Products, and then V800 Settings. Choose the language you want from the list, and sync with
your V800. The languages you can choose are: Dansk, Deutsch, English, Español, Français, Italiano, 日
本語, Nederlands, Norsk, Português, 简体中文, Suomi or Svenska.
If you choose English, Set up your Polar V800 is displayed. Set the following data, and confirm each
selection with the Start button. If at any point you want to return and change a setting, press Back until you
reach the setting you want to change.
1. Time format : Choose 12 h or 24 h. With 12 h, select AM or PM. Then set the local time.
2. Date : Enter the current date.


