


ASSEMBLY
Assembly requires two people. Set the treadmill in a cleared area and remove all packing materials. Do
not dispose of the packing materials until assembly is completed. Assembly requires only a phillips
screwdriver and wire cutters (not included).
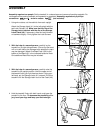
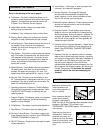
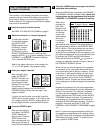
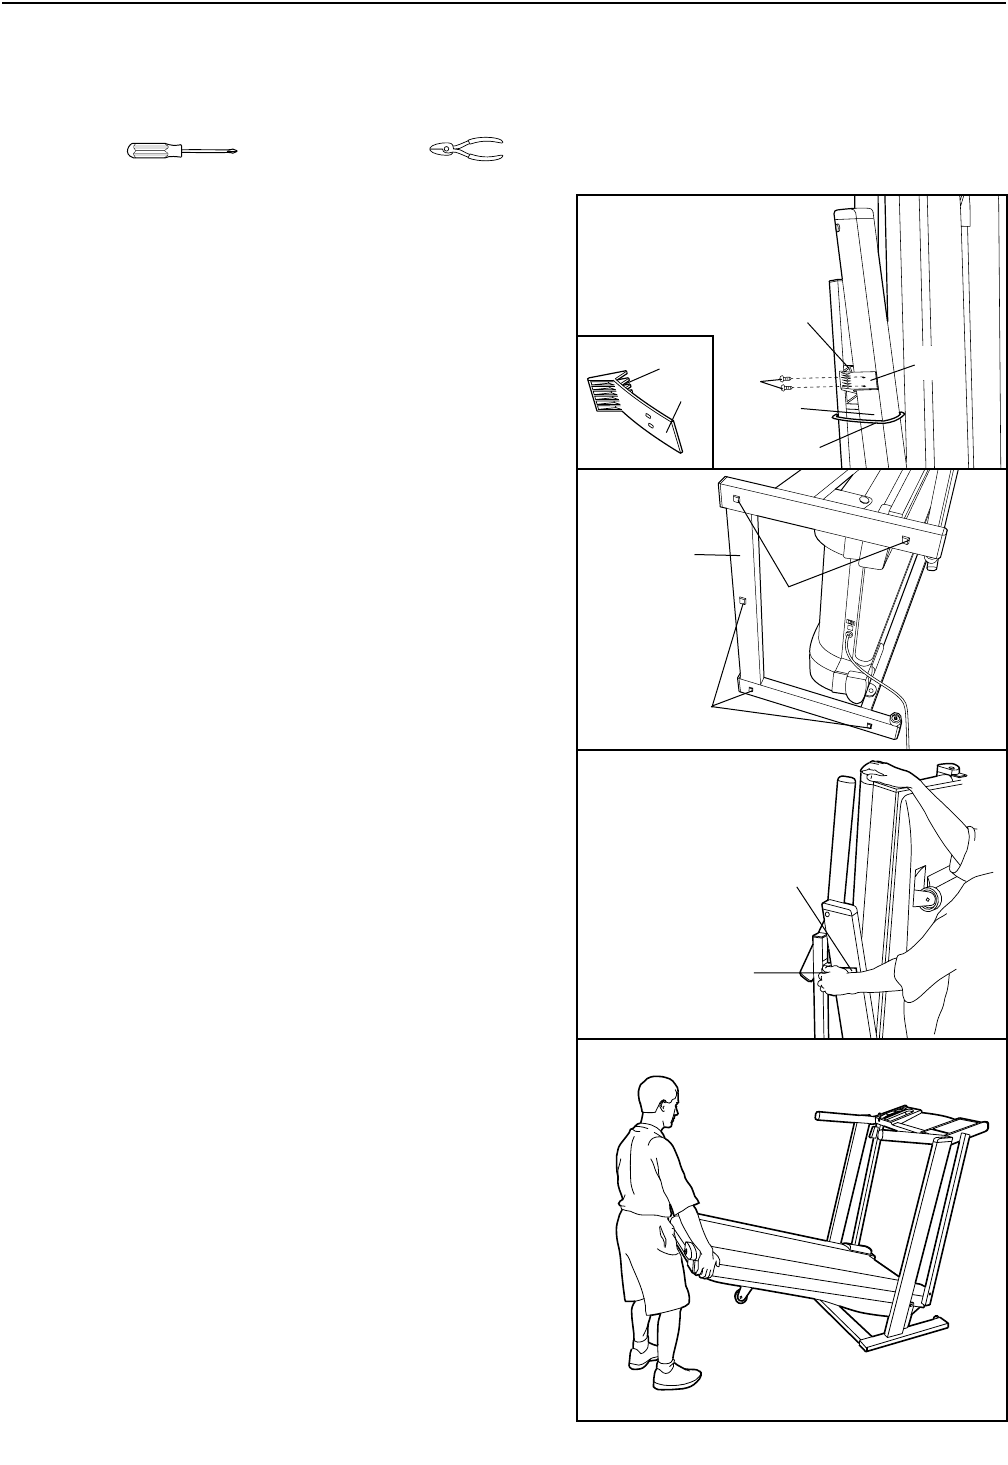
1. Using wire cutters, cut the cable tie from each upright.
Attach the Storage Latch (41) to the left upright with the
two Latch Screws (12). Make sure that the ribs of the
Storage Latch interlock with the ribs of the Storage
Latch Catch (40). If necessary, slide the Latch forward
or backward slightly. Firmly tighten the Latch Screws.
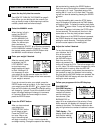
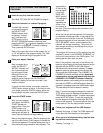
2. With the help of a second person, carefully lay the
treadmill on its right side as shown. (Do not lay the tread-
mill on its left side or the Storage Latch attached in step 1
may be damaged.) Attach five Base Pads (109) to the
bottom of the Base (81) in the indicated locations. Note:
One additional Base Pad may be included.
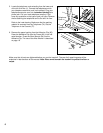
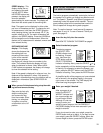
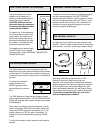
3. With the help of a second person, carefully raise the
treadmill to the upright position. Hold the upper end of
the treadmill with your right hand as shown. Using your
left hand, pull the Storage Latch (41) outward. Pivot the
treadmill until the Storage Latch is out of the Catch (40).
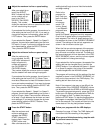
4 Hold the treadmill firmly with both hands, and lower the
treadmill to the floor. To decrease the possibility of in-
jury, bend your legs and keep your back straight.
1
41
Cable Tie
40
Upright
12
2
109
81
109
40
41
3
4
Ribs
41