


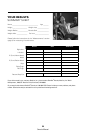
MEASUREMENTS
If you would like to measure your personal before-and-after results,
there are several steps you need to take. It is important that you
accurately perform each task, then at the end of the
six-week program, repeat the process in the same manner.
Body Weight
Remove clothing and shoes and record your weight to the nearest
quarter pound or hundred grams. Be sure to use the same scale
when weighing yourself at the end of the six-week program. For the
most accurate recordings, weigh yourself nude in the morning.
Since the program is divided into three two-week segments, you may want to weigh yourself at the end of each
two-week period. Understand, however, that weight loss is not the best way to determine your success. Fat loss
is the key component. To determine the amount of fat you’ve lost, you’ll need to follow the instructions in the next
section. Enter your starting weight on the Results Summary Sheet (page 7).
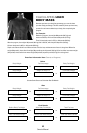
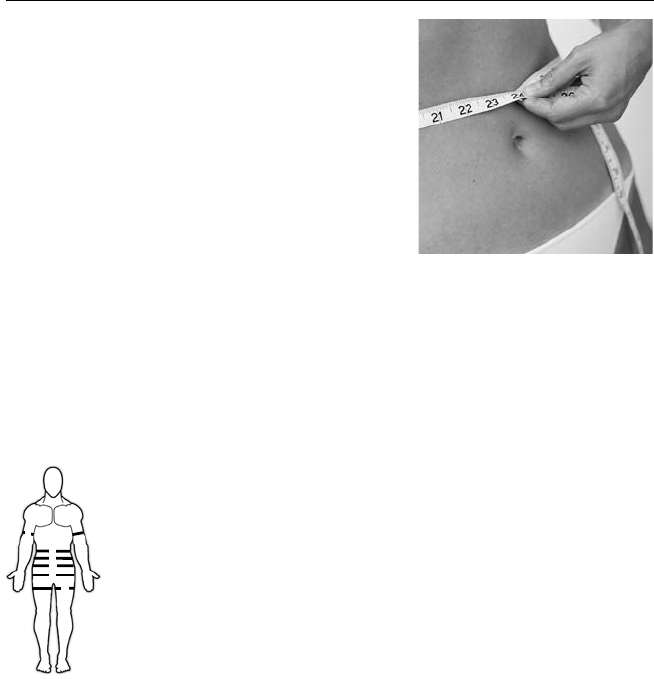
Circumference of Body Parts
For an even better idea of the changes that will occur to your body in the next six weeks, it is necessary to measure
the circumference of certain body parts. This will tell you where the fat is shrinking and what areas
are toning up. Use a plastic tape to measure the following:
1) Upper arms – hanging and relaxed, midway between the shoulder and elbow.
2) 2" (5 cm) above navel – belly relaxed.
3) At navel – belly relaxed.
4) 2" (5 cm) below navel – belly relaxed.
5) Hips – feet together at maximum protrusion
of buttocks.
6) Thighs – high, just below the buttocks crease with legs apart and weight distributed equally
on both feet.
Record each measurement on your Results Summary Sheet (page7).
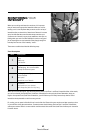
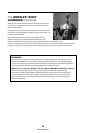
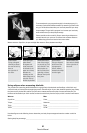
Optional Picture Taking
Pictures can be the most exciting evaluation you can do. The numbers and the tape measurements are great, but
actually seeing differences from comparison photographs of yourself is quite satisfying.
Taking full-length photographs is not difficult, but to see the maximum difference between before and after, you
should follow these guidelines.
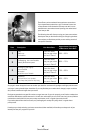
1) Keep everything the same. Wear the same outfit, a snug solid color is best, and have the person taking the
picture stand in the same place, with the same setting behind you.
2) Make sure you stand against an uncluttered, light background.
3) Have person taking the photograph move away from you until he can see your entire body in the viewfinder.
4) Stand relaxed for three pictures, front, right side, and back. Do not try to suck in your stomach.
5) Interlace your fingers and place them on top of your head, so the contours of your torso will be plainly visible.
Keep your feet 8" (20 cm) apart in all three pictures.
6) When you get the lm developed tell the processors to make your after photos the same size as your previous
ones. This way, your height in both sets of photos is equal and more valid comparisons can be made.
1
2
3
4
5
6
Owner’s Manual
50
Owner’s Manual
51