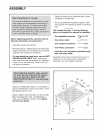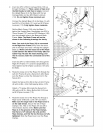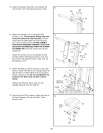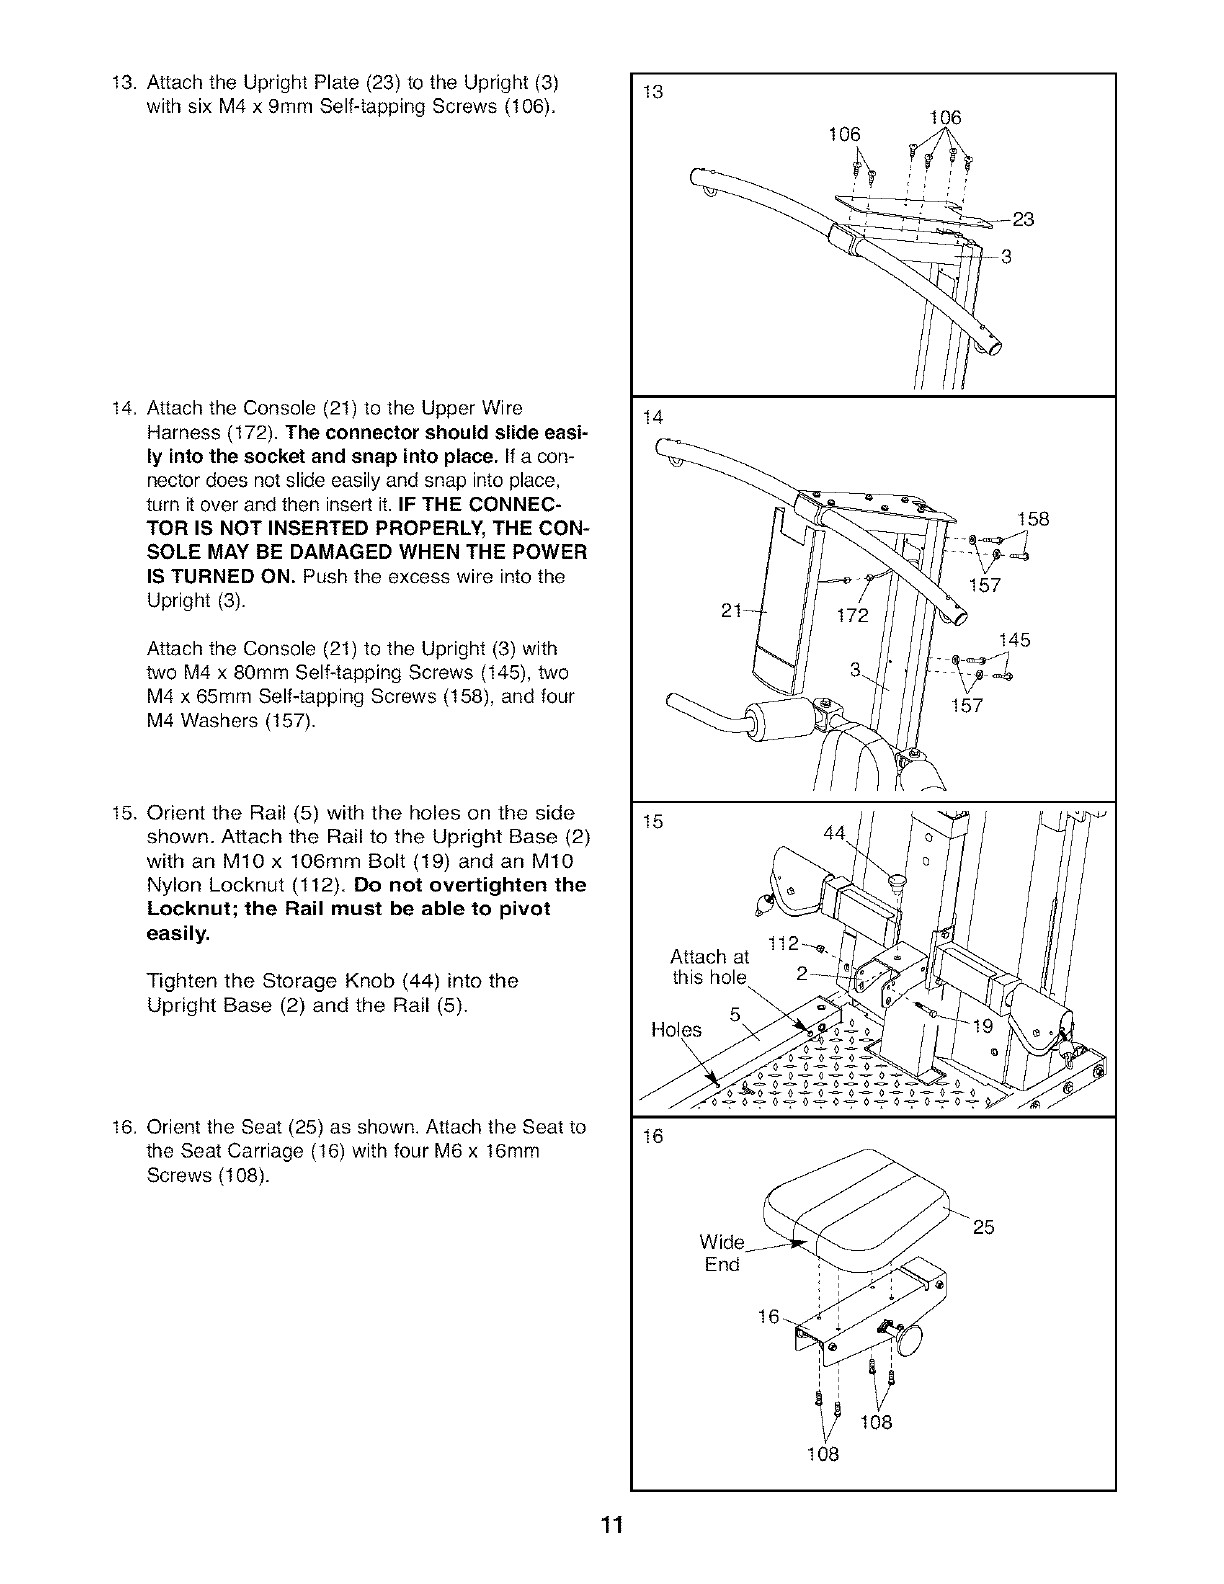
13. Attach the Upright Plate (23) to the Upright (3)
with six M4 x 9mm Self-tapping Screws (106).
14. Attach the Console (21) to the Upper Wire
Harness (172). The connector should slide easi-
ly into the socket and snap into place. If a con-
nector does not slide easily and snap into place,
turn it over and then insert it. IF THE CONNEC-
TOR IS NOT INSERTED PROPERLY, THE CON-
SOLE MAY BE DAMAGED WHEN THE POWER
IS TURNED ON. Push the excess wire into the
Upright (3).
Attach the Console (21) to the Upright (3) with
two M4 x 80mm Self-tapping Screws (145), two
M4 x 65mm Self4apping Screws (158), and four
M4 Washers (!57).
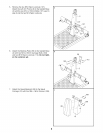
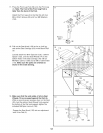
15. Orient the Rail (5) with the holes on the side
shown. Attach the Rail to the Upright Base (2)
with an MIO x 106mm Bolt (19) and an MIO
Nylon Locknut (112). Do not overtighten the
Loeknut; the Rail must be able to pivot
easily.
Tighten the Storage Knob (44) into the
Upright Base (2) and the Rail (5).
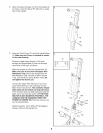
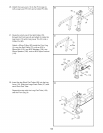
16. Orient the Seat (25) as shown. Attach the Seat to
the Seat Carriage (!6) with four M6 x !6mm
Screws (108).
13
14
158
157
145
157
15
44
112-_e.
Attach at
this hole
\
5
Holes
16
Wide
End
108
108
11


