


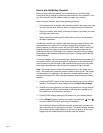
page 9
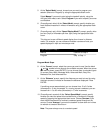
Secure top two
bolts.
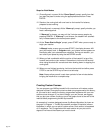
Photo 3
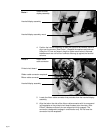
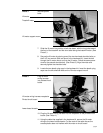
7. Slide the lift motor into position, shaft side down, with the long tube toward
the front of the treadmill and the short tube facing the treadmill motor. (See
Photo 3.)
8. Secure the lift motor by placing one of the two hex-head shoulder bolts on
the 5/16" hex wrench (both are found in the hardware kit). Insert the bolt
through the lift motor mount and into the lift motor. Follow the same proce-
dure for the second shoulder bolt. (See Photo 3.) Align the motor and
securely tighten the shoulder bolts.
9. Locate the two plastic plug caps in the hardware kit. Insert the plastic plug
caps over the two shoulder bolts on the lift motor support mount.
Lift motor support mount
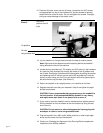
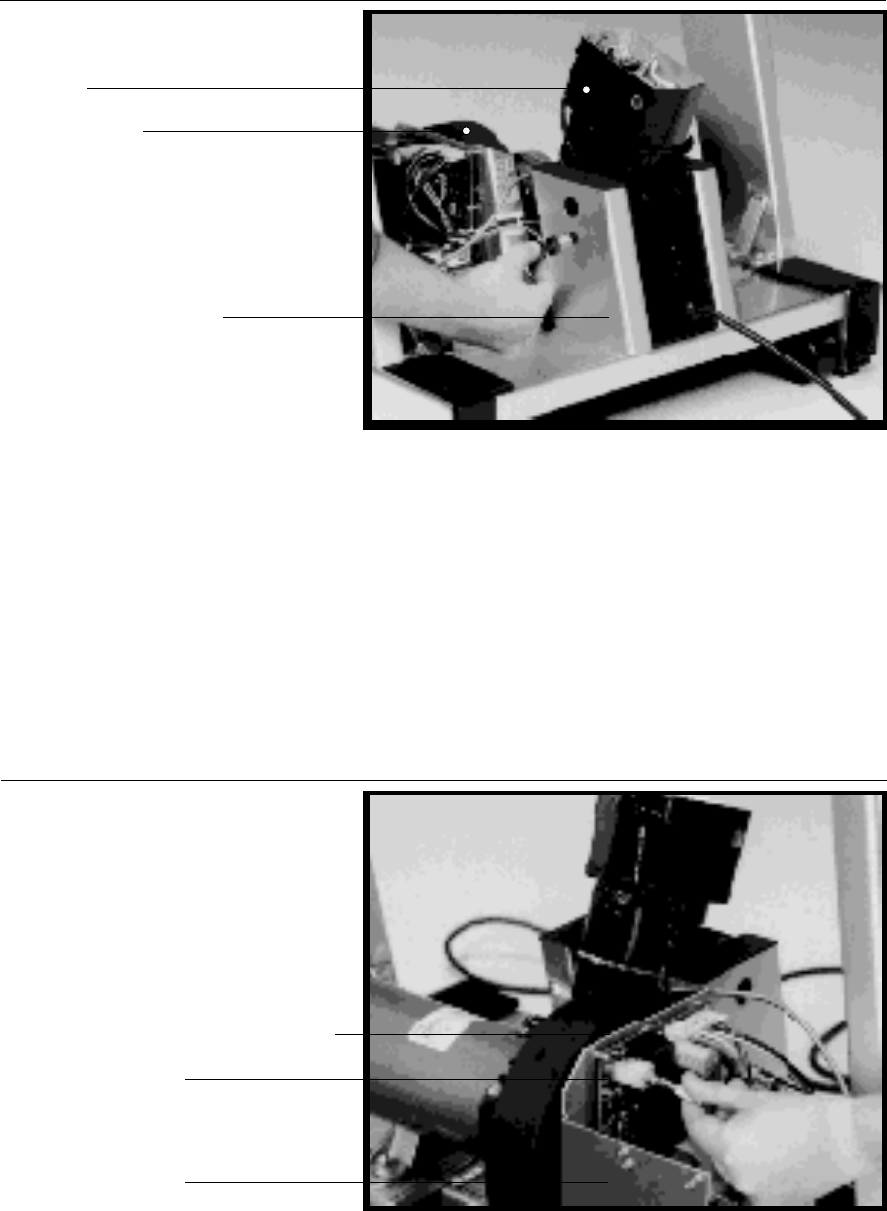
10. Plug the lift-motor wiring harness into the receptacle on the printed circuit
board. (See Photo 4.)
11. Using the cable ties supplied in the hardware kit, secure the lift-motor
wiring to the lower board chassis. Cut the ends of the cable ties so the
excess plastic does not interfere with the motor or circuit board.
Plug lift-motor
wiring harness
into printed circuit
board.
Photo 4
Lift-motor wiring harness receptacle
Printed circuit board
Lower board chassis
Treadmill motor
Lift motor