26
FIGURE
38
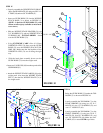
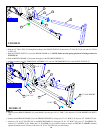
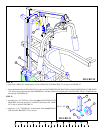
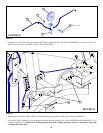
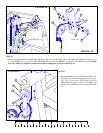
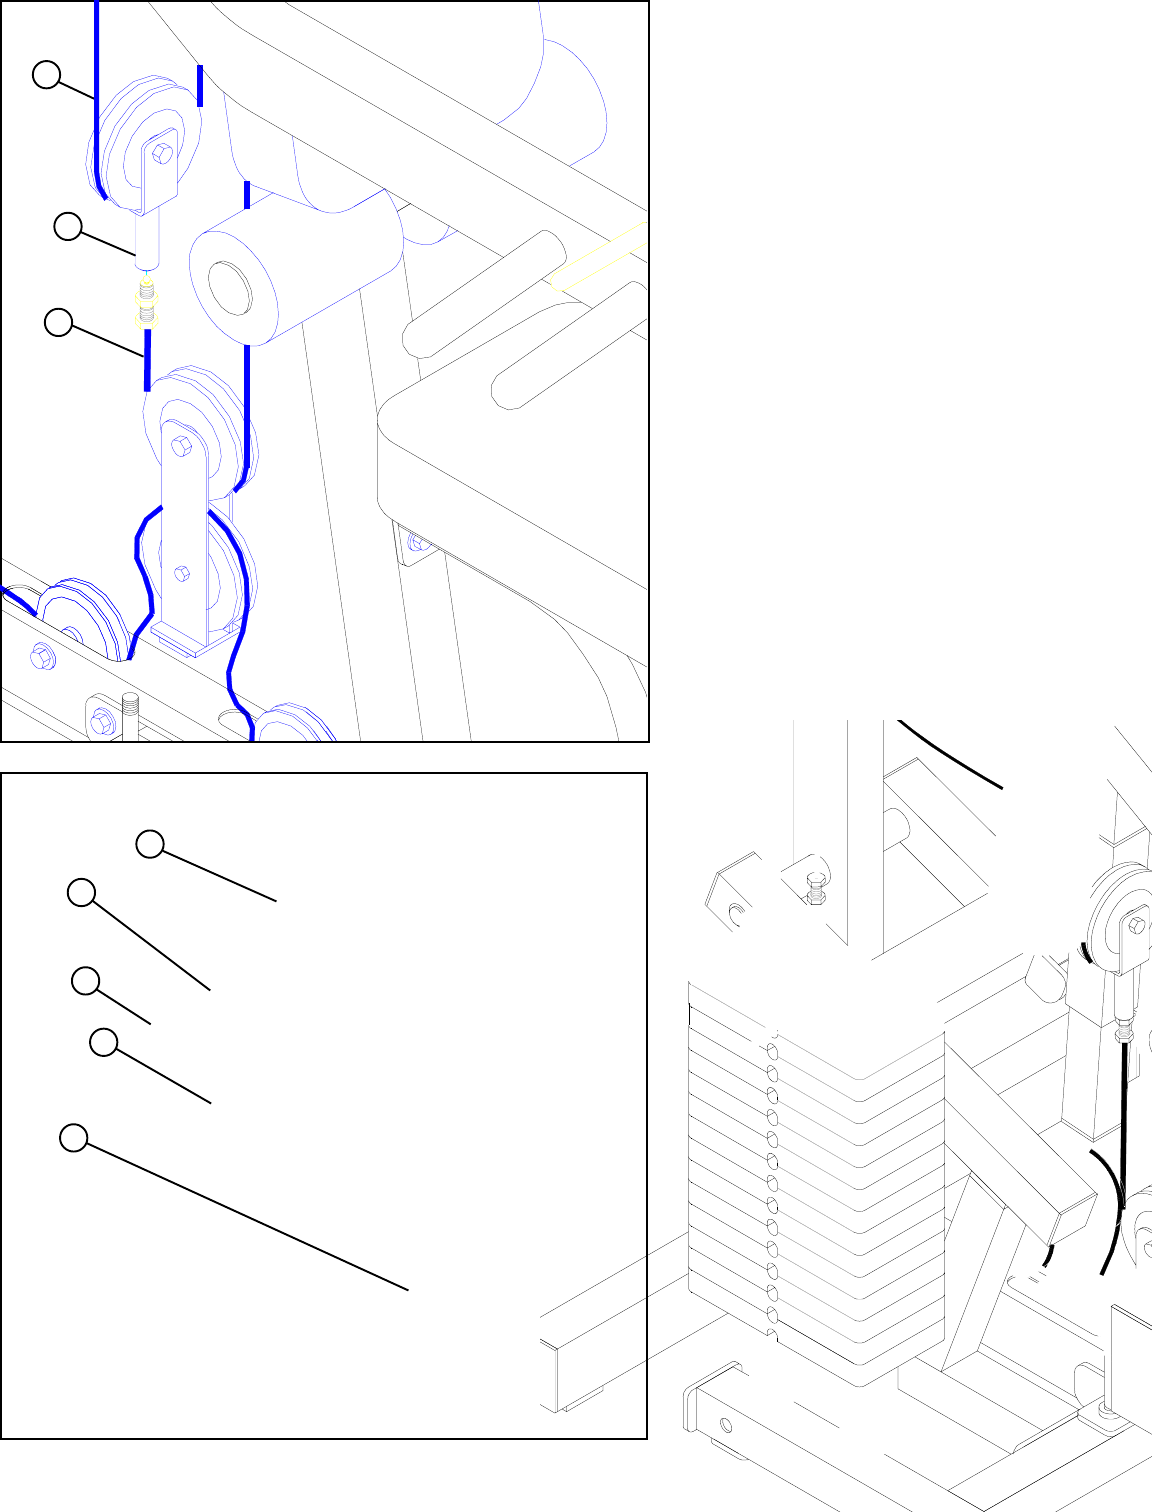
• Screw the threaded end of AB CABLE (91) ap-
proximately 3/4” into the end of the PULLEY
BRACKET (5) and tighten jam nut securely as
shown in FIGURE 38.
STEP 38
5
91
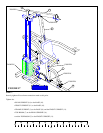
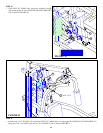
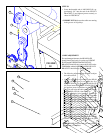
• If upon completion of assembly, the HEAD
PLATE (81) does not sit on top of the first
WEIGHT PLATE (74), push the HEAD PLATE
(81) down, insert the WEIGHT STACK PIN (57)
and perform several repetitions at the press sta-
tion. This will relax the cable system and prevent
the HEAD PLATE (81) from lifting up.
CABLE ADJUSTMENT
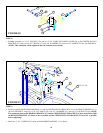
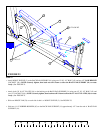
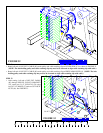
• If after completing previous step, the HEAD
PLATE (81) still does not sit on top of the first
WEIGHT PLATE (74) or if there is excess slack
in the cable system, adjust the threaded end of the
LAT CABLE (92) accordingly and retighten the
jam nut.
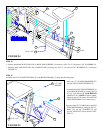
• If there is excess slack in the AB or PEC DEC
cable system, adjust the threaded end of the AB
CABLE (91) accordingly and retighten the jam
nut.
74
57
92
81
93
• IMPORTANT! Make sure the cables are running
in the grooves of all pulleys.
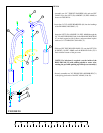
• If there is excess slack in the LEG CABLE, move
the PULLEY attached to the LEVER STOP (12)
down one hole.
12
• IMPORTANT! Retighten both jam nuts when
adjustment is completed.
• The following adjustments can be made to adjust
the cable tension:
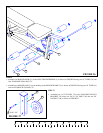
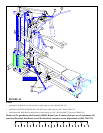
For maximum performance, the HEAD PLATE
should should just barely sit on the top WEIGHT
PLATE and the UPPER FLOATING PULLEY
BRACKET should firmly contact the PLATE on the
TOP BOOM, and the LOWER FLOATING PULLEY
BRACKET should firmly contact the BASE.


