


Updated 23/05/07 RAOM0507 Apollo Bicycle Company Pty. Ltd. ABN: 60 001 914 469
51
Lubrication and Adjustment
The maintenance your pedals need will depend upon whether or not they can be
disassembled to enable access to the internal bearings and axle. If they cannot
be disassembled, every six months a small amount of oil should be injected onto
the inside bearings of pedals. Pedals that can be fully disassembled should have
the bearings removed, cleaned and greased every six to twelve months. However, due
to the complexity of this task it is recommended that it be completed by a professional
bicycle mechanic.
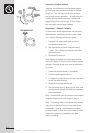
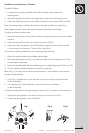
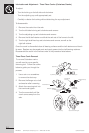
Attachment
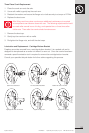
Each pair of pedals has a specific right and left pedal. It is important that a pedal is
never forced into the incorrect crank arm as the thread is different for the two pedal sides.
The right pedal, as indicated by the “R” stamped on the end of the axle, screws into
the crank on the chainwheel side of the bicycle in a clockwise direction. The left pedal
is marked with an “L” on the axle, and it is attached to the other side in an
anti-clockwise direction.
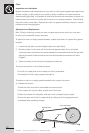
To attach, place the pedals into the correct crank arm and wind on by hand as tightly
as possible in the appropriate direction. Use a 15mm wrench to fasten more securely.
Removing a pedal is the reverse process of attaching. The right pedals needs to be
turned anti-clockwise and the left, clockwise.
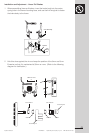
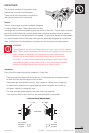
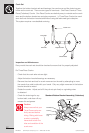
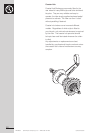
Before fitting any new pedals ensure that
the axle thread size is compatible with the
cranks on your bicycle. The two types
of cranks available each have different
axle threads. Cranks that are a one piece
design have no separate axle and are
compatible with pedals that have a 1/2”
thread. Three piece crank sets with a
separate left and right crank use a slightly
larger 9/16” thread.
WARNING:
Never attempt to force a pedal into a different sized bicycle crank.
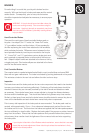
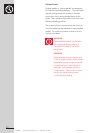
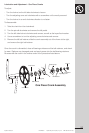
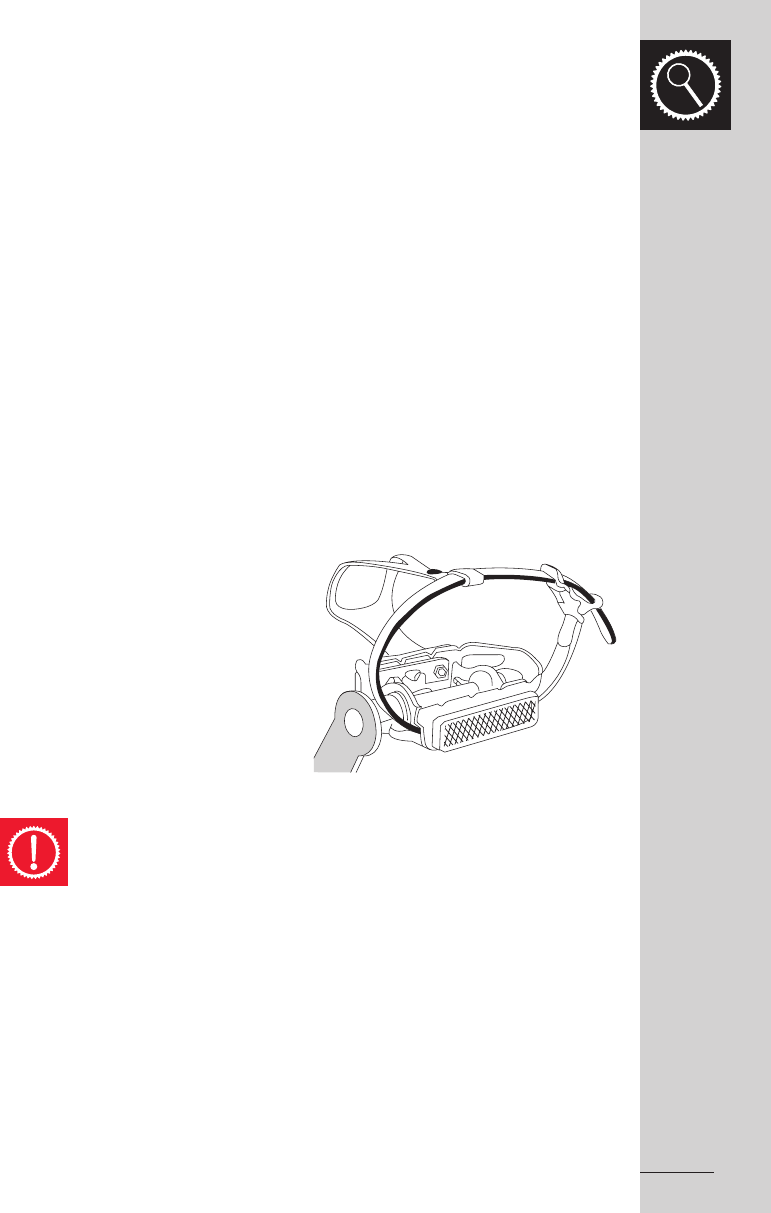
Pedal with toe clip and strap attached