


7
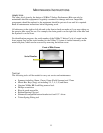
Adjusting the Bike
Seat Adjustment
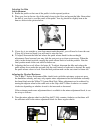
1. Rotate the pedals so that one of the pedals is in the upward position.
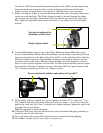
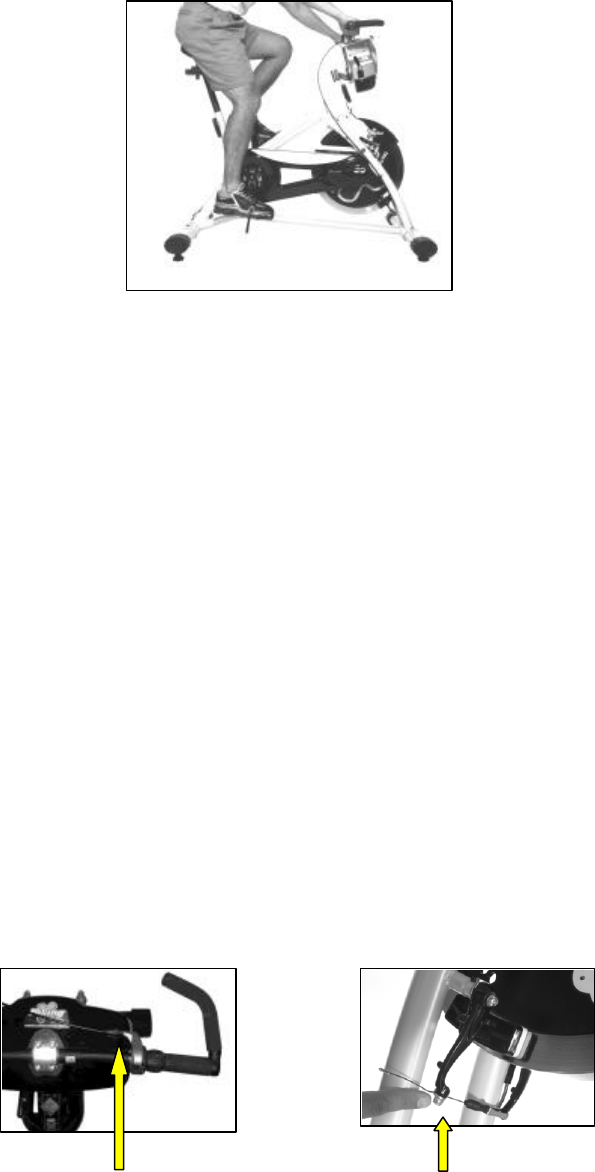
2. Place your foot in the toe clip of the pedal closest to the floor and mount the bike. Ensure that
the ball of your foot is over the centre of the pedal. Your leg should be slightly bent at the
knee as shown in the picture below.
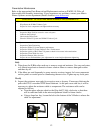
3. If your leg is too straight or your foot cannot touch the pedal, you will need to lower the seat.
If your leg is bent too much, you will need to raise the seat.
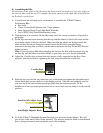
4. To adjust, dismount the bike and release the quick release knob for the seat height
adjustment. Once loosened you may slide the seat post up or down as necessary. When the
seat is in the desired position, reapply the quick release knob to lock the position. Note the
final position mark on the seat stem for future use.
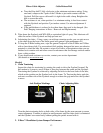
5. Adjusting the fore or aft allows for better fit. To adjust, dismount the bike and release the
quick release lever under the seat and slide the seat forward or backward as desired. Re-apply
the quick release clever to lock. Note the final position mark on the seat stem for future use.
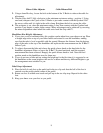
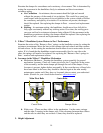
Adjusting the Flywheel Resistance
The X-Bike™ Indoor Performance Bike should arrive with the resistance system set up on
the handlebars already, and may only require minor adjustment after the handlebar assembly
has been fitted onto the X-Bars™ System Head Unit. Minor adjustment can be achieved by
turning the adjuster wheel at the cable exit on the Grip-shift™ either clockwise or counter-
clockwise depending on whether it need to be increased or decreased.
If the resistance needs more adjustment than is available in the minor adjustment block, it can
be set up as follows:
1. Turn the minor adjuster wheel on the Grip-shift™ fully counter-clockwise so that there will
be sufficient cable in the minor adjustment block for future regular checks