15
620-7992 Rev 001
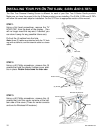
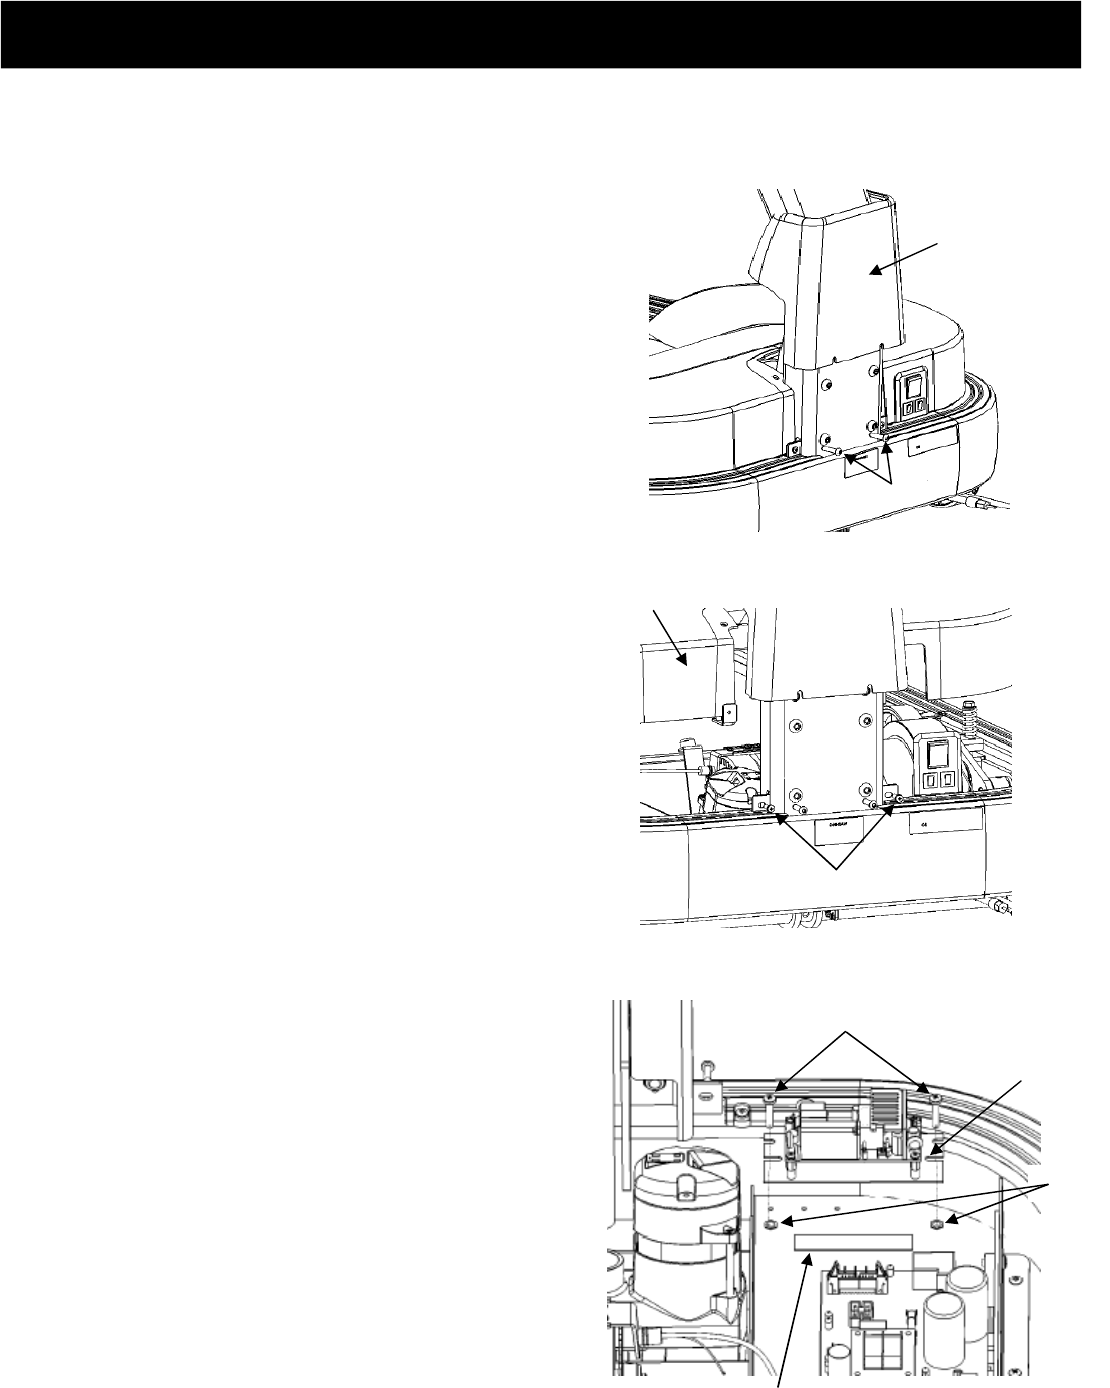
STEP 1.
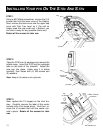
Using a #2 Phillips screwdriver, loosen the (2)
screws that hold the front neck shroud in place
(but, don’t take them off) and pull the neck
shroud up as shown.
I
NSTALLING
T
HE
P
OWER
S
UPPLY
O
N
T
he
S
-TRx
For the S-TRx Personal Viewing Screen kits (both PAL and NTSC), a power supply has to be in-
stalled on the treadmill. The following procedures will guide you through the power supply installation:
(2) Screws
Front Neck
Shroud
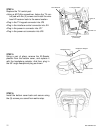
STEP 2.
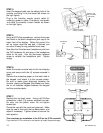
Using a #2 Phillips screwdriver, take off the (2)
screws that hold the front motor shroud in
place, then remove the motor shroud as shown.
(2) Screws
Motor Shroud
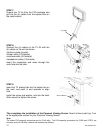
STEP 3.
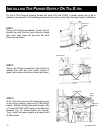
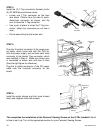
At the right side corner on the base frame
(when
on the running surface)
, there are (2) M5-thread-
inserts. Before installing the power supply, affix
a 3”-long VELCRO LOOP tape on the base and
between the (2) thread-inserts (as shown).
Then, install the power supply and secure with
(2) M5 screws.
3” Velcro Loop
(2) thread-
inserts
Power
Supply
(2) M5 Screws


