


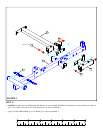
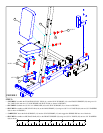
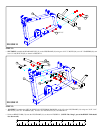
7
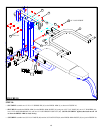
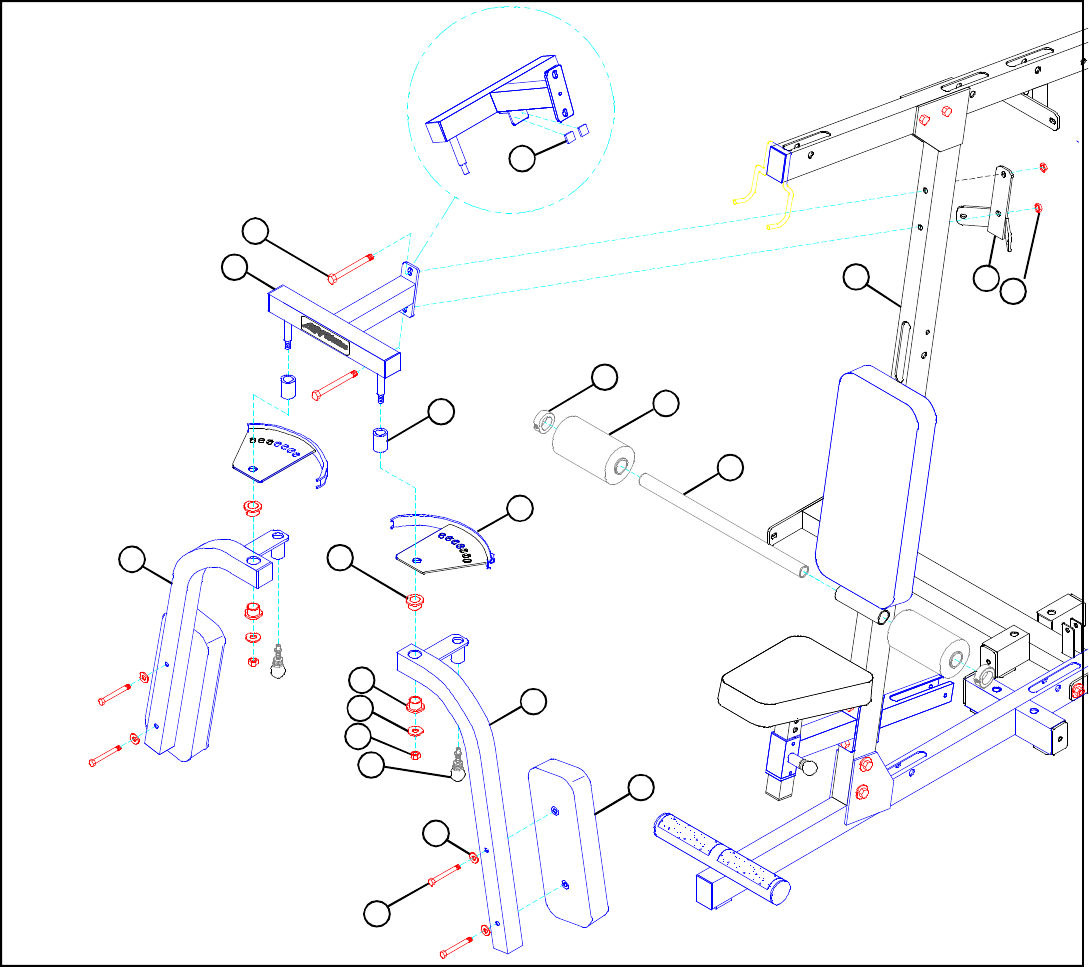
STEP 4:
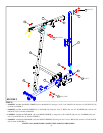
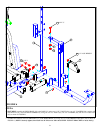
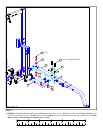
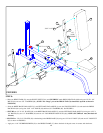
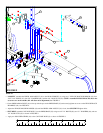
FIGURE 4
• SECURELY assemble the BEARING HOUSING (10) and the CENTER PULLEY BRACKET (27) to the FRONT UPRIGHT (29) using two
1/2 X 4” BOLTS (96) and two 1/2” LOW HEIGHT LOCK NUTS (86).
• SECURELY assemble a 3/8 X 2-3/4” SPRING PIN (62) to the to the RIGHT & LEFT PEC ARM (6 & 7). See FIGURE 4.
• Assemble the RIGHT PEC ARM (6) and one PEC CAM (28) to the BEARING HOUSING (10) using one 3/4” SLEEVE BEARING (72), two
3/4” FLANGE BEARINGS (71), one 1/2” WASHER (84), and one 1/2” LOCK NUT (85) as shown in FIGURE 4. (NOTE: SECURELY
tighten, then back nut off 1/4 turn to allow the PEC ARM to rotate freely.)
• Apply two 1” X 1” GLIDES (60) to the BEARING HOUSING (10) where the PEC CAMS (28) come in contact with the BEARING HOUSING
(10) as shown.
• Assemble the LEFT PEC ARM (7) and one PEC CAM (28) to the BEARING HOUSING (10) using one 3/4” SLEEVE BEARING (72), two
3/4” FLANGE BEARINGS (71), one 1/2” WASHER (84), and one 1/2” LOCK NUT (85) as shown in FIGURE 4. (NOTE: SECURELY
tighten, then back nut off 1/4 turn to allow the PEC ARM to rotate freely.)
• SECURELY assemble one PEC ARM PAD (99) to both the RIGHT & LEFT PEC ARMS (6 & 7) using four 3/8 X 3-1/4” BOLTS (91) and
four 3/8” WASHERS (80). See FIGURE 4.
• SECURELY assemble two 4 X 7” ROLLER PADS (41) to the FRONT UPRIGHT (29) using one 21-1/2” TUBE (40) and two 1-5/16” SHAFT
COLLARS (79). SECURELY tighten set screws on SHAFT COLLARS (79). See FIGURE 4.
3/8 X 3-1/4” 91
1/2 X 4” 96
6
99
80
29
40
41
79
27
86
1/2”
LOW HEIGHT
60
10
72
71
7
85
84
71
62
28