


Congratulations on your purchase of a Bushnell ImageView binocular. Before using the product, please
read these instructions and take time to familiarize yourelf with the different parts and features of the
product.
BINOCULAR INSTRUCTIONS
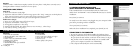
INSTALLING BATTERIES
R
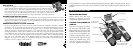
emove battery cover and insert
batteries as directed in battery
compartment. Replace battery cover.
TURNING THE CAMERA ON
AND
OFF
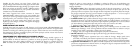
Raise the LCD display by pulling
up on the sides of the display at the
finger indents (see fig.2). Press and
hold the “ON /OFF ” button until
power turns on, as indicated by the
red light on the back of the camera.
The LCD screen will turn on and
display the Bushnell logo, then
turn off to conserve battery life. If
you have installed new batteries,
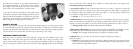
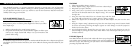
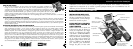
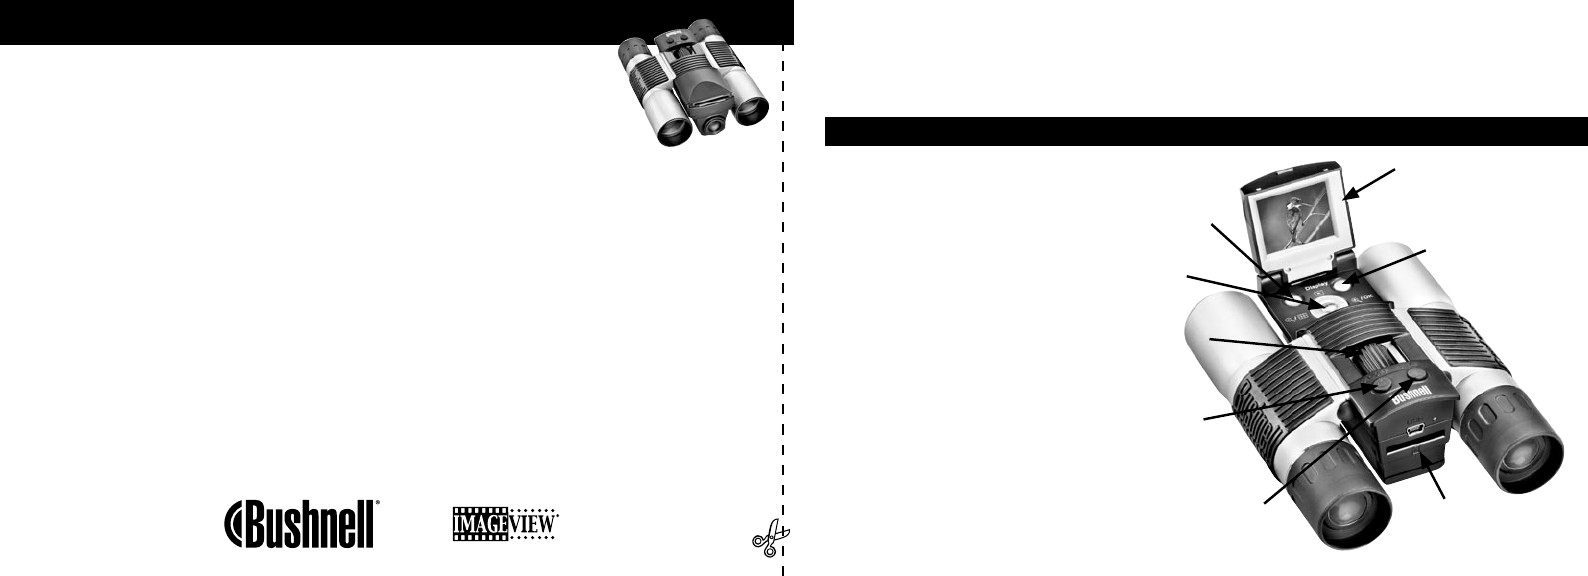
View (Review/
Capture)
SNAP (Shutter Release)
TFT LCD Display
USB Port, SD Card Slot,
Power Indicator Light,
Remote Button Jack
5-Way Switch w/
Menu Button
Binocular Focus
ON/OFF (Power)
Display (On/Off)
TAKE A PHOTO
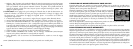
• Holding the Imageview as steadily as possible with both hands, confirm that the image
appears sharp on the LCD display. (If not, you are probably too close. Unlike the binocular
optics, the camera focus is preset and is designed only for distant subjects that are 30 feet or
more away from the camera). Lightly press the SNAP button to take the photo. The display will
let you review the photo for a few seconds after you take it. If the exposure or color is bad, try
adjusting the EV, Meter, and/or White Balance settings as described in the manual and reshoot.
REVIEWING AND DELETING PHOTOS
• Press the VIEW button to see a playback of your stored photos. Use the left/right arrow keys on the 5-way switch
to step through the photos. To erase a photo from memory, pressing the MENU button four times in a row will
delete it by: (1) Turning on the play menu, (2) Selecting DELETE, (3) Selecting DELETE ONE=OK, and (4)
Confirming you wish to delete the photo.
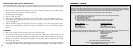
DOWNLOADING PHOTOS TO YOUR COMPUTER
• If you are using Windows 98, be sure to install the driver first from the CD-ROM as directed in “Software
Installation”. If you do not already have photo software you prefer to use, install Roxio® PhotoSuite 5 from the
CD. Connect the supplied USB cable between the Imageview and your computer. Open Windows Explorer.
Under “My Computer” the Imageview will appear as a new “Removable Disk”. Your photos are .jpg files inside
the folders found in this “Disk”. Open the folders, then select and drag (or copy/paste) the photo files to a folder
on your hard drive. You are then ready to open and work with the photos using PhotoSuite or the photo software
of your choice, and may then delete the old photos from the Imageview memory. After you finish downloading,
right click on the “Removable Disk” icon in Windows Explorer and select “Eject” before disconnecting the
Imageview. If you get an error message, use “Add/Remove Hardware” in the Windows Control Panel instead-it
will direct you how to “Unplug or Eject Hardware”.
1