


14
ASSEMBLY GUIDE
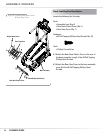
ASSEMBLY PROCESS
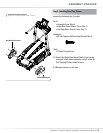
Step 1: Installing Upright Supports
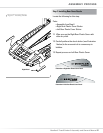
Locate the following for this step:
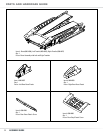
Parts:
• Base Assembly
• Right Upright Support
• Left Upright Support
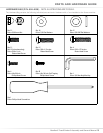
Hardware:
• 5/16 x 1 inch Button Head Screws (Qty. 4)
• 5/16 x 1 -3/4 inch Button Head Screws (Qty. 4)
• 5/16 inch Flat Washers (Qty. 8)
Tools:
• Hex Key
• Phillips Screwdriver
1-1 With the help of another, place Base Assembly
in the location you want the final assembled
TreadClimber® fitness machine.
NOTE: When placing the Base Assembly make sure
the location is near a non-GFI protected
circuit.
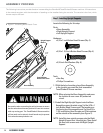
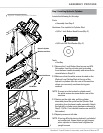
1-2 Install the Right Upright Support onto the Base
Assembly support bracket using 2 of the 5/16 x 1
inch Button Head Screws and 2 flat washers on
the front side of the assembly and 2 of the 5/16 x
1-3/4 inch Button Head Screws and 2 flat washers
on the outside of the assembly (see Figure 2).
NOTE: Install the two outside screws onto the Right
Upright Support first. Hand tighten. Then install
the two front screws onto the Right Upright
Support.
The following instructions provide direction in assembling the Bowflex® TreadClimber® fitness machine. All instructions
in the manual are given with the orientation of standing on the treadles facing the console. The console is the front, while
the rear step is the back.
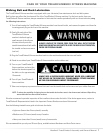
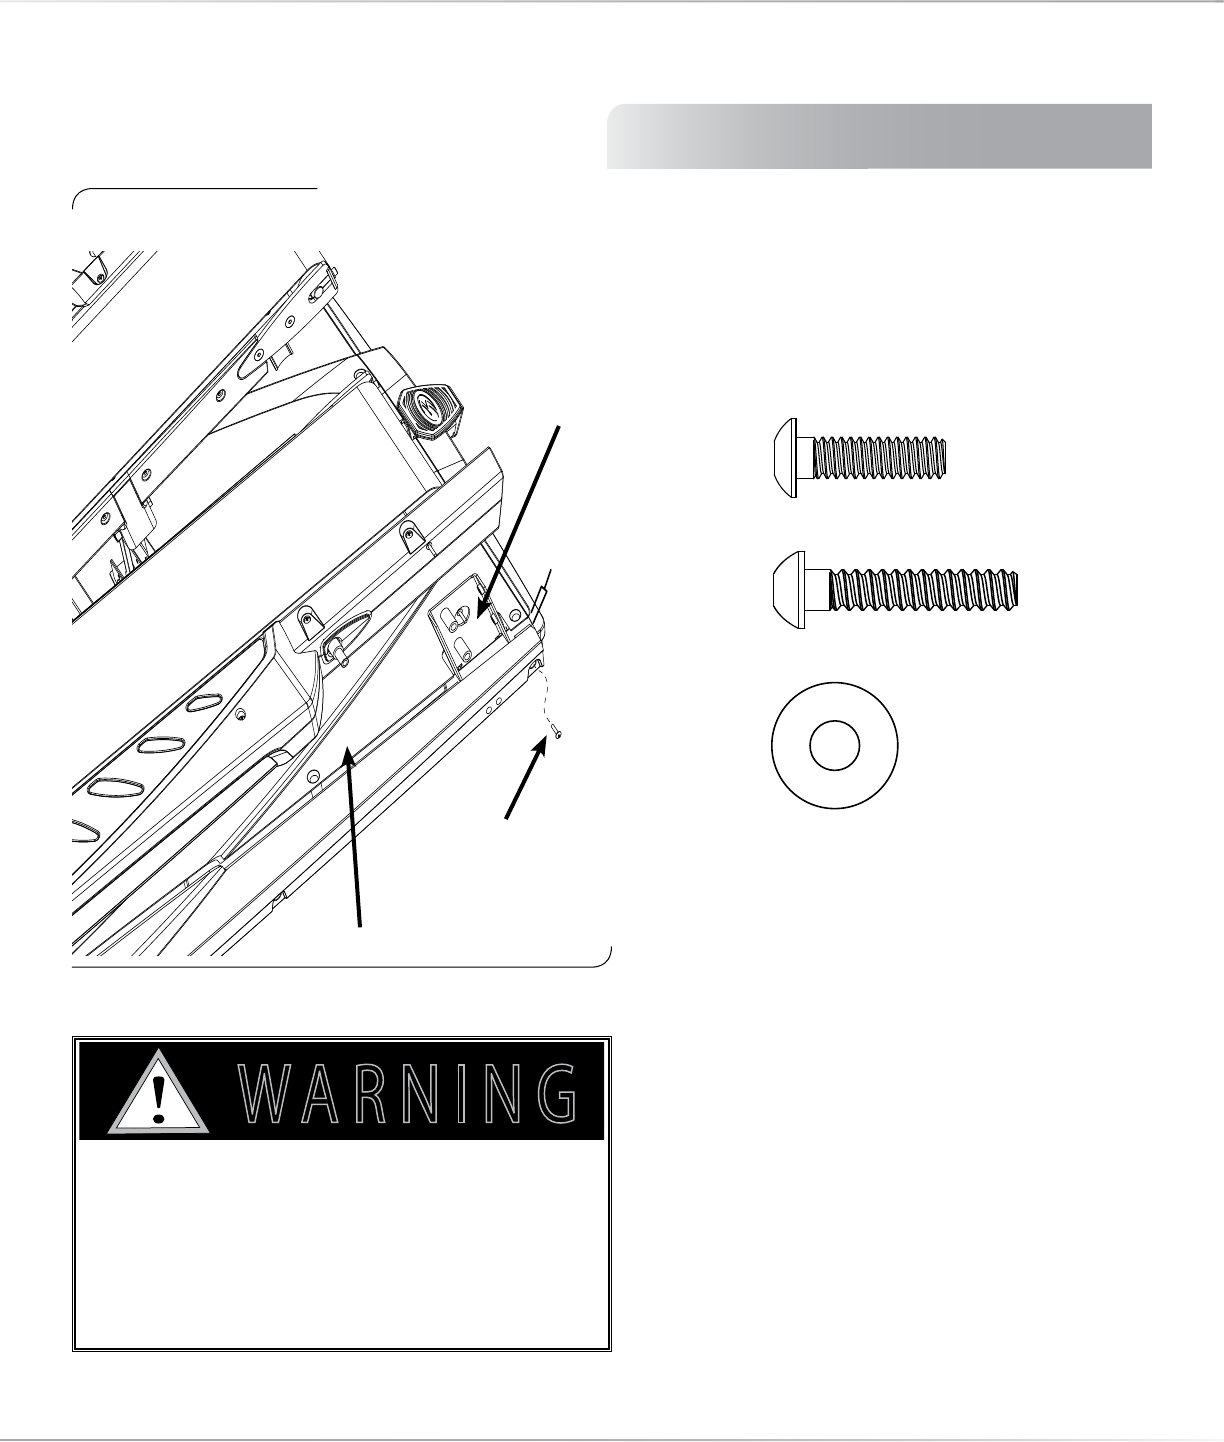
Use caution when connecting the wiring harness to ensure
that the wires do not become pinched or come into contact
with any moving part. The TreadClimber® fitness machine
will not work and an electric shock hazard may be present
if the wires become pinched or cut.
7 ! 2 . ) . '
! 4 4 % . 4 ) / .
$ ! . ' % 2
)--%$)!4%!#4)/.2%15)2%$
# ! 5 4 ) / .
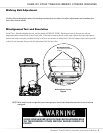
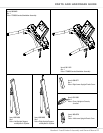
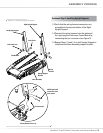
Figure 1: Loosening Base Plastic Cover
v
Front Side Base
Plastic Cover Screw
Base Assembly
Upright Support
Bracket