


39
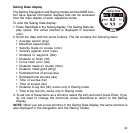
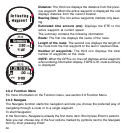
Right arrow: Activates the route for navigating in the correct order, from beginning or
active waypoint to the end
Left arrow: Activates the route for navigating in the reversed order, from the end or
from the active waypoint to the beginning
Dot: Activates the navigation to a single chosen waypoint on the selected route
Dash: Selected route is not active and activates the navigation to the location of the
first GPS fix after turning on the GPS, instead of from the route start point
NOTE: When navigating to a single waypoint, the unit does
not automatically change to the next waypoint. This must be
done manually. In normal route navigation, the unit
automatically switches to the next waypoint when the vessel
arrives inside a radius of 50 meters of the waypoint or passes
at a distance larger than 100 meters of the perpendicular line
to the route that goes through the waypoint.
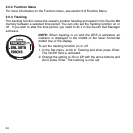
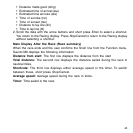
3.6.4 Routes
The Routes menu contains information on the routes recorded in the Suunto M9 memory.
The routes and their individual waypoints can be viewed, edited and erased.
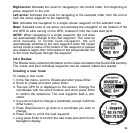
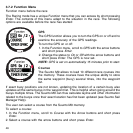
Creating a new route
To create a new route:
1. In the Set menu, scroll to
Routes
and short press
Enter
.
2. Scroll to
Create
and short press
Enter
.
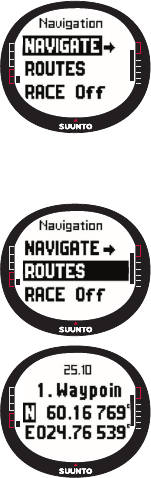
3. The last GPS fix is displayed on the screen. Change the
coordinates with the arrow buttons and short press
Enter
to confirm the selections. The next waypoint field is acti-
vated.
4. If you do not wish to change a coordinate, accept it with the
Enter
button.
5. Press
Stop/Cancel
to go back to a coordinate you wish to
change.
6. Press
Enter
to scroll the next waypoint.
7. Long press
Enter
to confirm the new route and return to the
Navigation display.