STAR TRAC P
ERSONAL
V
IEWING
S
CREEN
O
WNER
’
S
M
ANUAL
37
Your Star Trac Personal Viewing Screen is designed with little maintenance in mind and rarely should
you experience a problem once it is installed. However, you may find the cleaning and troubleshoot-
ing information in this section useful.
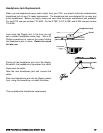
We will also explain how to replace the headphone jack when it no longer provides good audio quality.
Cleaning the Personal Viewing Screen
Periodically dust the Personal Viewing Screen with a clean soft cloth.
For your Star Trac Cardio equipment, refer to the owners manual for daily cleaning instructions and
cautions information.
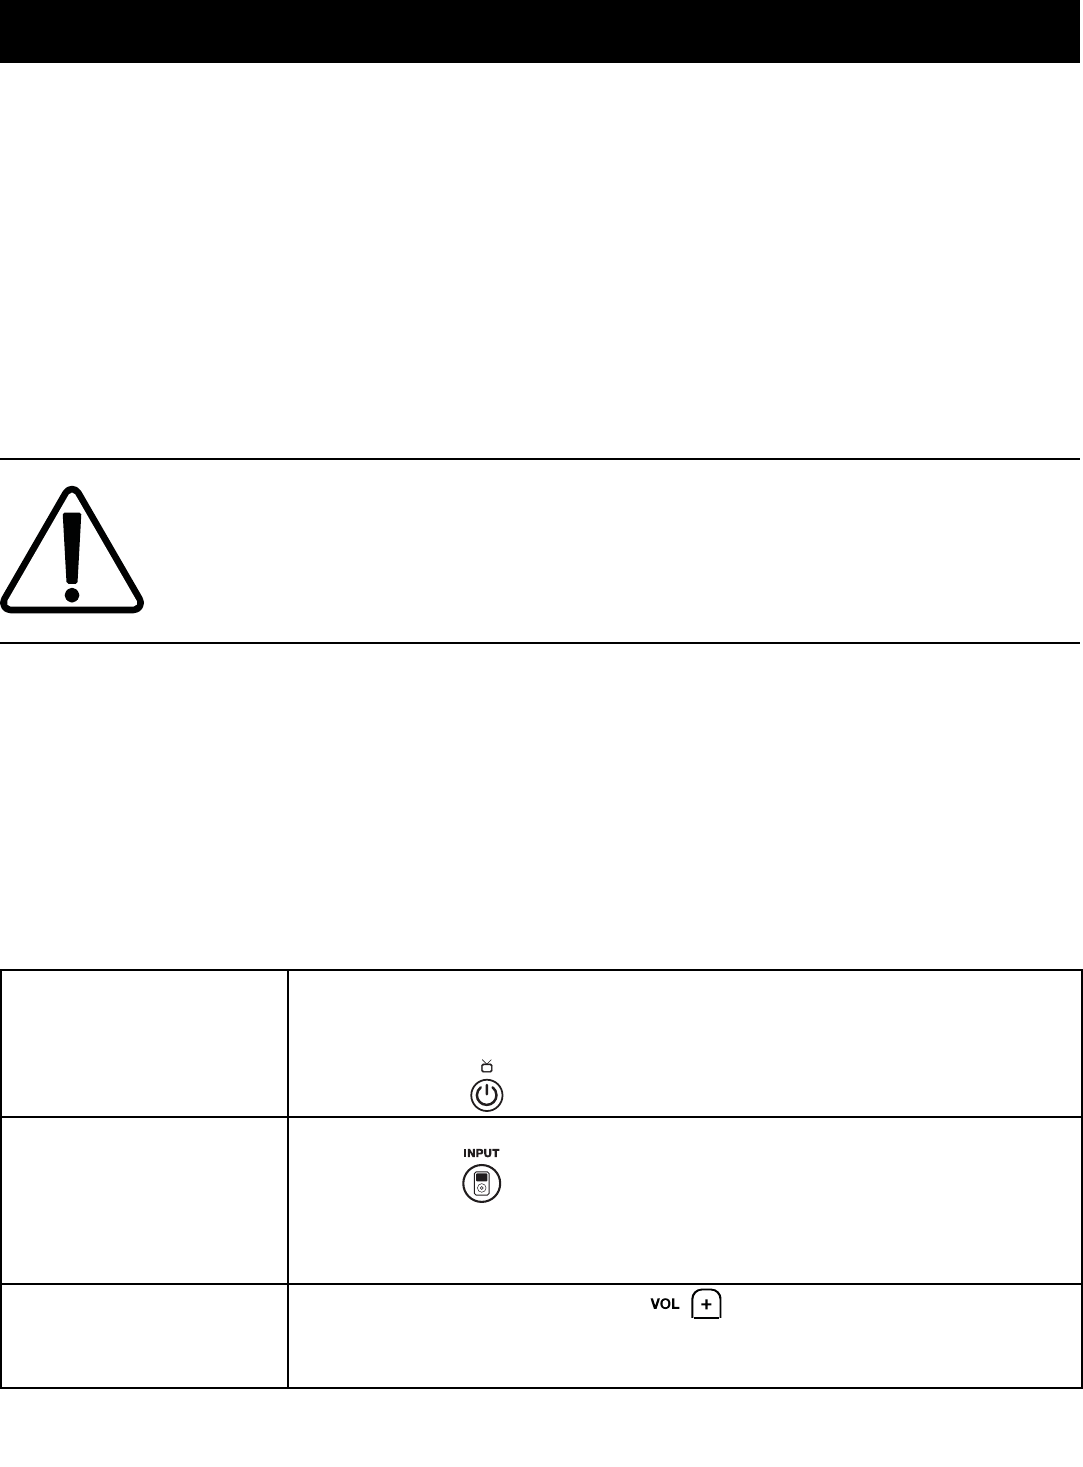
Caution: DO NOT use liquid cleaners or aerosol cleaners to clean screen. DO NOT
use any solvents such as alcohol and paint thinner, or any acidic cleaners to clean
screen. This will void the warrenty.
Each week or as needed, clean the Center Console keypad with a mild soap and water solution.
Lightly dampen a clean cloth with the solution and wipe the keypad. Do not use too much solution on
the cloth or spray cleaning solution onto the center console. Doing this could cause moisture to enter
the controller and cause damage.
The following information may help you understand and troubleshoot any problems the you may
encounter with your Star Trac Personal Viewing Screen. If the suggestions in this table do not help
solve the problem that you encounter please contact Star Trac’s Service Hotline at (800) 503-1221, or
USA 1-714-669-1660.
FAQ’
S AND
T
ROUBLESHOOTING
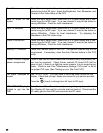
No Power Make sure that all the power cables are connected and secure.
Check that the plug is in a functional outlet.
Check the power supply at the base of the unit and see if the green LED
is lit. Push the Power button on the Center Console.
No Picture Make sure the PVS has power. Make sure the correct INPUT is selected
by pushing the INPUT button. Make sure your signal source is prop-
erly connected. Try changing channels, it may be a station problem. Turn
off the PVS, and then back on after one minute.
No Audio
Increase the audio level with the . Make sure the Headphone jack
is secure. Replace Headphone jack if necessary.


