


STAR TRAC P
ERSONAL
V
IEWING
S
CREEN
O
WNER
’
S
G
UIDE
11
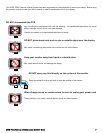
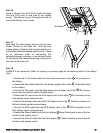
After all the cable/harnessing has been disconnected, place the front display plastics aside for later
use. Be careful with the display and place it face down on top of a non-scratching surface.
You can use the foam bag that ships inside the Personal Viewing Screen package to
place the display face onto. This will help protect it from being damaged.
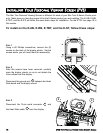
S
TEP 4
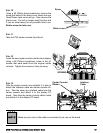
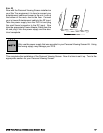
Remove the cap cover with the Star Trac logo from
the plastics by removing the (2) screws using a #2
Phillips screwdriver. Retain the screws for later
use. You will no longer need the cap cover and, if
desired, you can store it away for any possible
future use.
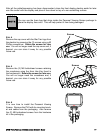
S
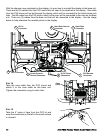
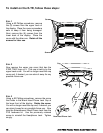
TEP 5
Remove the (2) M8 buttonhead screws retaining
the crossbrace using the 5mm Hex Key found in
the hardware kit. Retain the screws for later use.
You will no longer need the crossbrace and, if
desired, you can store it away for any possible
future use.
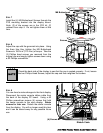
S
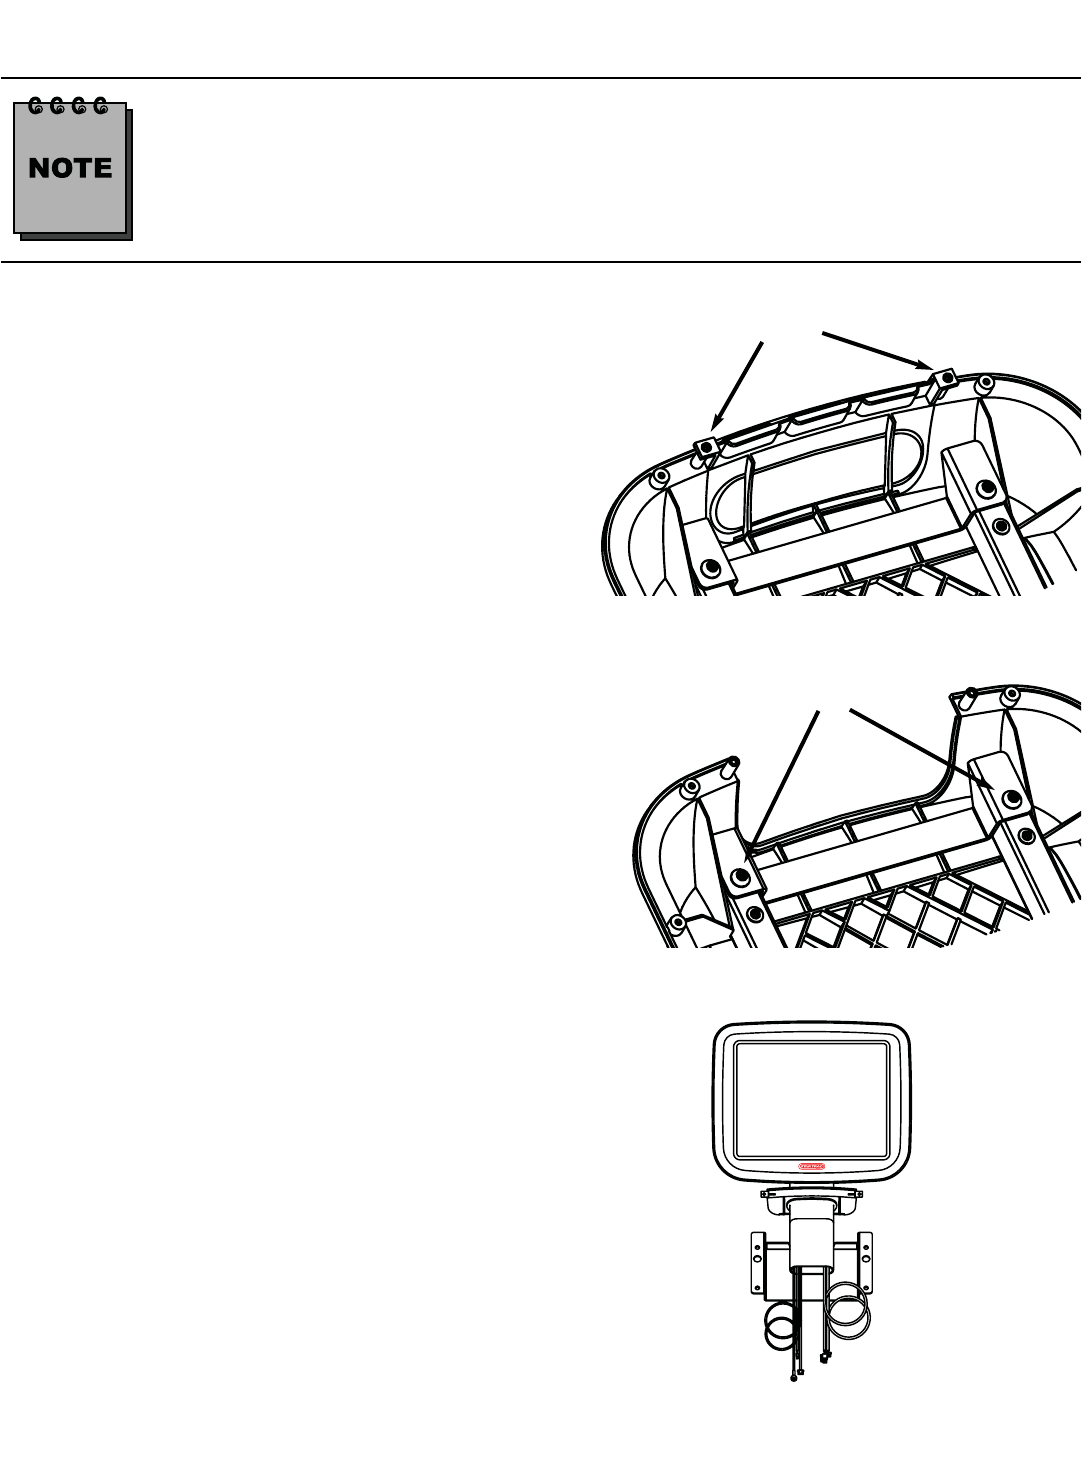
TEP 6
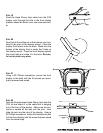
It is now time to install the Personal Viewing
Screen. Remove the PVS with its mounting brack-
et and cables from the packaging. Also remove
the (2) M8 buttonhead screws from the hardware
kit in the packaging.
Screws
Screws