


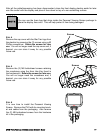
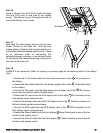
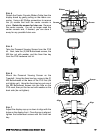
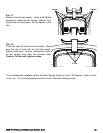
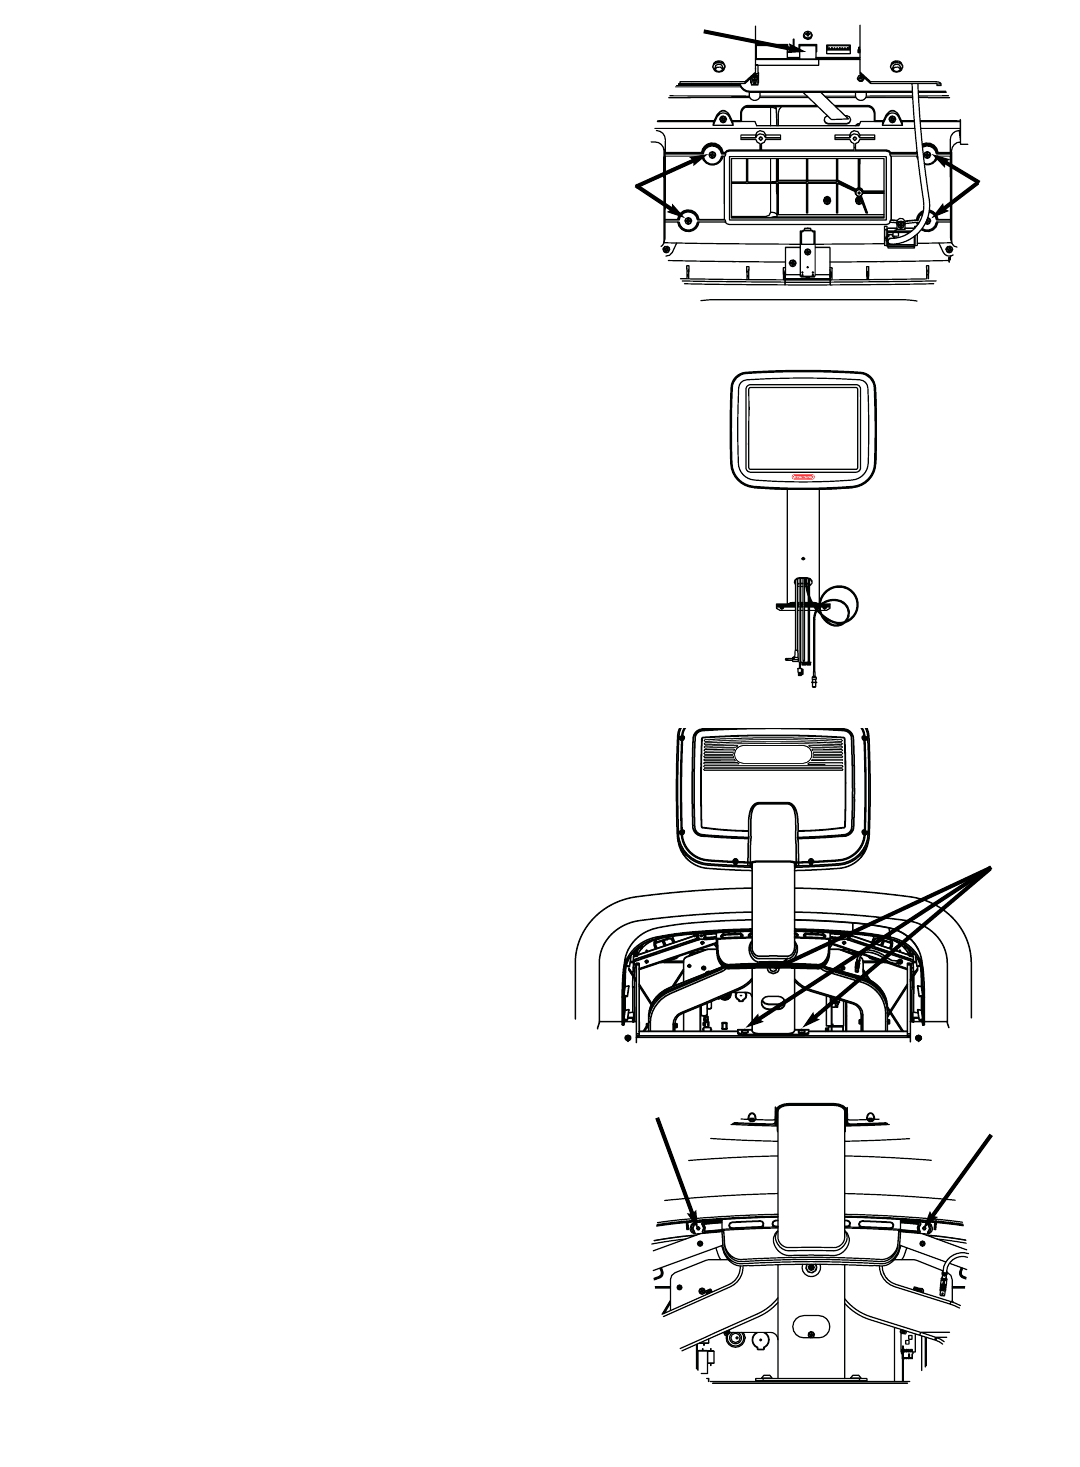
STEP 4
Detach the Center Console Ribbon Cable from the
display board by gently pulling on the ribbon con-
nector. Using a #2 Phillips screwdriver to remove
the (4) screws that hold the center console in
place. Retain the screws for later use. Remove
the center console. You will no longer need this
center console and, if desired, you can store it
away for any possible future use.
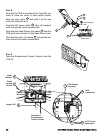
S
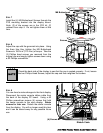
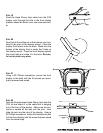
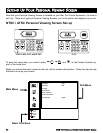
TEP 5
Take the Personal Viewing Screen from the PVS
kit. Next, take the (3) M8 Buttonhead screws, the
M8 Hex nut with washer, and the 5mm Hex key
from the PVS hardware tool kit.
S
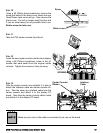
TEP 6
Mount the Personal Viewing Screen on the
Treadmill. Using the 5mm hex key, screw in the (2)
M8 Buttonheads at the base of the PVS first (do
not tighten yet). Using the 5mm hex key put one of
the M8 Buttonhead screws into the hole on the
PVS neck, then put the hex nut with washer on the
back side (do not tighten).
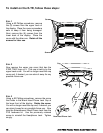
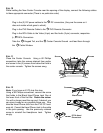
S
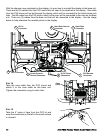
TEP 7
Adjust the display cap up or down to align with the
holes on the display front. Once the cap is aligned,
tighten the buttonhead screws with the 5mm hex
key.
STAR TRAC P
ERSONAL
V
IEWING
S
CREEN
O
WNER
’
S
G
UIDE
19
Ribbon
Screws Screws
Screws
Align
Align