


-19-
M1036 Micro Mill
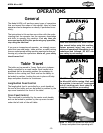
OPERATIONS
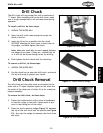
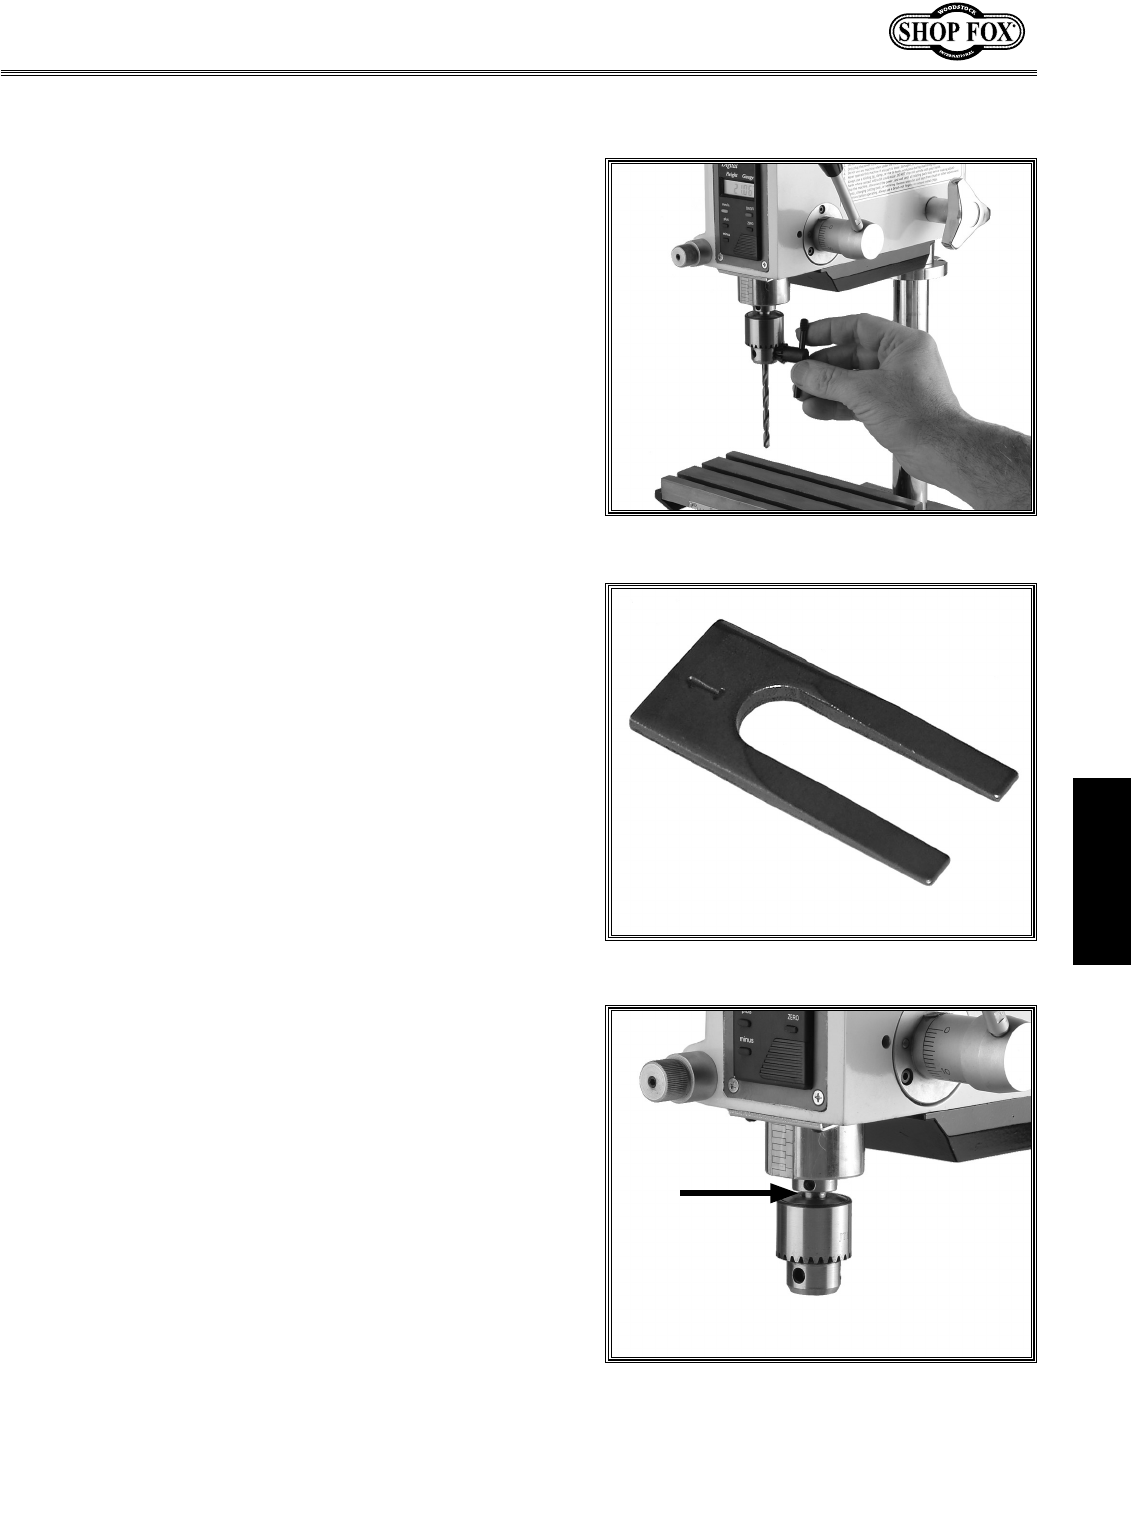
Drill Chuck
The drill chuck will only accept bits with a maximum of
1
⁄4" shank. When installing a bit in the drill chuck, make
sure it is tight enough that it will not come loose during
operation.
To install a drill bit, do these steps:
1. UNPLUG THE MICRO MILL!
2. Open the drill chuck wide enough to accept the
shank of the bit.
3. Insert the bit as far as possible into the chuck
WITHOUT allowing the chuck jaws to touch the cut
-
ting edges, and hand tighten the chuck.
Note: Make sure small bits are not trapped between
the edges of two jaws; if they are, reinstall the bit
or it will not be secure enough to use for drilling.
4. Final tighten the drill chuck with the chuck key.
To remove a drill bit, do these steps:
1. UNPLUG THE MICRO MILL!
2. Use the chuck key to open the drill chuck, and catch
the bit with a rag to protect your hands.
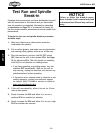
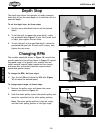
Figure 20. Drill chuck.
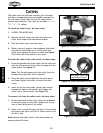
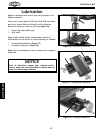
Drill Chuck Removal
The drill chuck and the collet chuck are attached to the
arbor with a JT1 taper. Matched tapers on the arbor and
the inside of the chuck use a friction fit to for a semi-per
-
manent assembly.
To remove the drill chuck, do these steps:
1. Protect the table surface with a piece of cardboard,
or hold the cutter or tool with a shop towel to pre
-
vent it from falling out of the collet.
2. Place the chuck removal wedge (Figure 21) between
the top of the drill chuck and the spindle (see
Figure
22), then tap the wedge to separate the chuck from
the arbor.
Figure 22. Drill chuck removal.
Figure 21. Chuck removal wedge.