


-12-
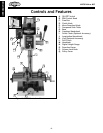
M1036 Micro Mill
SET UP
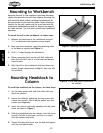
Mounting to Workbench
Mounting the mill to the workbench provides maximum
rigidity and prevents the mill from tipping. Mounting the
mill should be done before installing the headstock for
the best access to the mounting holes. When choosing a
location for the mill, make sure the cross feed and the
longitudinal handwheels extend out beyond the edge of
the table surface. This will allow unrestricted handwheel
operation.
To mount the mill to the workbench, do these steps:
1. Measure the thickness of the workbench and add
1
1
⁄2" to determine the necessary screw length.
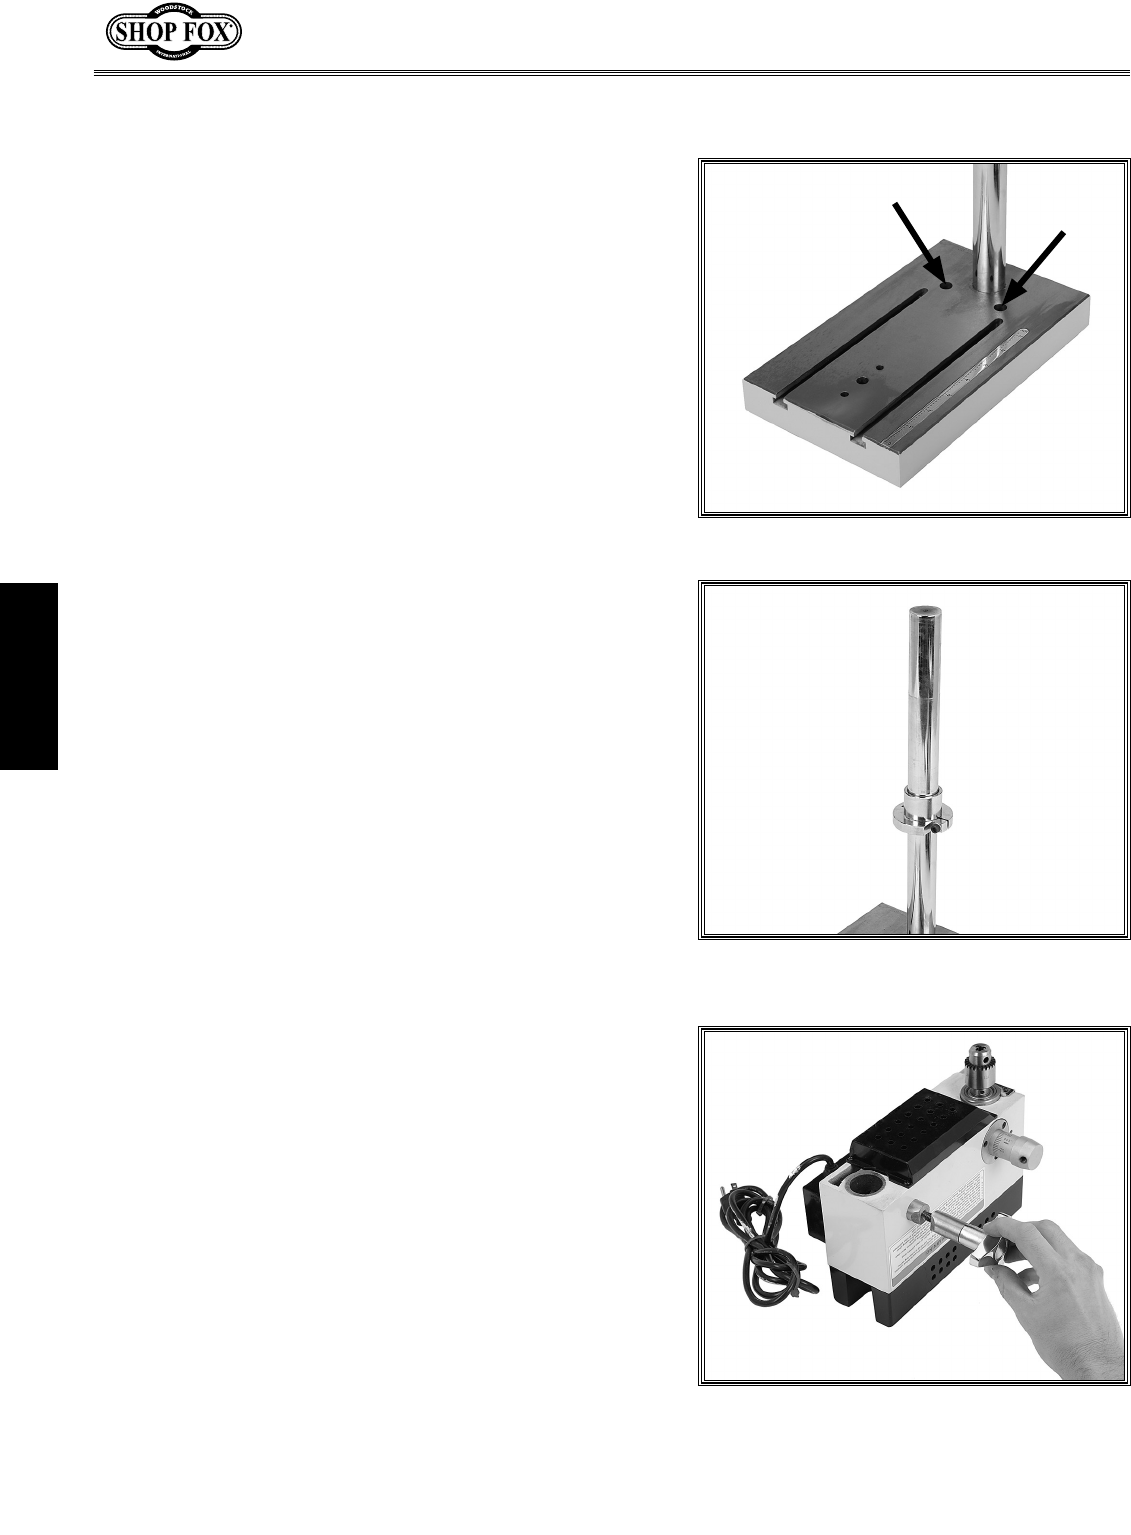
2. Mark your hole locations, using the mounting holes
in the base as a guide (see
Figure 5).
3. Drill
3
/16" holes through the workbench.
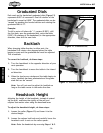
4. Place a precision level on the mill/drill table and
shim the mill/drill until it is level side-to-side and
front-to-back.
5. Bolt the mill to the workbench with two 6mm cap
screws (length determined in
Step 1), hex nuts and
flat washers.
Figure 5. Mounting hole locations.
To install the headstock on the column, do these steps:
1. Set the base upright and slide the collar half way
down the column.
2. Secure the collar by tightening the cap screw with
a 4mm hex wrench, then slide the spacer over the
column (see
Figure 6).
3. Insert the column lock knob assembly into the head-
stock, as shown in
Figure 7.
4. Slide the headstock onto the column, line the chuck
up with the hole in the base, and lock it in place
with the column lock knob
.
5. Thread the downfeed lever into the hub and tighten
with the included wrench.
Mounting Headstock to
Column
Figure 6. Collar and spacer installed on
the column.
Figure 7. Installing the column lock knob.