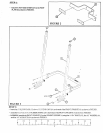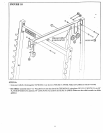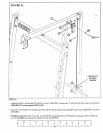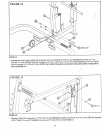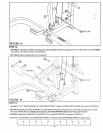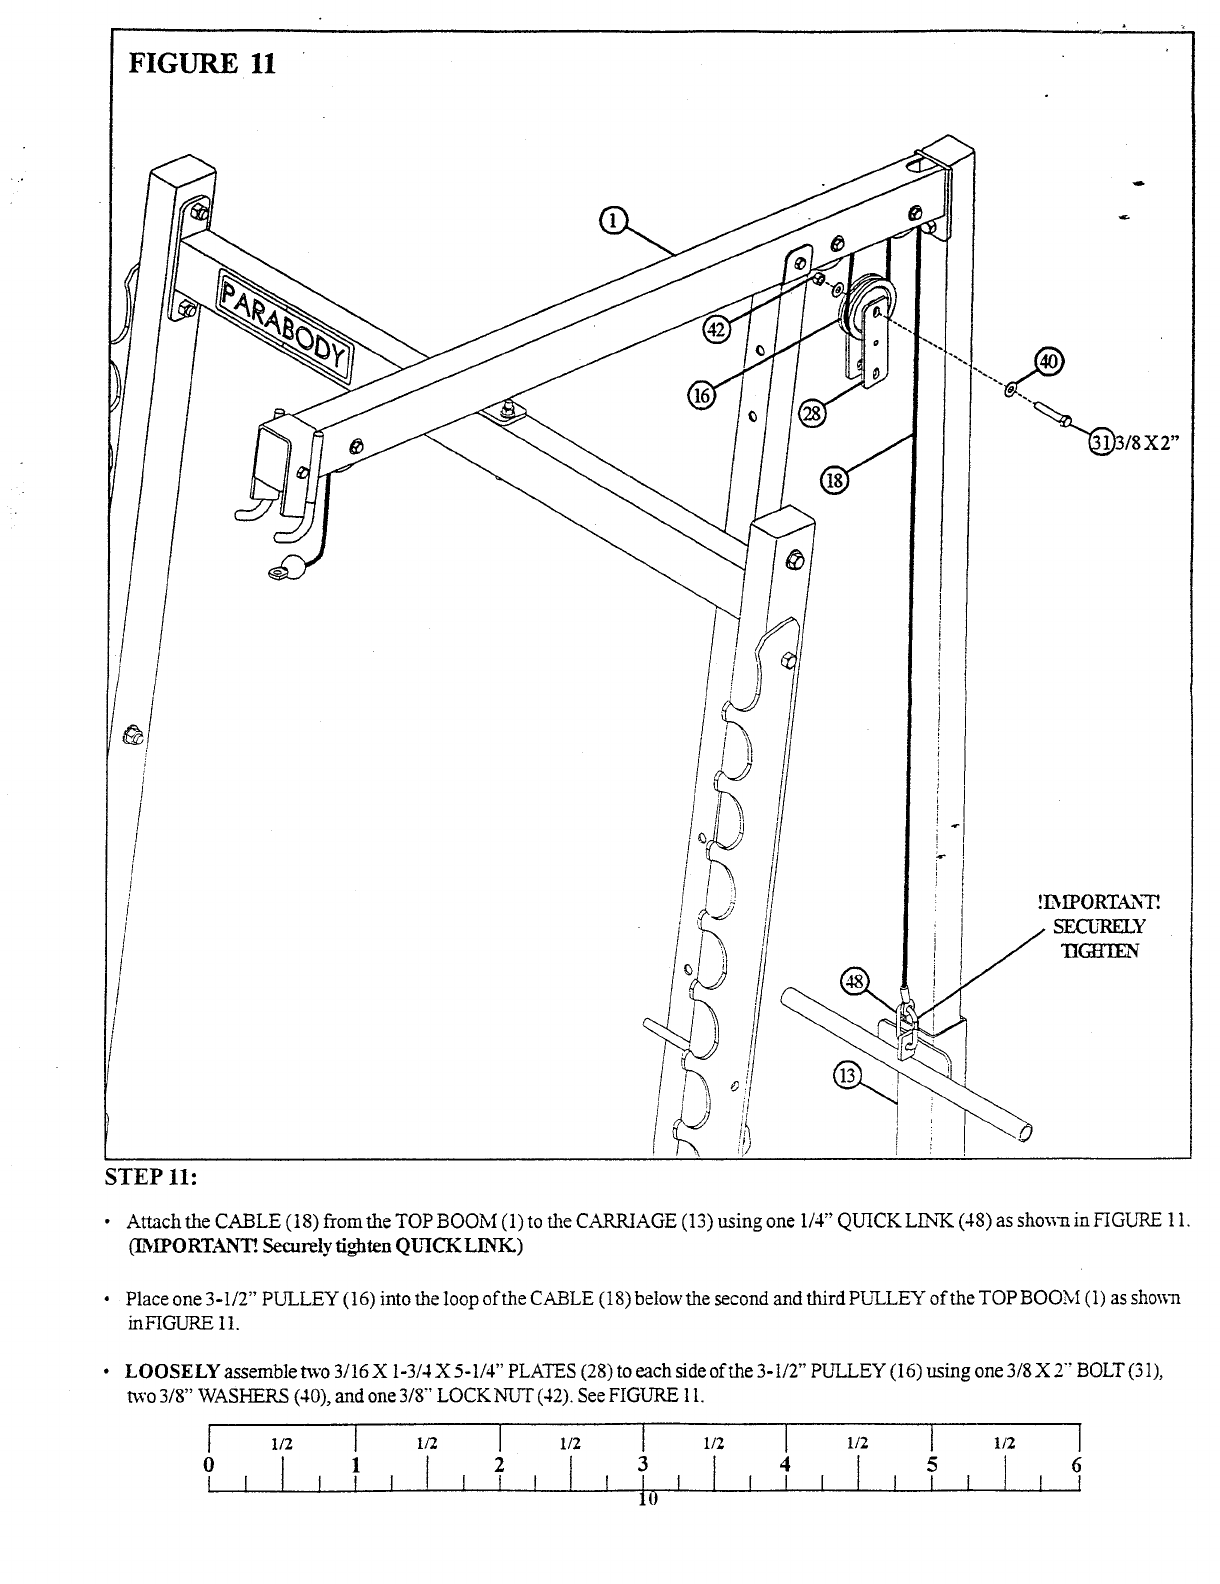
FIGURE 11
STEP 11:
¯
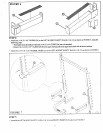
Attach the CABLE (18) from the TOP BOOM (1) to the CARRIAGE (13) using one 1/4" QUICK LEN’K (48) as shown in FIGURE
(E~IPORTAN~ Securely tighten QLqCK L~qK.)
¯
Place one 3-1/2" PULLEY (16) imo the loop of the CABLE (18) below the second and third PULLEY of the TOP BOOM (1) as
inFIGURE 11.
¯
LOOSELY assemble V, vo 3/16 X 1-3/4 X 5-1/4" PLATES (28) to each side of the 3-1/2" PULLEY (16) using one 3/8 X 2" BOLT (31),
two 3/8" WASHERS (40), and one 3/8" LOCK NUT (42). See FIGURE
1/2 [ 1/2
[
1/2 [ 1/2
I
1/2
l
1/2
]
62
3 4
5
I I t
l I 1 l l l I l
, I
l to , I
! I
I [
I ,
I


