


15
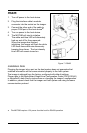
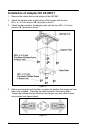
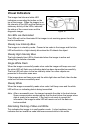
5. Use the locking plate as a guide to drill three #39 pilot holes (A) in the
mounting surface.
Figure 13. Locking Plate (Not Drawn to Scale)
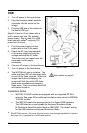
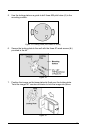
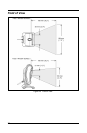
6. Secure the locking plate to the wall with the three #7 wood screws ()
provided in the kit.
Figure 14
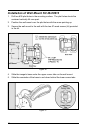
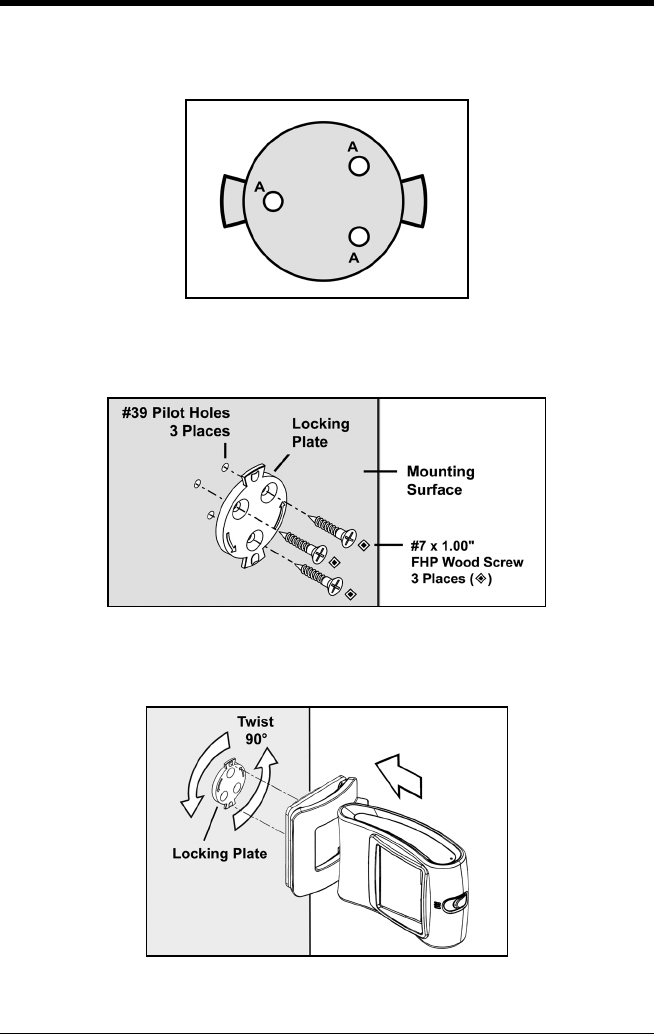
7. Position the imager so the base plate sits flush over the locking plate.
Twist the imager 90° counter-clockwise to lock the imager into place.
Figure 15