Chapter 2 Installing StorNext File System
Installing StorNext File System on Linux or Unix
StorNext 3.5 Installation Guide 26
1 On the Configuration Menu, type the number that corresponds to the
directory location you want to customize (
1–6), and then press
<Enter>.
A list of available local file systems is shown.
2 To change the file system where the directory is located, type the
name of the file system and press
<Enter>.
3 To confirm the change, type yes and press <Enter>.
To customize additional directory locations, repeat steps 1–3.
4 When you are done customizing the installation, press <Enter> to
return to the Main Menu.
Performing an
Installation Operation 2
To install StorNext using the options specified on the Configuration
Menu, perform an installation operation.
1 On the Main Menu, type 2 and press <Enter>.
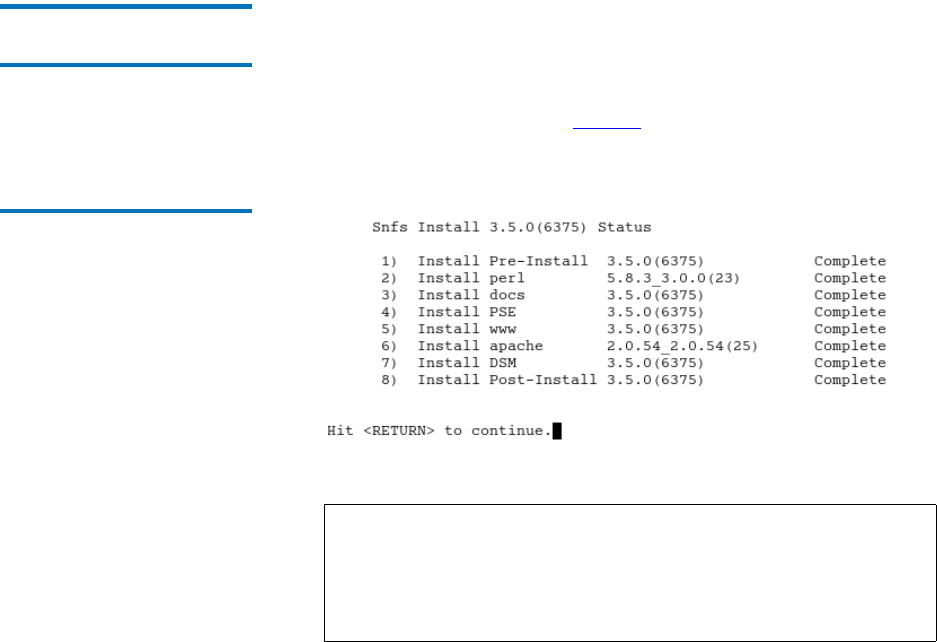
The installation script runs (figure 7). The script displays the current
progress of the installation.
Figure 7 StorNext Installation
Status
Note: Depending on your system configuration, the post-
installation procedure could take a long time (up to
several hours) to complete. Until the status changes to
Complete, a message informs you that the procedure is
still running. Please be patient while this step runs.
