16
MECHANICAL SERVICE GUIDE
3.0 - REPLACEMENT OF CROWNED REAR ROLLER
Tools Needed:
• Phillips Screwdriver
• 3/16 inch Allen wrench
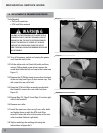
3-1 Turn off the power switch and unplug the power
cord from the wall outlet.
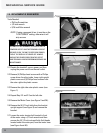
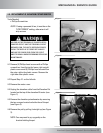
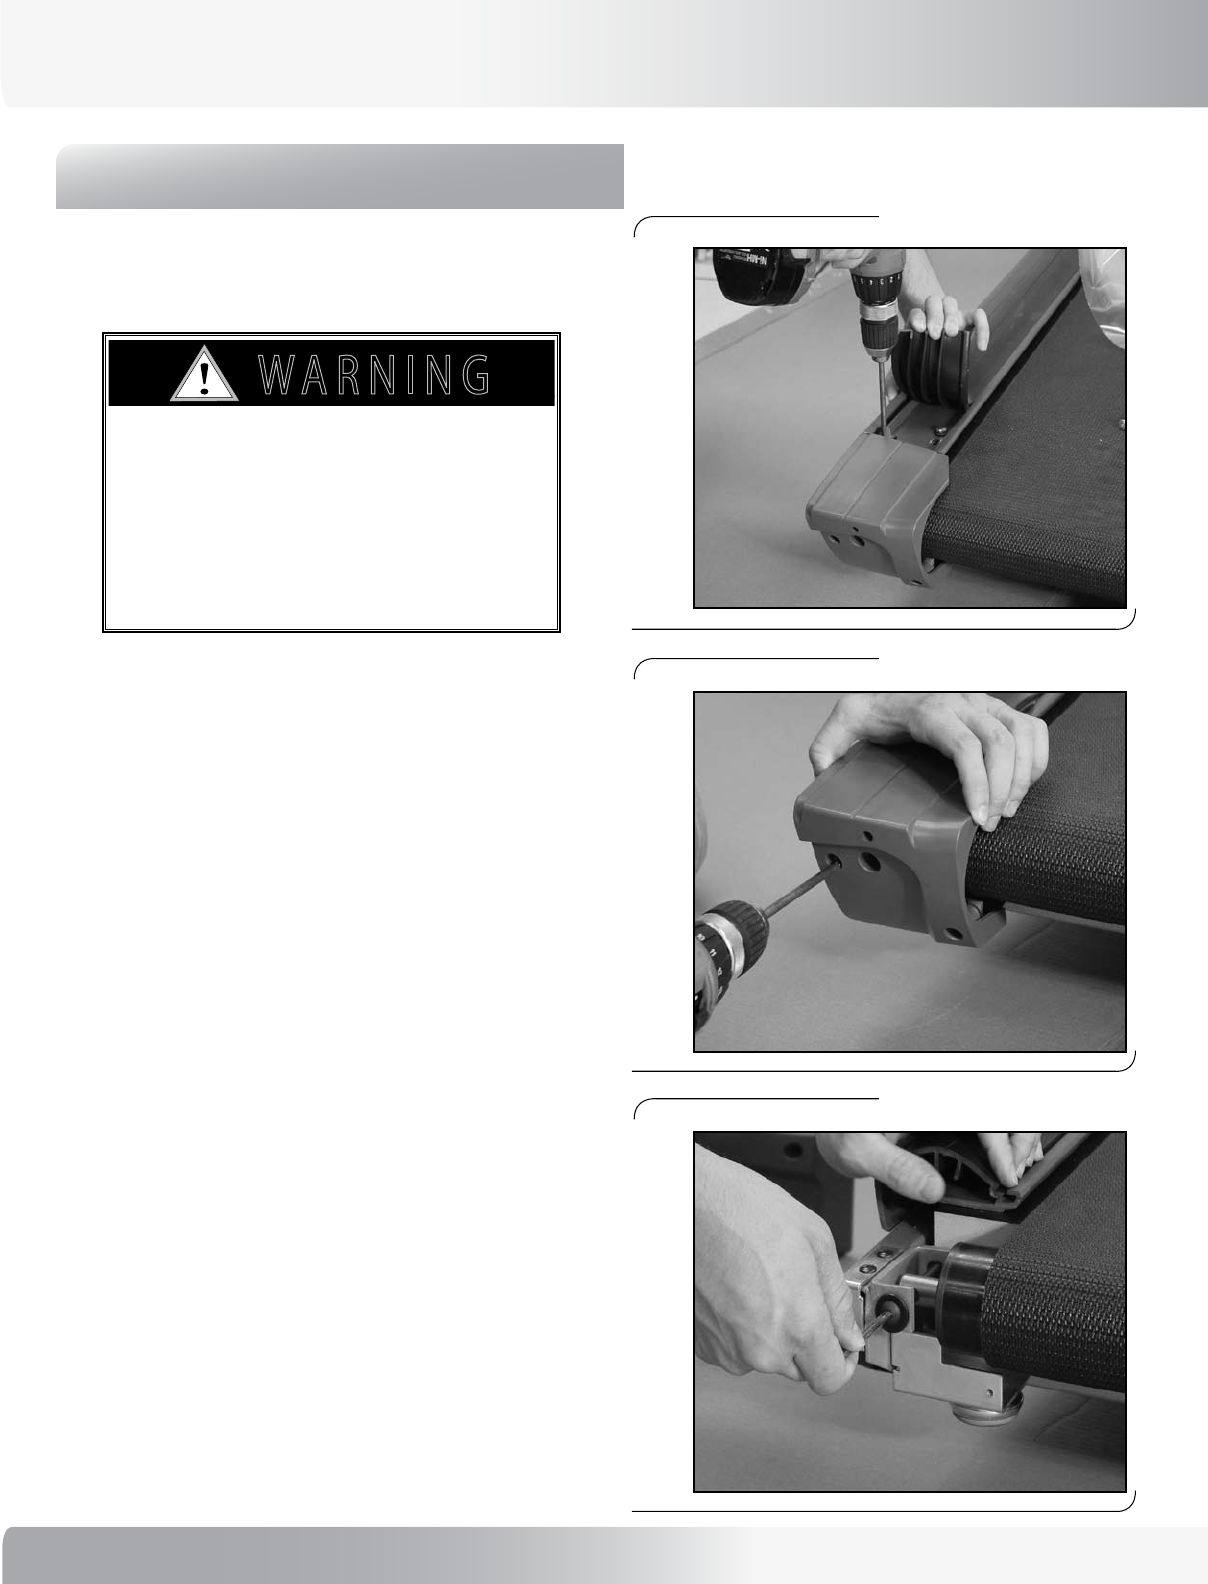
3-2 Lift the rubber side rail (back left side) and then
using a Phillips head screw driver remove the
screw that holds the left end cap to the frame (see
Figure 1).
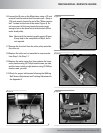
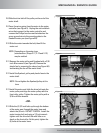
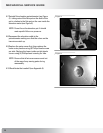
3-3 Remove the (2) Phillips head screws from the back
of the end cap (see Figure 2) and remove cap. This
will reveal the rear roller bolt.
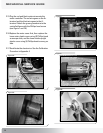
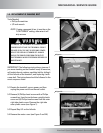
3-4 Using the 3/16 inch Allen wrench provided with
the treadmill, remove the rear roller bolt (see
Figure 3).
3-5 Repeat Step 3-2, Step 3-3 and Step 3-4 on the right
side of the treadmill.
3-6 Remove rear roller.
3-7 Install the new rear roller using 2 rear roller bolts
and tighten them up with the 3/16 inch Allen
wrench. Center the roller to the center of the rear
roller brackets (left and right side).
3-8 Tighten and align the walking belt using the
instructions in Appendix 3.
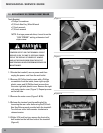
7 ! 2 . ) . '
! 4 4 % . 4 ) / .
$ ! . ' % 2
)--%$)!4%!#4)/.2%15)2%$
# ! 5 4 ) / .
AS LONG AS THE TREADMILL IS PLUGGED INTO A
POWERED OUTLET AND THE TREADMILL CIRCUIT
BREAKER IS ON, THE UNIT IS RECEIVING POWER,
EVEN IF THE DISPLAY IS TURNED OFF. ALWAYS
UNPLUG THE POWER CORD FROM THE OUTLET
AND TREADMILL WHEN PERFORMING REPAIRS OR
MAINTENANCE.
Figure 1:
Figure 2:
Figure 3:


