STEP 10:
¯
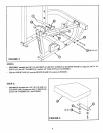
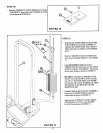
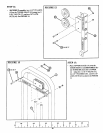
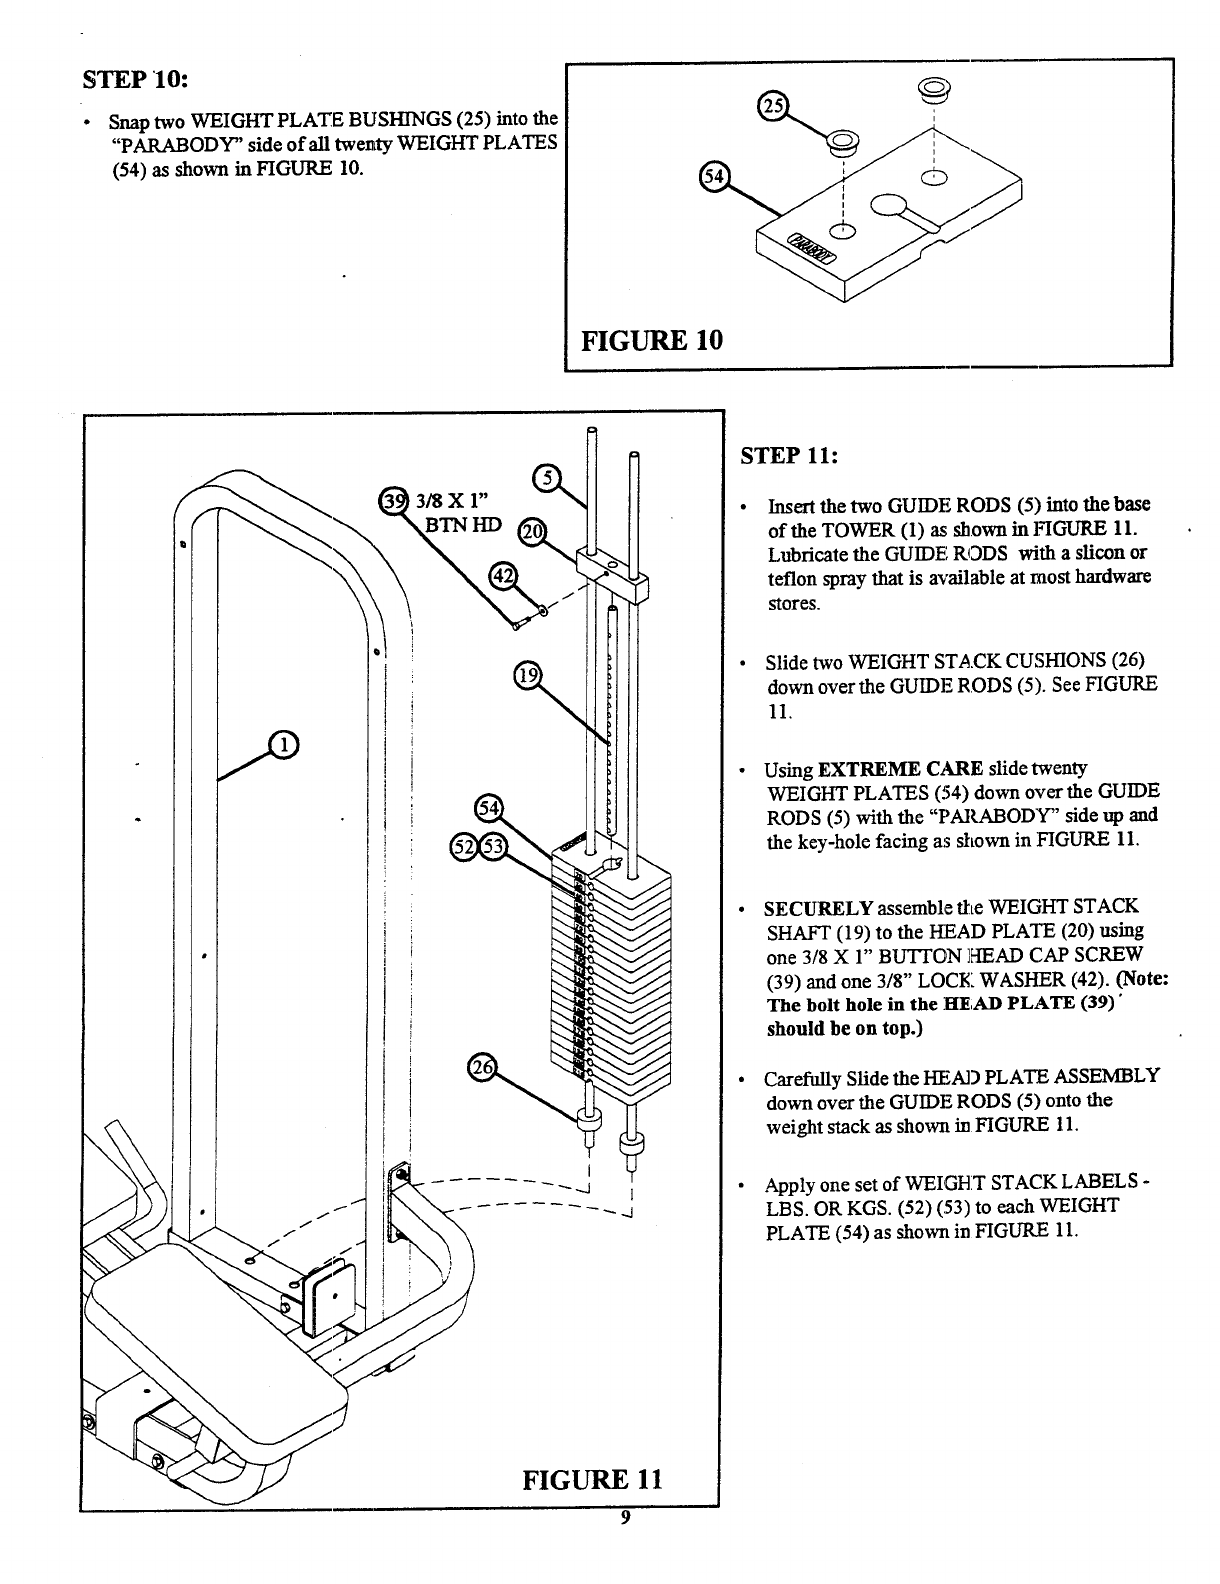
Snap two WEIGHT PLATE BUSHINGS (25) into the
"PARABODY" side of all twenty WEIGHT PLATES
(54) as shown in FIGURE 10.
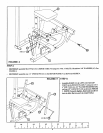
FIGURE 10
3/8X 1"
BTNHD ~
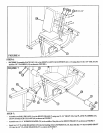
FIGURE 11
9
STEP 11:
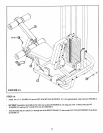
Insert the two GUIDE RODS (5) into the base
of the TOWER (1) as shown in FIGURE 11.
Lubricate the GUIDE RODS with a sli~n or
teflon spray that is available at most hardware
stores.
Slide two WEIGHT STACK CUSHIONS (26)
down over the GUIDE RODS (5). See FIGURE
11.
Using EXTREME C~kRE slide twenty
WEIGHT PLATES (54) down over the GUIDE
RODS (5) with the "PARABODY" side up and
the key-hole facing as shown in FIGURE 11.
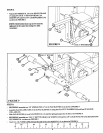
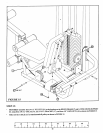
SECURELY assemble the WEIGHT STACK
SHAFT (19) to the KEAD PLATE (20) using
one 3/8 X 1" BLrI~ON ]~IEAD CAP SCREW
(39) and one 3/8" LOCK WASHER (42). (Note:
The bolt hole in the ]~E;AD PLATE (39)"
should be on top.)
Carefully Slide the HEAD PLATE ASSEMBLY
down over the GUIDE RODS (5) onto the
weight slack as showrt in FIGURE 11.
Apply one set of WEIGHT STACK LABELS -
LBS. OR KGS. (52) (53) to each WEIGHT
PLATE (54) as shown in FIGURE 11.


