7
Base Platform/
Lower Lat Tower
Assembly
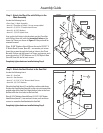
Figure 4
6
O
K
N
Chest Bar
Brackets
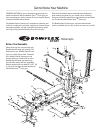
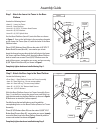
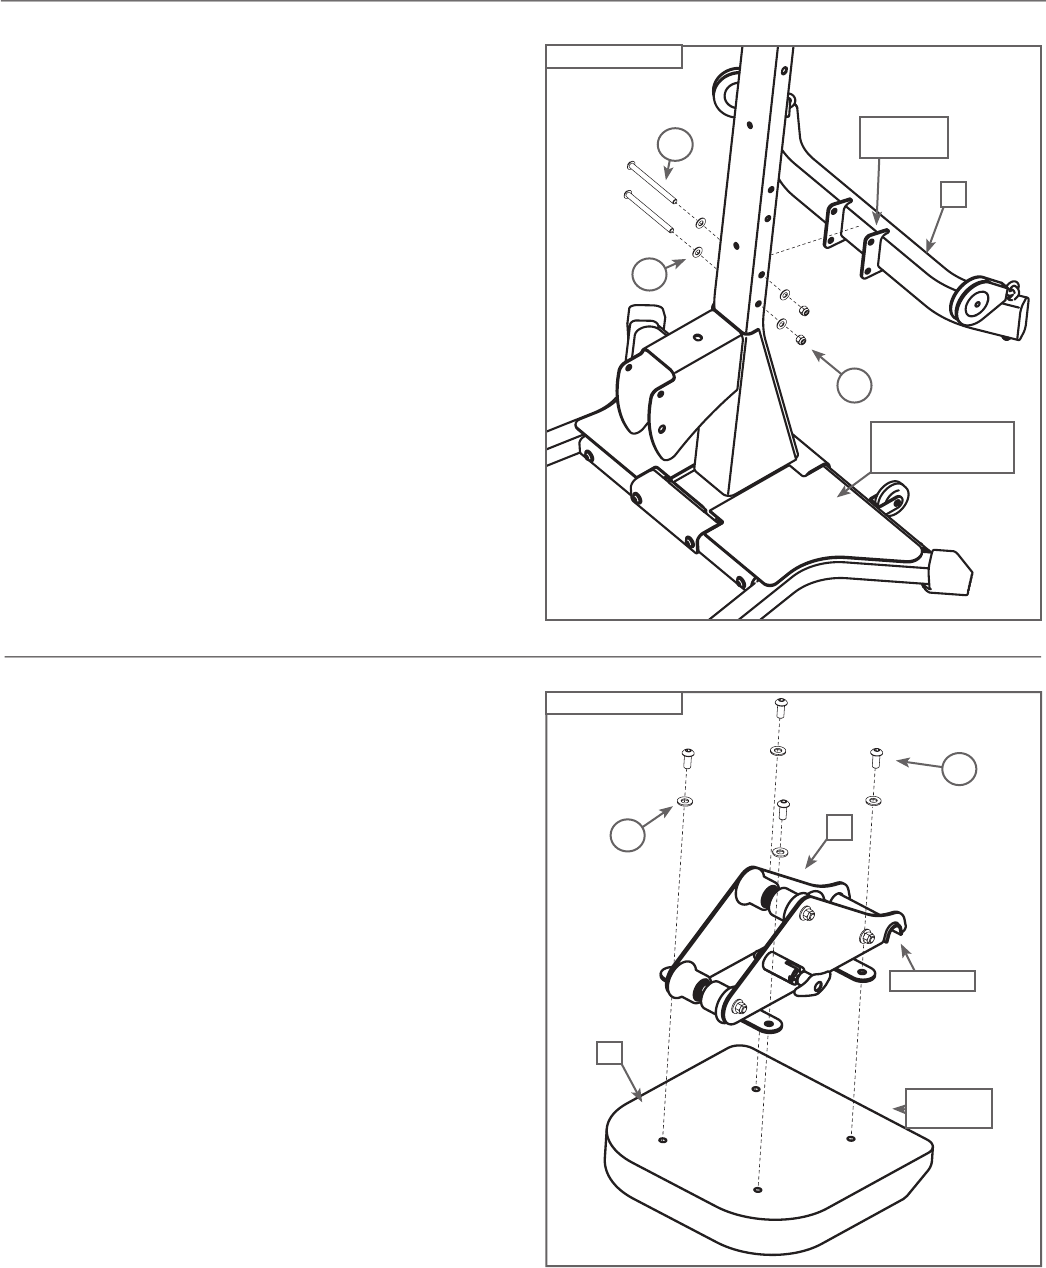
Step 4 - Attach the Chest Bar with Pulleys to the
Main Assembly
Locate the following items:
• From Step 3 - Main Assembly
• Item #6 - Chest Bar w/ Pulleys - Do not unwrap cables!
• Item #K - (2) 3/8" X 5" Button Head Screws
• Item #N - (4) 3/8" Washers
• Item #O - (2) 3/8" Nylock Nuts
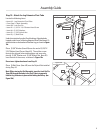
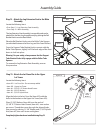
Line up the bolt holes in the brackets on the Chest Bar
with Pulleys (Item #6) with the lowest bolt holes on the
Lower Lat Tower, as shown in Figure 4. Pulleys should be
oriented forward.
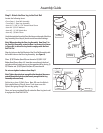
Place (2) 3/8" Washers (Item #N) over the end of (2) 3/8” X
5" Button Head Screws (Item #K) - one washer per screw.
Insert the screws through the lined up holes in the Chest
Bar with Pulleys and the Lower Lat Tower, and secure each
screw by placing (1) 3/8" Washers and (1) 3/8" Nylock Nuts
(Item #O) over the end of each screw.
Completely tighten hardware installed during Step 4.
Step 5 - Attach the Seat Bracket to the Seat Pad
Locate the following items:
• Item #7 - Seat Pad
• Item #8 - Seat Bracket
• Item #C - (4) 5/16" X 3/4" Button Head Screws
• Item #M - (4) 5/16" Washers
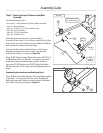
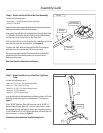
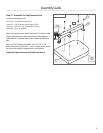
Place the Seat Pad (Item #7) on the floor, cushion-side down.
Position the Seat Bracket (Item #8) so the cut-out is toward the
angled edge of the Seat Pad. Align the four holes in the Seat
Bracket with the four holes in the Seat Pad.
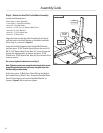
Place (4) 5/16" Washers (Item #M) over (4) 5/16" X 3/4" Button
Head Screws (Item #C) - one over each screw, and use those
screws to secure the Seat Bracket to the Seat Pad.
Completely tighten hardware installed during Step 5.
Figure 5
M
C
8
7
Cut-out
Angled
Edge
Assembly Guide


