MC9000-G with Windows
®
Mobile 2003 Software for Pocket PCs PRG
7-8
2. Tap New.
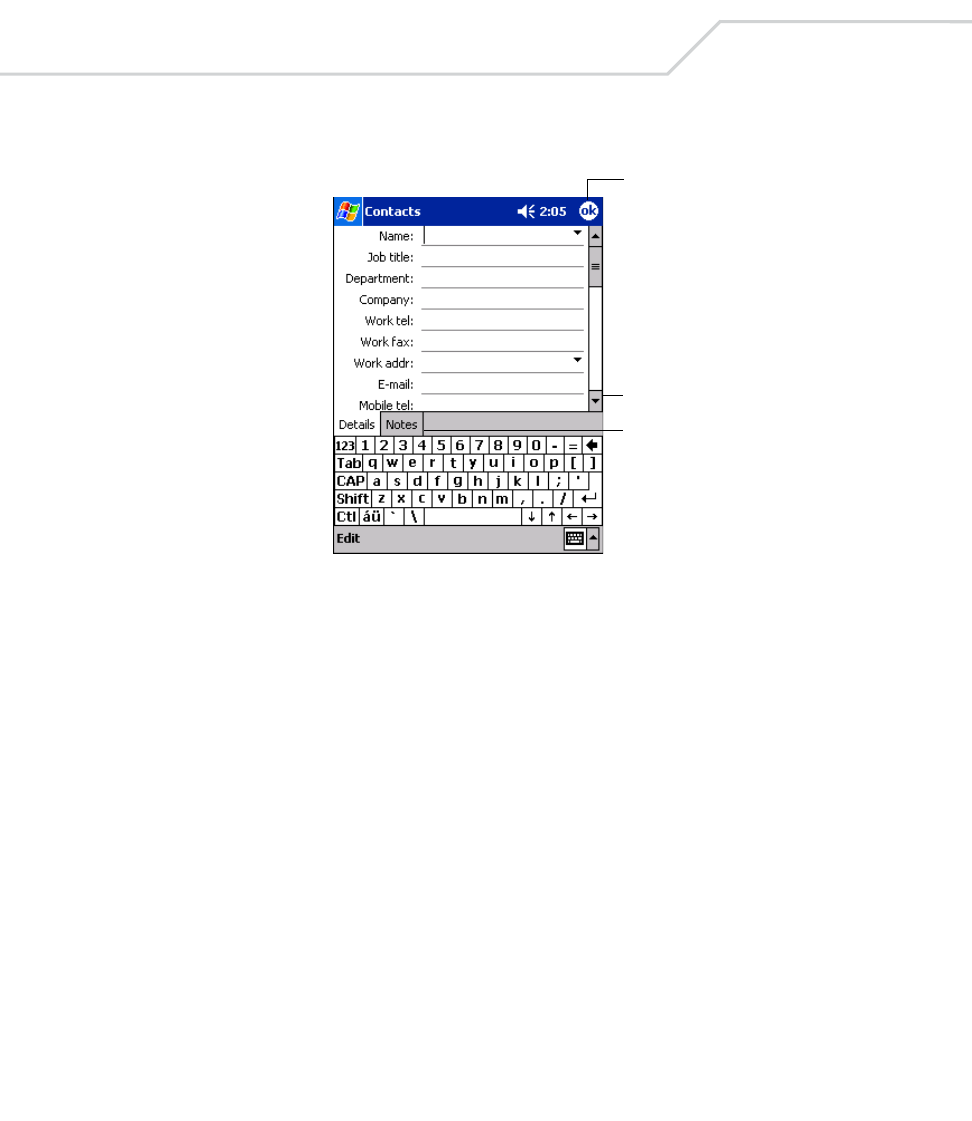
Figure 7-5. Creating a Contact
3. Using the input panel, enter a name and other contact information. Scroll down to see all
fields.
4. To assign the contact to a category, scroll to and tap Categories. Select a category from the
drop-down list. In the contact list, you can display contacts by category.
5. To add notes, tap the Notes tab. You can enter text, draw, or create a recording. For more
information on creating notes, see Notes on page 7-13.
6. When finished, tap OK to return to the contact list.
You may find a contact in one of four ways:
• In the contact list, enter a contact name in the box under the navigation bar. To show all
contacts again, clear text from the box or tap the button to the right of the box.
• In the contact list, tap the category list (labeled All Contacts by default) and select the type
of contact to display. To show all contacts again, select All Contacts. To view a contact not
assigned to a category, select None.
• To view the names of companies contacts work for, in the contact list, tap View - By
Company. The number of contacts that work for that company appears to the right of the
company name.
Notes is a good place for
maps and directions.
Scroll to see more fields.
Tap to return to the contact list (the
contact is saved automatically).


