7
Ocean Electric Winches 34 -
7
7
GB
F
ig.
1
.
6
.
3
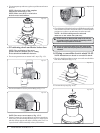
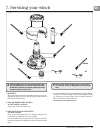
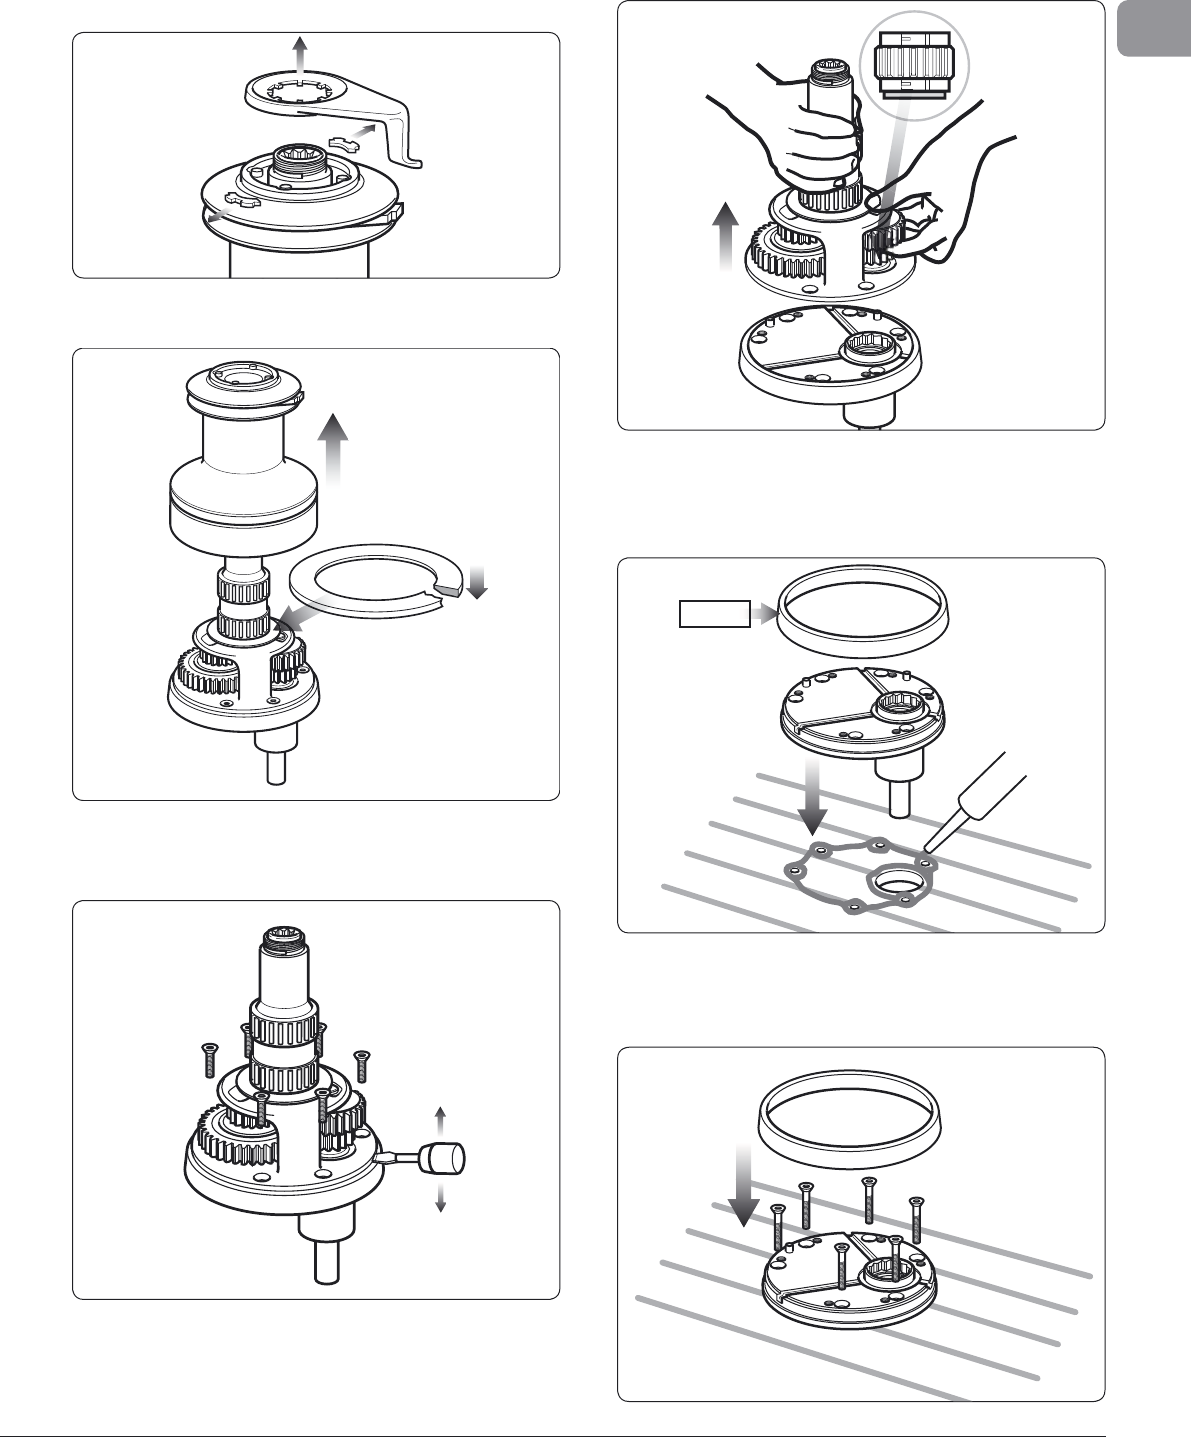
• Remove fee
d
er arm an
d
co
ll
ets
(
Fig. 1.6.3
)
.
• Lift drum off (Fi
g
. 1.6.4). Take care in re-fi ttin
g
the drum
was
h
e
r wi
t
h
be
v
e
l
o
n
u
n
de
r
s
i
de.
F
ig. 1.6.4
F
ig.
1
.
6
.5
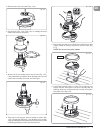
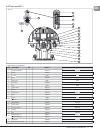
• Remove a
ll
screws
h
o
ld
ing centre stem to
b
ase
(
Fig. 1.6.5
)
.
U
sing a fl at
bl
a
d
e
d
screw
d
river in t
h
e
d
rainage s
l
ots,
l
ever off
c
entre stem assembly clear of the two dowel pins.
• Ta
k
e care to
h
o
ld
t
h
e gear stac
k
in position as s
h
own
(
Fig.
1
.6.6
)
.
(
If paw
l
gear fa
ll
s away... note s
h
ou
ld
er face is
d
own
)
.
T
ake care that
p
awls and
p
awl s
p
rin
g
s are ke
p
t in
p
lace, while
r
ebuildin
g
/
p
lacin
g
the centre stem onto the base.
Fi
g
. 1.6.6
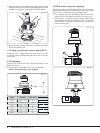
• Remove t
h
e
b
ase p
l
ate cover. Lift t
h
e
b
ase an
d
b
e
d
d
own wit
h
a
l
ig
h
t coating of sea
l
ing compoun
d
to prevent
l
ea
k
s
(
Fig
1.6.7)
.
NOTE: Do not u
s
e exce
ss
ive
s
ealant.
44~64
Fi
g
.
1
.
6
.7
• Consu
l
t t
h
e fastening gui
d
e in section 1.8 for
b
o
l
t type an
d
l
engt
h
. Bo
l
t t
h
e
b
ase p
l
ate to t
h
e
d
ec
k
ensuring t
h
at a
ll
fastening
h
ea
d
s are countersun
k
an
d
correct
ly
an
d
rep
l
ace
base
p
late cover (Fi
g
1.6.8).
Fig. 1.6.
8


