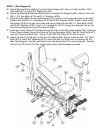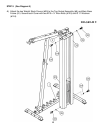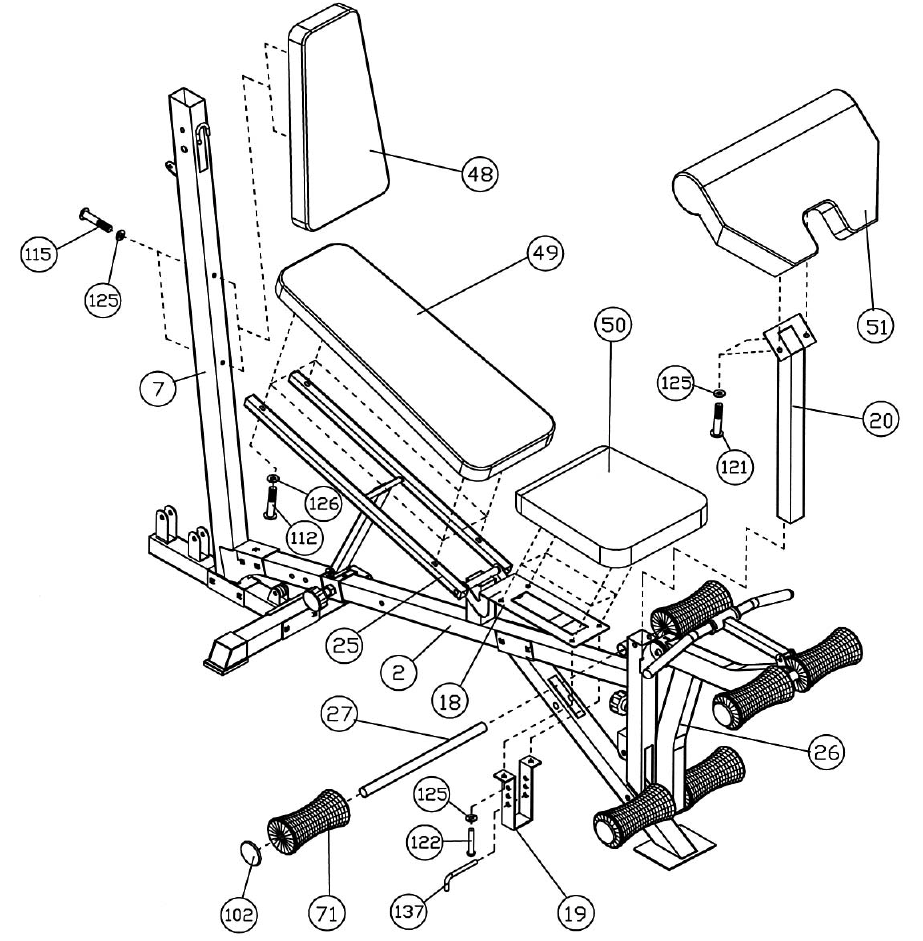
STEP 8 (See Diagram 8)
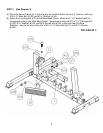
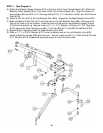
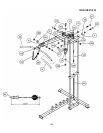
A.) Attach Backrest Board (#48) to the Front Vertical Beam (#7). Secure it with two M8 x 3 3/8”
Allen Bolts (#115) and Ø 5/8” Washers (#125).
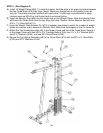
B.) Attach the Adjustable Backrest Board (#49) to the Backrest Supports (#25). Secure it with four
M6 x 1 3/8” Hex Bolts (#112) and Ø ½” Washers (#126).
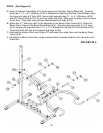
C.) Place the Seat (#50) onto the Seat Bracket (#18). Secure it to the two rear holes on the Seat
Bracket with two M8 x ¾” Allen Bolts (#122) and Ø 5/8” Washes (#125). Attach a Seat Incline
Adjustment (#19) to the two front holes and secure them with two M8 x ¾” Allen Bolts (#122)
and Ø 5/8” Washers (#125). Insert a 4” L-shaped Pin (#137) through the selected hole on the
Seat Incline Adjustment to hold the desired height.
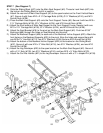
D.) Insert one Foam Tube (#27) halfway through the hole on the Main Seat Support (#2). Insert two
Foam Tubes halfway through the holes on the Leg Developer (#26). Push six Foam Rolls (#71)
onto the Tubes from both ends. Plug six Foam Roll End Caps (#102) into the ends.
E.) Attach the Arm Curl Pad (#51) to the Arm Curl Stand (#20). Secure it with two M8 x 5/8” Allen
Bolts (#121) and Ø 5/8” Washers (#125). Insert the Arm Curl Stand into the opening on the
Main Seat Support. Use the Lock Knob to lock the desired Arm Curl exercise height. Remove
the Arm Curl Stand and Curl Bar Handle when doing Leg Developer exercises.
14


